Imagine surprising your kids with a unique toy that sparks their imagination and keeps them busy for hours—all made by you! Creating a DIY cardboard toy treasure chest is easier than you think, and it’s a fun project that turns simple materials into something magical.
If you want to add a personal touch to your child’s playtime and save money, this guide is just for you. Ready to discover how to build a treasure chest that will become their favorite toy? Keep reading, and you’ll be amazed at what you can create!

Materials Needed
Making a DIY cardboard toy treasure chest is fun and simple. You need a few basic materials to get started.
Choosing the right materials helps your treasure chest look great and last longer.
Choosing Cardboard
Pick strong cardboard to build your treasure chest. It should hold its shape well.
Look for cardboard that is thick and sturdy, like from a shipping box or moving box.
- Corrugated cardboard for strength
- Flat cardboard for smooth surfaces
- Avoid thin or weak cardboard
Gathering Tools
You need simple tools to cut and shape the cardboard. Safety is important while using these tools.
- Box cutter or craft knife
- Scissors for small cuts
- Ruler or measuring tape
- Pencil for drawing shapes
- Glue or tape to hold pieces
Optional Decorations
Decorate your treasure chest to make it look special. Use items that are easy to apply on cardboard.
- Paints or markers for color
- Stickers or paper cutouts
- Ribbon or string for handles
- Buttons or beads for detail
- Glitter or shiny paper for sparkle
Designing Your Treasure Chest
Designing a cardboard toy treasure chest is a fun way to create a special place for small treasures. Careful planning helps make your chest both sturdy and attractive.
This guide covers the basics of sketching the shape, planning the size, and adding creative details to your chest.
Sketching The Shape
Start by drawing the basic shape of your treasure chest on paper. Think about the overall look you want, such as a classic curved lid or a simple box.
- Use a pencil and ruler for neat lines
- Draw the front, side, and top views
- Keep the shapes simple for easy cutting
- Try different shapes before choosing one
Planning Dimensions
Decide how big your treasure chest should be. The size depends on what you want to store inside and the cardboard you have.
| Part | Suggested Size (inches) | Notes |
| Base | 10 x 6 | Fits small toys and coins |
| Height | 6 | Enough for stacking items |
| Lid | Curved, matches base width | Leaves room to open |
Adding Details
Details make your treasure chest look special. Think about decorations, handles, and locks you can add with cardboard or paint.
- Cut out small shapes like stars or hearts and glue them on
- Add strips of cardboard for a wooden plank look
- Use markers or paint to draw patterns or jewels
- Create a paper handle to open the lid
Cutting And Assembling
Building a cardboard toy treasure chest is a fun and creative project. Cutting and assembling the cardboard pieces carefully will ensure your chest is strong and looks great.
This guide covers safe cutting, joining pieces, and how to reinforce the structure for a sturdy toy chest.
Safe Cutting Techniques
Always use a sharp craft knife or box cutter for clean cuts. Cut on a flat surface with a cutting mat below to protect your work area.
- Hold the cardboard firmly to avoid slips
- Cut slowly and steadily along marked lines
- Keep fingers away from the blade path
- Wear protective gloves if needed
- Replace dull blades to prevent accidents
Joining Cardboard Pieces
Use strong glue or double-sided tape to connect pieces. Overlap edges slightly for better hold. You can also add tape to the inside seams.
| Method | Best Use |
| Hot Glue | Quick, strong bonds for thick cardboard |
| White Glue | Good for flat surfaces and drying clear |
| Double-sided Tape | Easy to apply, no drying time |
| Masking Tape | Temporary hold before glue sets |
Reinforcing The Structure
Reinforce the chest by adding extra cardboard strips at corners and edges. This adds strength and helps keep the shape.
- Glue strips along all inside corners
- Use folded cardboard layers for added thickness
- Apply tape over glued joints for extra hold
- Let glue dry fully before moving the chest
Painting And Decorating
Painting your DIY cardboard toy treasure chest makes it look special and fun. Decorating adds personality and charm to your project.
Use simple steps to select paints, apply base colors, and add creative touches. This guide helps you create a colorful treasure chest.
Selecting Paints
Choose paints that work well on cardboard. Acrylic paints dry fast and stick well. Water-based paints are safe for kids and easy to clean.
- Pick bright colors for a lively look
- Use non-toxic paints for safety
- Test paint on a small cardboard piece
- Have brushes in different sizes for details
Applying Base Colors
Start by painting the whole chest with a base color. This layer hides cardboard texture and sets the tone.
- Use a large brush for even coverage
- Apply thin coats to avoid warping
- Let each coat dry before adding another
- Cover all sides for a neat finish
Adding Creative Touches
Decorate your treasure chest with patterns, stickers, or drawings. Use glitter or ribbons for extra flair.
| Decoration Type | Materials Needed | Tips |
|---|---|---|
| Patterns | Paintbrushes, stencils | Use light colors for contrast |
| Stickers | Craft stickers, glue | Place stickers after base paint dries |
| Glitter | Glue, glitter powder | Apply glue in small areas only |
| Ribbons | Glue, scissors, ribbons | Glue ribbons on edges or corners |
Finishing Touches
Adding finishing touches makes your cardboard treasure chest look great and last longer. These small details bring your project to life.
Focus on handles, interior lining, and sealing to improve both style and strength.
Attaching Handles Or Locks
Handles make it easy to carry your treasure chest. Locks add a fun, secure feel. Use strong tape or glue to attach them firmly.
Try using craft handles or small clips. Make sure they fit well and do not tear the cardboard.
- Measure where the handles go before attaching
- Use double layers of cardboard for strength
- Glue or tape handles securely on both sides
- Choose locks that are lightweight and safe
Lining The Interior
Adding a lining inside your chest gives it a neat look. It also protects the cardboard from wear and tear.
Use fabric, colored paper, or felt for the lining. Cut the pieces to fit the inside walls and base.
- Cut lining material slightly smaller than interior
- Use glue or double-sided tape to fix it in place
- Smooth out wrinkles for a clean finish
- Choose colors that match your design theme
Sealing For Durability
Sealing your chest helps protect it from moisture and damage. It also makes the surface smooth and shiny.
Use clear glue, varnish, or a mix of glue and water. Apply thin coats and let each dry before the next coat.
- Apply sealing on both inside and outside
- Use a brush for even coverage
- Let the chest dry completely after sealing
- Repeat sealing for stronger protection
Playtime Ideas
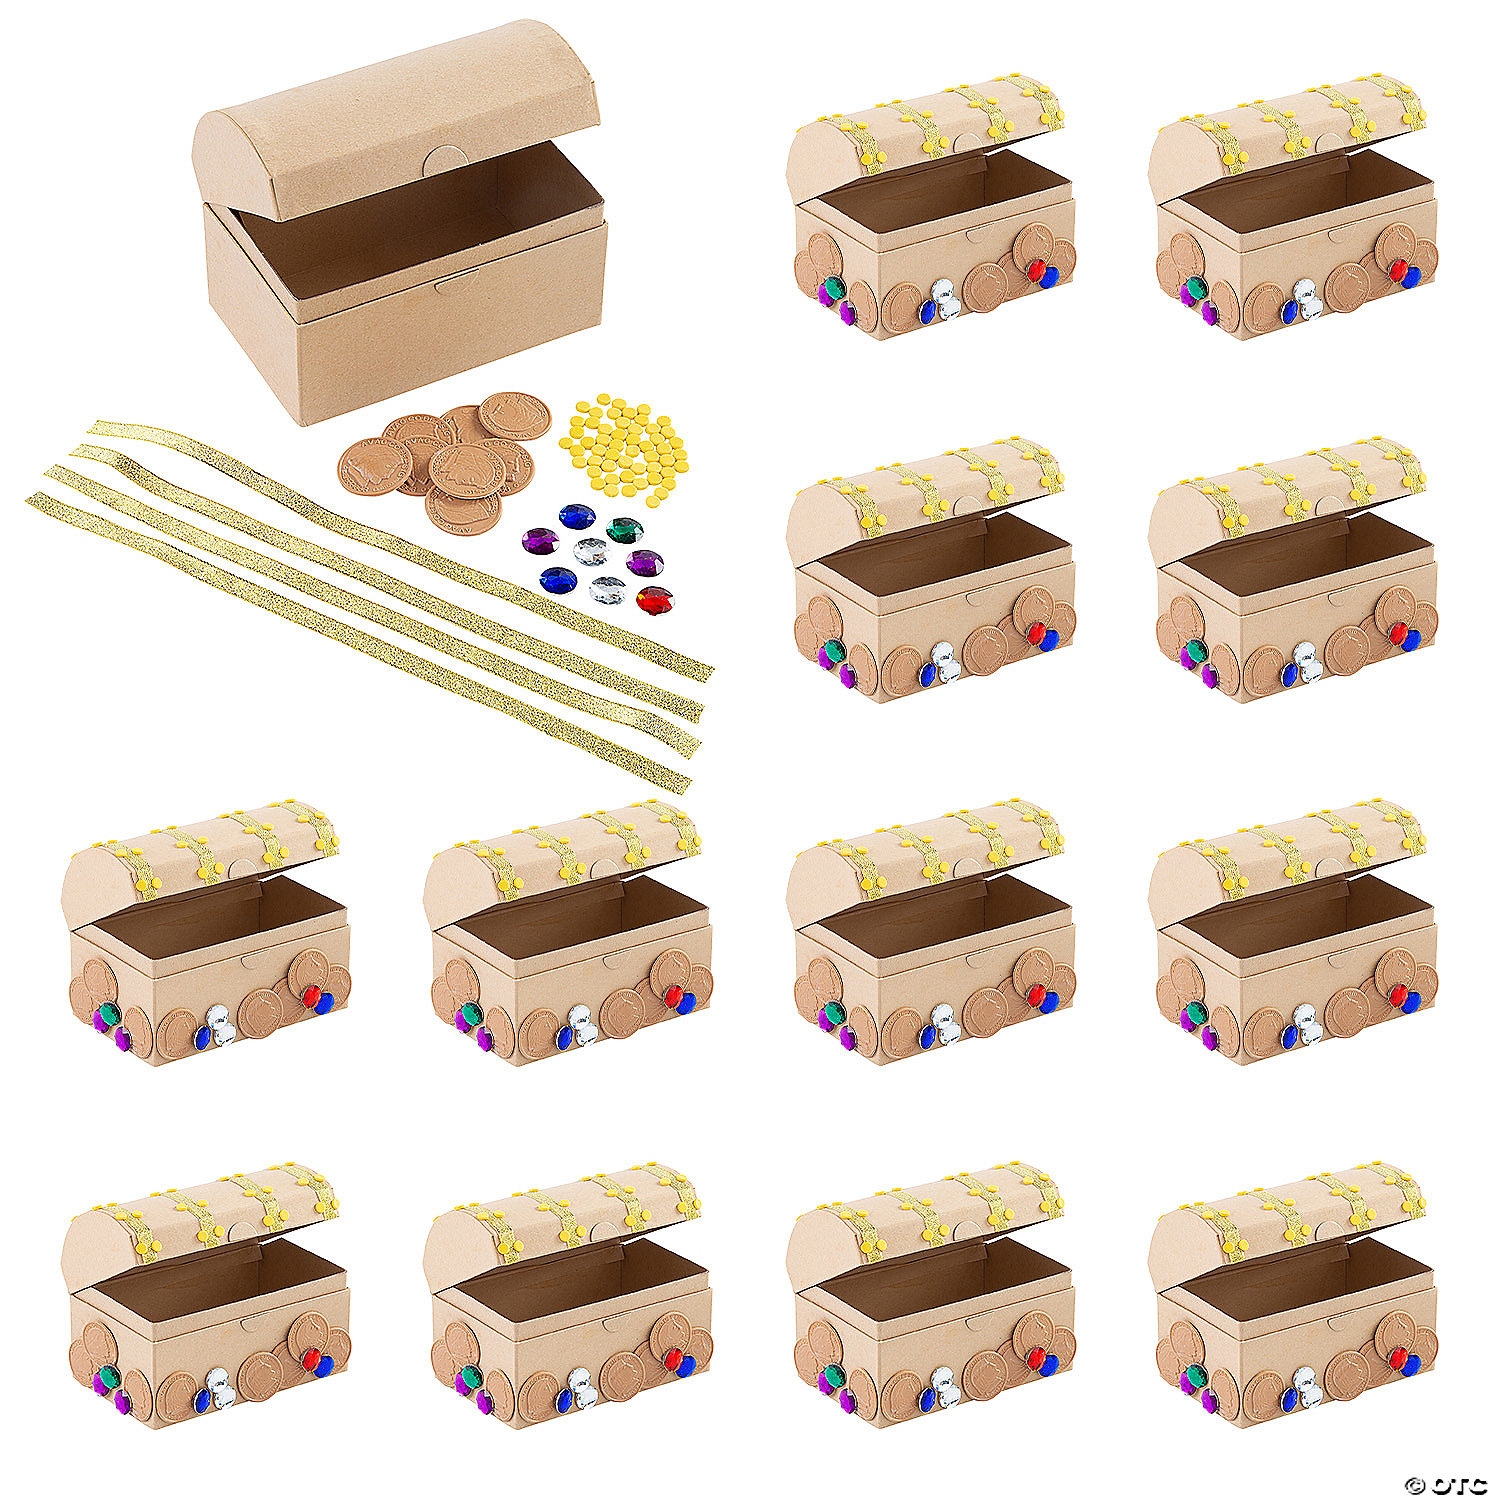
Creating a cardboard toy treasure chest is a fun activity. It sparks imagination and creativity in kids. This simple craft project offers many playtime ideas for children.
The treasure chest can be used in various ways. It is perfect for pretend play and storing small toys. It also makes a unique gift box for friends and family.
Pretend Pirate Adventures
Kids love pretending to be pirates. A cardboard treasure chest is perfect for pirate adventures. They can fill it with pretend gold and jewels.
Children can create pirate maps. They can follow them to find hidden treasures. This encourages imaginative play and storytelling.
- Dress up as pirates with hats and eye patches
- Create a treasure map and follow clues
- Use the chest to store treasures found on adventures
Storing Small Toys
A treasure chest is great for organizing small toys. Kids can keep their tiny figures and cars inside. This helps them learn to tidy up after playtime.
Children can decorate their chests. They can use stickers, paint, or markers. This makes the chest special and personal to them.
- Store action figures and small dolls
- Keep toy cars and blocks in one place
- Decorate the chest with favorite colors and stickers
Gift Ideas Using The Chest
Cardboard treasure chests make unique gift boxes. Fill them with small presents or treats. They are perfect for birthdays and special occasions.
These chests can be personalized. Add the recipient's name or favorite designs. This makes the gift more thoughtful and memorable.
- Fill with candies and small toys for party favors
- Use for themed birthday gifts, like pirate or adventure themes
- Decorate with personal touches for a special surprise
Tips For Longevity
A DIY cardboard toy treasure chest can be a fun project. Keeping it in good shape helps it last longer.
Here are some tips to ensure your treasure chest stays strong and usable.
Avoiding Moisture Damage
Moisture can weaken cardboard quickly. It's important to keep it dry.
Store the chest in a place away from water. Use a plastic cover during rainy days.
- Keep away from windows during rain
- Use silica gel packs inside the chest
- Place on a shelf or raised surface
Repairing Wear And Tear
Over time, the treasure chest may get worn out. Simple repairs can help.
Use tape or glue to fix small tears. Paint can cover scratches.
- Use clear tape on corners
- Apply craft glue for strong bonds
- Paint with matching colors for a fresh look
Storage Suggestions
Proper storage keeps the chest safe. It also helps prevent damage.
Choose a spot where the chest won't get crushed. Rotate its position occasionally.
- Store in a cool, dry place
- Avoid stacking heavy items on top
- Use a cover to keep dust away
Frequently Asked Questions
What Materials Are Needed For A Diy Cardboard Treasure Chest?
You need sturdy cardboard, scissors, glue, paint, and decorative items. These materials ensure durability and creativity. Choose thick cardboard for a long-lasting toy chest. Basic craft supplies help personalize your treasure chest easily.
How Do You Assemble A Cardboard Toy Treasure Chest?
Cut cardboard pieces to size, then glue edges together. Allow glue to dry fully for stability. Use tape for extra strength if needed. Finally, decorate the chest with paint or stickers for a fun finish.
Can Kids Safely Make A Cardboard Treasure Chest?
Yes, with adult supervision, kids can safely create the chest. Scissors and glue should be handled carefully. This craft encourages creativity and fine motor skills. It’s a fun, safe project for children of various ages.
How Long Does It Take To Build The Treasure Chest?
Building typically takes 1 to 2 hours, depending on complexity. Drying time for glue and paint may add extra time. Planning and preparation speed up the process. It’s a quick and rewarding craft activity.
Conclusion
Creating a DIY cardboard toy treasure chest is fun and simple. It uses materials you already have at home. Kids enjoy making and playing with their own chest. This project encourages creativity and imagination. You can decorate it in many ways.
It also helps teach recycling and reuse. Try making one today for your child or classroom. A small effort brings big smiles and lasting memories. Crafting together builds bonds and sparks joy. Give this easy project a try soon!