Are you looking for a fun and simple project that brings joy to your little one? Making a DIY felt baby cube toy is the perfect way to create something special with your own hands.
This soft, colorful cube will keep your baby entertained while helping with their early development. You don’t need fancy tools or skills—just a few materials and a bit of time. Keep reading, and you’ll discover how easy it is to make a safe, charming toy that your baby will love to explore again and again.
Materials Needed
Making a DIY felt baby cube toy is fun and simple. You only need a few materials to start.
Gathering the right supplies helps you create a soft and safe toy for babies.
Choosing Felt Fabric
Pick felt that is soft and safe for babies. Wool or acrylic felt works well.
Choose bright colors to make the toy interesting. Avoid dark or dull shades.
- Soft wool or acrylic felt sheets
- Bright, baby-friendly colors
- Non-toxic and hypoallergenic material
Essential Tools
You need basic tools to cut and sew the felt pieces. Sharp scissors help make clean cuts.
A needle and thread are needed to sew the cube together. Use strong thread to hold pieces firmly.
- Sharp fabric scissors
- Hand sewing needle
- Strong thread (matching colors)
- Stuffing material (polyester fiberfill)
- Ruler or measuring tape
- Pencil or fabric marker
Optional Decorative Items
Decorate the cube with safe items that add texture and color. Avoid small parts that may come loose.
Use simple decorations to make the toy fun and engaging for babies.
- Felt shapes for faces or letters
- Embroidery thread for designs
- Soft ribbons or fabric tags
- Non-toxic fabric glue

Cutting The Felt Pieces
Cutting felt pieces is an important step in making a DIY baby cube toy. You need to cut the felt precisely to make sure all pieces fit well together.
Careful cutting also helps the toy look neat and safe for babies to play with. Let’s learn how to measure, mark, and cut the felt squares accurately.
Measuring And Marking
Start by measuring the size of each cube side on your felt sheet. Use a ruler to get exact measurements for all pieces.
Mark the felt lightly with a pencil or fabric chalk. Make small dots or lines to show where you will cut.
- Use a clear ruler for straight edges
- Mark each square evenly for balance
- Double-check measurements before marking
- Keep marks light to avoid visible lines
Cutting Squares Accurately
Use sharp fabric scissors to cut along your marked lines. Cut slowly to keep edges clean and straight.
Make sure each square is the same size. Even pieces help the cube fit together nicely without gaps.
- Cut on a flat surface for stability
- Follow the marked lines carefully
- Trim uneven edges after cutting
- Keep scissors sharp for smooth cuts
Creating Designs For Each Side
Designing a felt baby cube toy is fun and creative. Each side can have its own unique look. This keeps babies interested and helps with learning.
Using simple shapes and adding textures makes the cube both pretty and tactile. Let’s explore how to create these designs.
Simple Shapes And Patterns
Start with basic shapes like circles, squares, and triangles. These shapes are easy to cut from felt and safe for babies.
- Cut out a big circle for a sun or a flower.
- Use squares to make a checkerboard pattern.
- Triangles can become a little roof or mountain.
- Mix shapes to create animals or faces.
Adding Textures And Details
Textures make the toy fun to touch. Add details to make each side special and interesting for babies.
| Texture | Material | Effect |
| Soft bumps | Small felt balls | Gentle touch |
| Ridges | Stitched lines | Raised feel |
| Fluffy | Faux fur patches | Soft and fuzzy |
| Shiny | Sequins | Bright and smooth |
Sewing The Felt Pieces Together
Sewing felt pieces is a key step in making a DIY baby cube toy. It holds the shapes tightly and gives the toy its form.
Using simple stitches keeps the edges neat and strong. This helps the toy last through playtime.
Basic Stitch Techniques
Start with easy stitches like the running stitch or whip stitch. These are good for beginners and work well with felt.
The running stitch creates a dashed line look. The whip stitch wraps the thread around the edge for a tight hold.
- Running Stitch:Push needle in and out in a straight line.
- Whip Stitch:Sew around the edge in a circular motion.
- Blanket Stitch:Use for decorative edges and extra strength.
Joining The Sides
Join the felt squares by sewing their edges together. Align the sides so the shapes form a cube.
Use small, even stitches to keep seams strong. Leave one side open to add stuffing before closing it fully.
- Pin sides together to keep them aligned.
- Sew three sides first to form a U shape.
- Stuff the cube gently with soft filling.
- Sew the last side closed carefully.
Adding Soft Filling
Adding soft filling to your DIY felt baby cube toy makes it safe and cuddly. The right filling gives the toy a gentle feel that babies love to hold.
Choosing the best stuffing and filling it evenly helps the toy keep its shape and softness over time.
Choosing Safe Stuffing
Safety is important when picking stuffing for baby toys. Use soft, non-toxic materials that will not cause allergies or choking risks.
- Use polyester fiberfill made for toys
- Avoid small beads or pellets that can come loose
- Choose hypoallergenic and washable stuffing
- Check that the stuffing meets safety standards for baby products
Filling Evenly
Filling the toy evenly makes it look neat and feel soft all over. Uneven filling can cause lumps or flat spots.
| Tip | How to Do It |
| Fill in small amounts | Push the stuffing gently into corners and edges first |
| Distribute stuffing | Use your fingers to spread the filling evenly inside |
| Check firmness | Press the cube to feel for soft spots and add more if needed |
| Close securely | Sew the opening tightly after filling to keep stuffing inside |
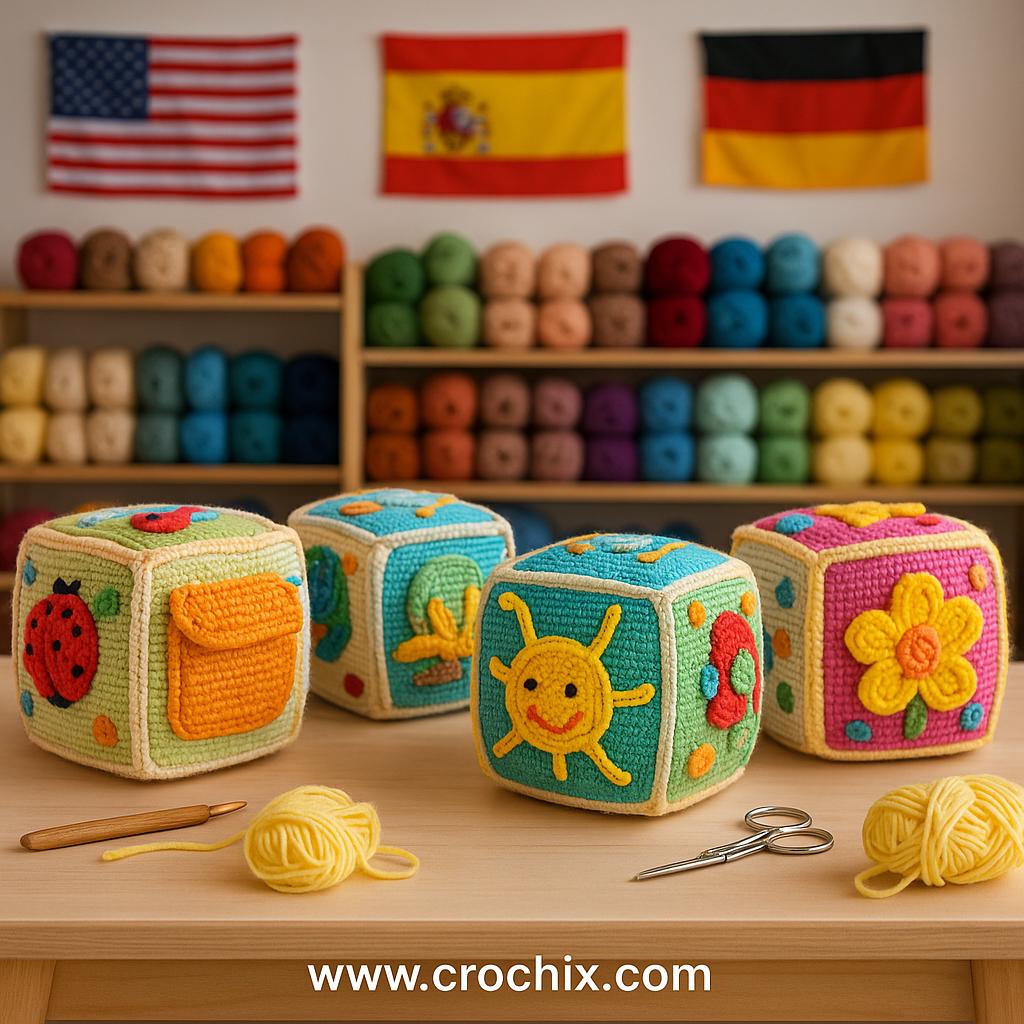
Final Touches
The final touches on your DIY felt baby cube toy are important. These details make the toy safe and fun for little ones.
Let's make sure everything is secure and add some creative embellishments.
Securing The Last Seams
Secure the last seams of your cube to ensure durability. Use strong thread and double stitch each side.
Tip:Test the seams by gently pulling on them. They should not come apart.
Adding Embellishments
Now, add fun embellishments to the baby cube. These could be colorful and safe for little hands.
- Sew on felt shapes like stars or hearts.
- Attach small bells inside for gentle sound.
- Use embroidered letters for a personal touch.
| Embellishment | Material |
| Stars | Felt |
| Bells | Metal |
| Letters | Thread |
Safety Tips For Baby Toys
Creating a DIY felt baby cube toy is a fun project. It's important to ensure the toy is safe for babies. This guide will help you make a safe and enjoyable toy.
These safety tips will focus on using non-toxic materials and avoiding small parts. Following these tips will help keep your baby safe while playing.
Using Non-toxic Materials
Non-toxic materials are crucial when making toys for babies. Babies often explore toys with their mouths. Safe materials prevent harmful exposure.
Choose natural felt made from wool. Avoid synthetic fibers as they may contain harmful chemicals. Always check labels for safety certifications.
- Look for labels stating "non-toxic"
- Use natural dyes for coloring
- Test for colorfastness to prevent dye bleeding
Avoiding Small Parts
Small parts can be a choking hazard for babies. Ensure all parts of the toy are securely attached and too large to swallow.
Check the toy regularly for loose parts. Reinforce any weak areas with extra stitching. Keep safety in mind when designing your toy.
- Ensure all pieces are larger than a baby’s mouth
- Securely stitch all seams
- Regularly inspect for loose parts
Personalizing Your Cube
Creating a DIY felt baby cube toy is fun and creative. Personalizing it makes the toy extra special for your baby.
You can add colors, themes, and even your baby's name to make the cube unique. This adds a personal touch and helps your baby recognize their toy.
Custom Colors And Themes
Choosing colors and themes for your felt cube lets you match your baby’s style or nursery. Pick colors that are soft and safe for babies.
Themes can include animals, shapes, or favorite story characters. This makes the cube more engaging and fun for your baby to explore.
- Use pastel colors for a calm look
- Bright colors help develop baby’s vision
- Animal shapes teach recognition skills
- Simple patterns keep the design clean
Incorporating Baby’s Name
Adding your baby’s name to the cube makes it unique and personal. Use felt letters to sew or glue the name on a side of the cube.
This helps your baby learn their name early. It also makes the toy a keepsake you can treasure as your child grows.

Frequently Asked Questions
What Materials Are Needed For A Diy Felt Baby Cube Toy?
You need colorful felt sheets, soft stuffing, thread, needle, scissors, and fabric glue. Optional decorations include buttons or ribbons. Choose baby-safe, non-toxic materials to ensure safety and durability.
How Do You Sew A Felt Baby Cube Toy?
Cut felt squares, sew edges with a blanket stitch, and stuff the cube lightly. Ensure tight stitching to keep stuffing inside. Hand-sewing is preferred for precision and safety.
Is A Diy Felt Baby Cube Safe For Infants?
Yes, if made with soft, non-toxic felt and securely sewn. Avoid small detachable parts to prevent choking hazards. Always supervise babies during playtime with the toy.
How Can I Customize A Felt Baby Cube Toy?
Add embroidered letters, numbers, or shapes to enhance learning. Use different textures or colors on each side to stimulate senses. Personalize it with the baby’s name for a special touch.
Conclusion
Creating a DIY felt baby cube toy is simple and fun. It brings joy to both you and your baby. Soft felt pieces keep little hands safe while learning. You can customize colors and shapes to fit your style. This toy helps babies explore textures and sounds.
It also encourages early motor skills and curiosity. Making it yourself saves money and adds a personal touch. Try this project to make playtime more special and meaningful. Small efforts can create big smiles and happy moments.