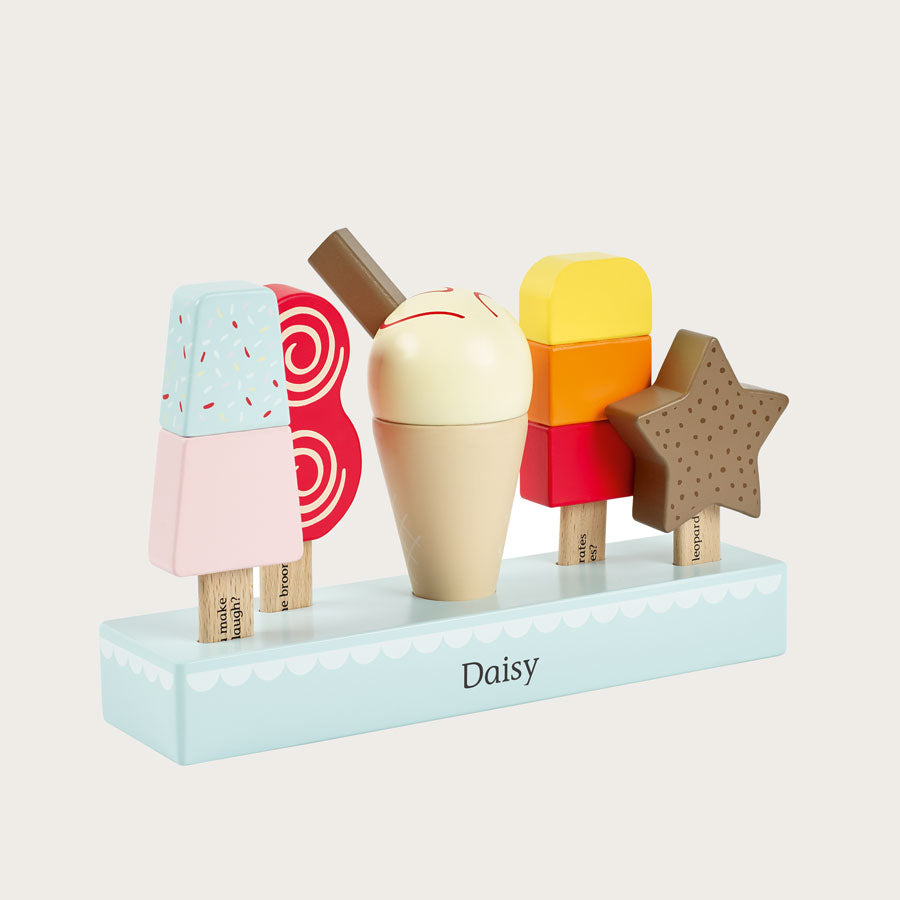
Imagine giving your child a toy that sparks creativity, encourages imaginative play, and lasts for years—all made by you. DIY wooden toy ice cream cones are the perfect project to bring joy and learning together.
You don’t need fancy tools or skills to create these charming, safe toys that your little one will love. Ready to make something special with your own hands? Keep reading to discover how easy and fun this project can be for you and your family.
Materials Needed
Making DIY wooden toy ice cream cones is fun and simple. You need the right materials to build and decorate them well.
This guide will cover the types of wood, basic tools, and painting supplies you need.
Types Of Wood
Choose wood that is safe and easy to shape. Softwoods are good for beginners. Hardwoods last longer.
- Pine – soft and easy to carve
- Basswood – smooth and fine-grained
- Maple – hard and durable
- Birch – strong with a light color
Basic Tools
You need a few basic tools for cutting, shaping, and sanding the wood. These tools keep your work safe and neat.
- Small saw for cutting wood pieces
- Sandpaper to smooth edges
- Wood carving knife for details
- Clamps to hold wood steady
- Drill with small bits for holes
Painting Supplies
Painting makes your wooden ice cream cones colorful and fun. Use safe paints made for children’s toys.
- Non-toxic acrylic paint in bright colors
- Small paintbrushes for details
- Paint palette or tray
- Clear varnish for protection
- Water cup for rinsing brushes

Credit: www.melissaanddoug.com
Choosing Your Design
Creating DIY wooden toy ice cream cones is a fun project. Picking the right design makes your toy unique and enjoyable.
Consider simple shapes, details, and colors to match your style and skill level.
Simple Shapes
Start with basic shapes to keep the project easy and fun. Circles and cones work well for ice cream parts.
- Circle for the scoop
- Cone shape for the base
- Small cylinders for sprinkles or sticks
Adding Details
Details bring your toy to life. Add texture or small parts to make it look realistic and fun.
| Detail | How to Add |
|---|---|
| Sprinkles | Paint small dots or glue tiny wooden pieces |
| Texture | Use a wood burner or fine sandpaper |
| Drips | Carve soft curves on the scoop edges |
Customizing Colors
Colors make your toy bright and playful. Pick shades that match real ice cream or your favorite fantasy flavors.
- Use non-toxic paint for safety
- Mix colors to create new shades
- Apply a clear coat to protect your paint
Cutting And Shaping Wood
Making wooden toy ice cream cones starts with cutting and shaping the wood. This step needs focus and care to create smooth, fun shapes.
Using the right tools helps you cut wood safely and shape it well for your toy project.
Safety Tips
Always wear safety glasses to protect your eyes from flying wood chips. Use ear protection if your tools are loud.
Keep your hands clear of blades and cutters. Work in a clean, well-lit area to avoid accidents.
- Wear safety glasses and ear protection
- Keep fingers away from cutting tools
- Work in a clean, bright space
- Use clamps to hold wood steady
Cutting Techniques
Use a small saw or scroll saw to cut the wood into the ice cream cone shape. Cut slowly to follow your design lines.
Start with rough cuts, then trim closer to the shape. Always cut away from your body for safety.
- Use a small saw or scroll saw
- Cut slowly along your lines
- Make rough cuts first
- Cut away from your body
Sanding For Smoothness
Sanding smooths out rough edges and shapes the toy nicely. Start with coarse sandpaper and move to finer grit for a soft finish.
Sand all surfaces well to make the toy safe for children to hold and play with.
- Begin with coarse sandpaper (80-100 grit)
- Use medium grit (150-180) next
- Finish with fine grit (220 or higher)
- Sand edges and flat surfaces evenly
Painting And Decorating
Painting and decorating wooden toy ice cream cones makes them look fun and colorful. It also protects the wood from damage.
Choosing the right paint and decoration style helps your toy stand out. You can create many creative designs easily.
Choosing Paint Types
Use non-toxic, child-safe paints for wooden toys. Water-based acrylic paints dry fast and are easy to clean.
Avoid oil-based paints as they take longer to dry and can be harmful. Test your paint on a small wood piece first.
- Water-based acrylic paints
- Non-toxic craft paints
- Milk paint for a vintage look
- Avoid oil-based and spray paints
Creative Patterns
Use simple shapes like dots, stripes, and swirls for fun designs. Bright colors make your toy more attractive.
Try mixing colors or layering paint to create texture. You can also add small details with fine brushes or paint markers.
- Polka dots for a playful look
- Stripes in different colors
- Swirls to mimic ice cream swirls
- Layer colors for depth
- Use fine brushes for details
Sealing Your Toy
Seal your painted toy to protect the colors and wood. Use a clear, child-safe sealant for safety.
Apply a thin layer of sealant and let it dry completely. This keeps the paint from chipping and makes cleaning easier.
- Choose water-based, non-toxic sealants
- Apply thin, even coats
- Let each coat dry before adding more
- Seal both paint and bare wood areas
Adding Finishing Touches
Finishing touches make your DIY wooden toy ice cream cones look professional. They add a personal touch and make your gift stand out.
Attaching Sticks
Attach sticks to the back of the cone to create a handle. This makes it easier for kids to hold and play with the toy ice cream cone.
- Use a strong adhesive like hot glue or super glue
- Making sure the stick is securely attached
- Test the stick to ensure it doesn’t break easily
Using Non-toxic Varnish
Apply non-toxic varnish to protect the wood and make it look shiny. This step is crucial to ensure the toy is safe for kids to play with.
- Choose a varnish specifically designed for wood toys
- Follow the manufacturer’s instructions for application
- Apply multiple coats for maximum protection
Optional Embellishments
You can add embellishments to make your toy ice cream cone more appealing. This can include painting, stickers, or other decorations.
- Use acrylic paint or markers for colorful designs
- Choose stickers that are safe for kids and won’t peel off easily
- Get creative with other decorations like glitter or rhinestones
Creative Play Ideas
Diy wooden toy ice cream cones are perfect for fun and learning. Kids can use them in many ways.
These toys encourage imagination and help develop skills. They are safe and easy to use.
Role-playing Games
Children love pretending to run ice cream shops. These cones make role-playing more real and fun.
They can take orders, serve customers, and practice social skills. This play builds confidence.
- Set up a pretend ice cream stand
- Use cones to practice counting and sharing
- Invite friends to play shopkeeper and customer
Educational Uses
Wooden ice cream cones teach colors, numbers, and shapes. They are hands-on learning tools.
Kids improve fine motor skills by stacking and sorting cones. They also learn to follow patterns.
- Match cone colors to pictures
- Count scoops on each cone
- Create patterns with different shapes and colors
Gift Ideas
These wooden ice cream cones make thoughtful gifts for young children. They suit birthdays and holidays.
Parents and teachers appreciate toys that are creative and safe. These gifts encourage active play.
- Gift sets with various cone colors and toppings
- Combine with other wooden food toys
- Wrap in bright paper for a fun surprise
Troubleshooting Common Issues
DIY wooden toy ice cream cones can be a fun and rewarding project, but like any handmade item, they can be prone to certain issues. In this section, we will cover some common problems that you may encounter and provide tips on how to fix them.
Fixing Paint Chips
Paint chips can be a frustrating issue, especially if they occur on a freshly painted cone. To fix paint chips, you will need to use a touch-up paint that matches the original color. Apply a small amount of paint to the chip and blend it in with a soft cloth.
- Use a touch-up paint that matches the original color
- Apply a small amount of paint to the chip
- Blend the paint in with a soft cloth
Repairing Cracks
Cracks can occur in the wood due to drying or shrinkage. To repair cracks, you will need to use a wood filler that matches the color of the cone. Apply the filler to the crack and let it dry completely before sanding it down.
| Repair Method | Materials Needed |
| Wood Filler | Wood filler, sandpaper, paint |
| Wood Glue | Wood glue, clamps, sandpaper |
Improving Durability
Improving the durability of your DIY wooden toy ice cream cones can be achieved by applying a clear coat of varnish or polyurethane. This will protect the wood from moisture and wear and tear. Additionally, you can use a wood conditioner to help prevent cracking.
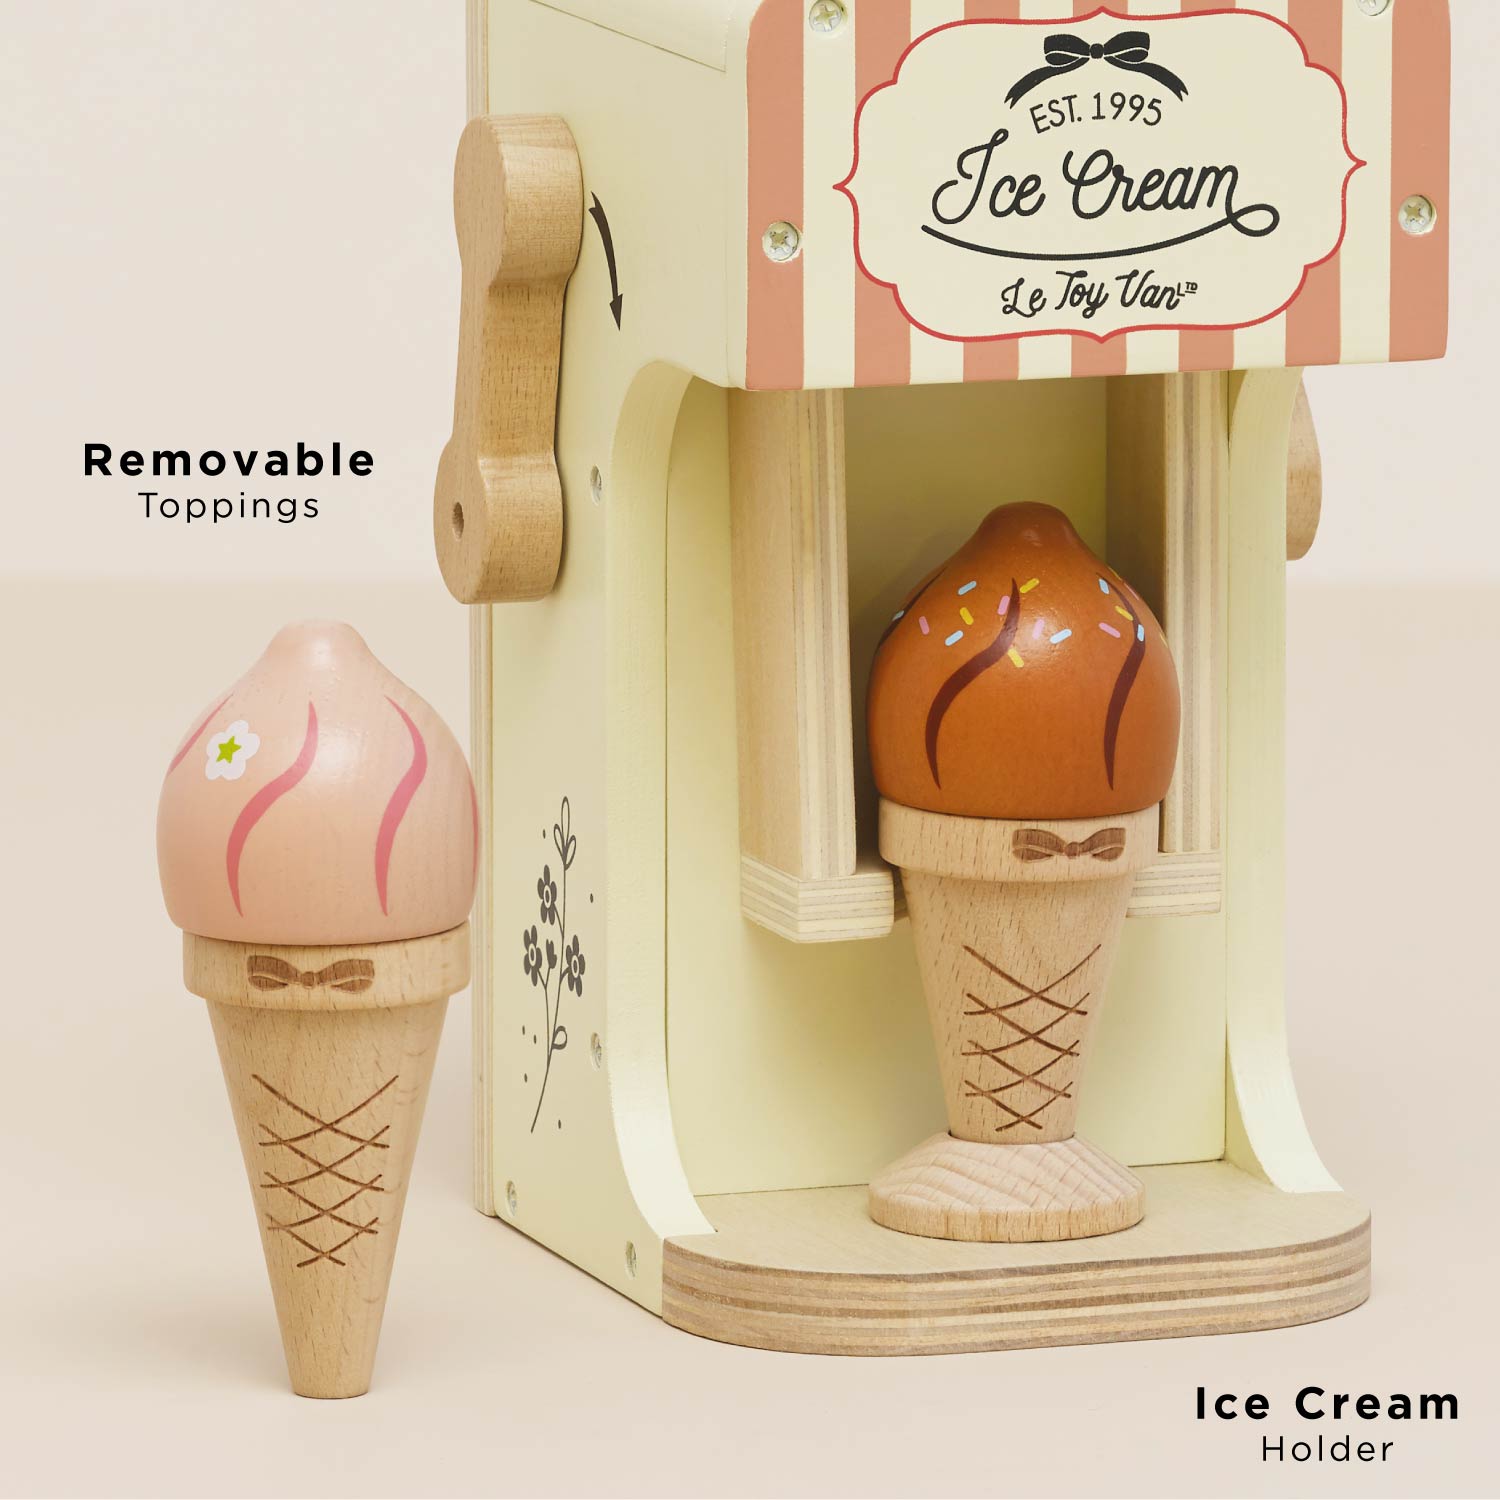
Credit: letoyvan.co.uk
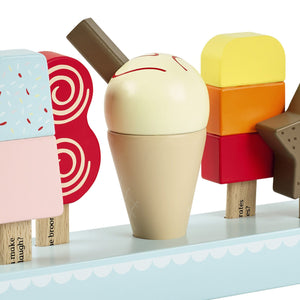
Credit: www.gltc.co.uk
Frequently Asked Questions
What Materials Are Needed For Diy Wooden Toy Ice Cream Cones?
You need wood blocks, non-toxic paint, sandpaper, glue, and a small saw. Choose smooth, safe wood for children’s toys.
How To Safely Paint Wooden Toy Ice Cream Cones?
Use non-toxic, child-safe paints. Apply thin, even coats. Let each coat dry fully before adding another layer.
What Tools Help Make Wooden Toy Ice Cream Cones?
Basic tools include a small saw, sandpaper, paintbrushes, and wood glue. Ensure tools are safe and easy to handle.
How Long Does It Take To Make Wooden Toy Ice Cream Cones?
It usually takes 1 to 2 hours, depending on your skill. Drying time for paint may add extra hours.
Conclusion
Making DIY wooden toy ice cream cones is fun and simple. Kids enjoy playing with colorful, safe toys. You can choose your favorite colors and shapes. This craft helps improve creativity and hand skills. It also makes a great gift for friends or family.
Try this project at home for a joyful, hands-on experience. Crafting wooden toys brings smiles and lasting memories. Give it a try—you will love the results!