Are you looking for a fun and creative way to bring the wonders of space right into your home? Building your own DIY wooden toy solar system model is the perfect project for you.
Not only will you get to craft something unique with your hands, but you’ll also create an exciting tool to learn about the planets and their orbits. Imagine having a beautiful, handmade solar system that sparks curiosity every time you look at it.
Ready to discover how simple and rewarding this project can be? Keep reading, and you’ll find all the tips and steps you need to make your own wooden solar system model today.
Choosing The Right Wood
Building a wooden toy solar system model is fun and educational. Picking the right wood makes the project safer and more durable.
Different woods have unique features. Knowing these helps you choose the best wood for your toy.
Types Of Wood For Toys
Some woods are better for toys because they are smooth and light. Softwoods and hardwoods both work, but some are safer and last longer.
- Maple: Hard and smooth, good for detailed shapes.
- Birch: Light color and fine grain, easy to paint.
- Pine: Soft and light, easy to carve but can dent.
- Alder: Soft hardwood, safe and easy to work with.
- Beech: Hard and strong, holds paint well.
Safety And Durability Considerations
Choosing safe and durable wood is key for children’s toys. Avoid woods with harmful chemicals or rough textures.
| Factor | What to Check | Why It Matters |
| Toxicity | Non-toxic, natural wood only | Prevents harm if children put toys in their mouth |
| Grain | Fine and tight grain | Reduces splinters and rough edges |
| Hardness | Moderate hardness | Balances durability and ease of carving |
| Finish | Use child-safe finishes | Protects wood and keeps it safe to touch |
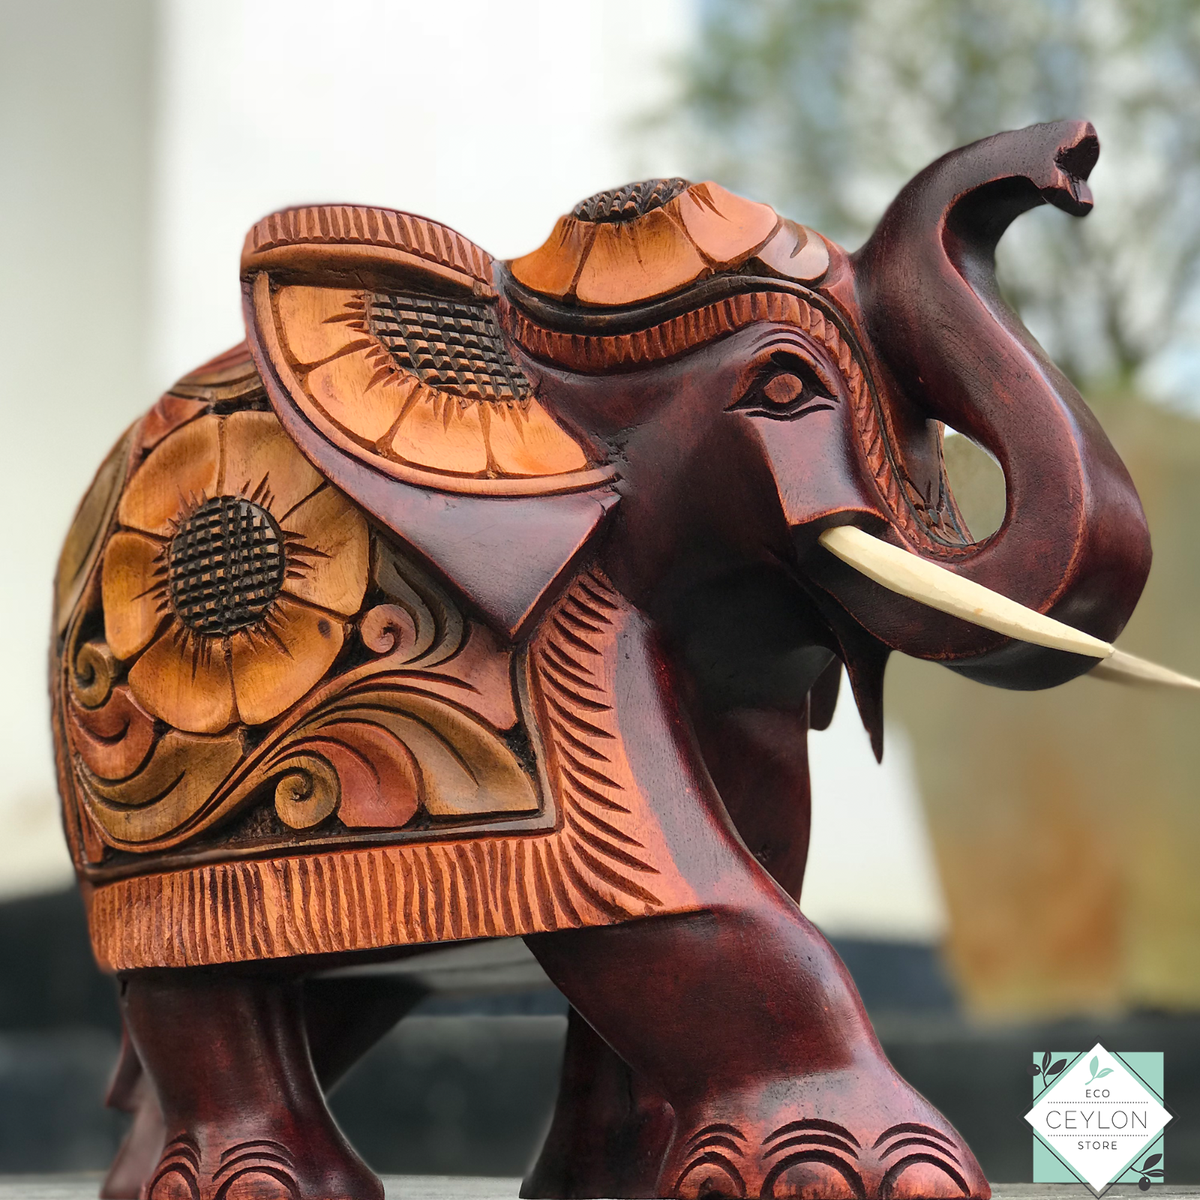
Credit: www.alibaba.com
Essential Tools And Materials
Creating a DIY wooden toy solar system model is a fun and educational project. You need the right tools and materials to build it well.
This guide covers the basic tools and the paints you need to make your model look great.
Basic Tools Needed
Start with simple tools to cut, shape, and assemble the wooden parts. These tools help you work safely and accurately.
- Small saw or craft knife for cutting wood pieces
- Sandpaper or sanding block to smooth edges
- Wood glue for joining parts securely
- Drill or hand drill for making small holes
- Clamps to hold pieces while glue dries
- Ruler and pencil for measuring and marking
Paints And Finishing Supplies
Paints add color and detail to your solar system model. Finishing supplies protect the wood and make the toy last longer.
- Acrylic paints in various colors for planets and details
- Paintbrushes of different sizes for precise work
- Wood primer to prepare surfaces before painting
- Clear varnish or sealant for a protective finish
- Palette or mixing tray for blending colors
- Water container and paper towels for cleaning brushes
Designing The Solar System Model
Building a wooden solar system model is a fun project. It helps you learn the planets and their order.
Good design makes the model both educational and attractive. Careful planning is key.
Scale And Size Tips
Plan the size of each planet to show their relative scale. Some planets are much bigger than others.
- Use a small diameter for tiny planets like Mercury and Mars.
- Make large planets like Jupiter and Saturn bigger to show size difference.
- Keep the overall model size manageable for your workspace.
- Consider spacing between planets to reflect distance roughly.
- Choose wood pieces that match the sizes you want.
Creating Planet Templates
Templates help you cut out the right shapes for each planet. Use paper or cardboard to make templates first.
| Planet | Template Diameter (cm) | Wood Type Suggestion |
| Mercury | 1.5 | Basswood |
| Venus | 3.0 | Maple |
| Earth | 3.2 | Maple |
| Mars | 1.8 | Basswood |
| Jupiter | 7.0 | Oak |
| Saturn | 6.5 | Oak |
| Uranus | 4.0 | Pine |
| Neptune | 3.8 | Pine |
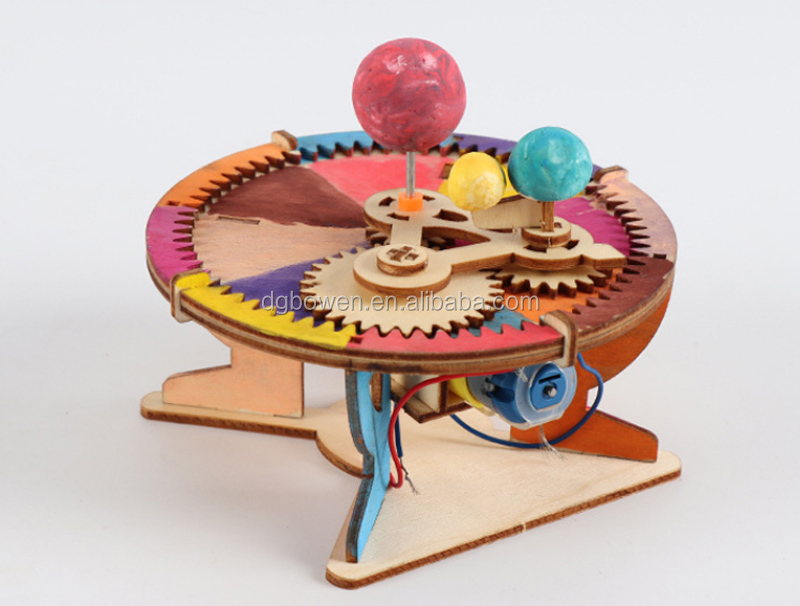
Credit: www.ebay.ca
Cutting And Shaping The Planets
Creating a wooden toy solar system means cutting and shaping each planet carefully. The right techniques make the planets look smooth and round.
This guide covers how to cut the wood pieces and then smooth their surfaces for a perfect finish.
Techniques For Accurate Cutting
Use sharp tools like a scroll saw or coping saw to cut the wood. Mark the shapes with a pencil before cutting. Take your time to follow the lines precisely.
- Draw planet shapes on wood pieces.
- Secure the wood to avoid movement.
- Cut slowly along the pencil lines.
- Check the shape and trim edges if needed.
- Use small files to clean up rough spots.
Sanding And Smoothing Surfaces
Sanding removes rough edges and makes the planets smooth to touch. Start with coarse sandpaper and finish with fine grit for best results.
| Sandpaper Grit | Purpose |
| 80-100 | Remove large bumps and rough edges |
| 150-180 | Smooth the surface further |
| 220-320 | Final smoothing for a soft finish |
Use gentle circular motions when sanding. Check the surface often to avoid sanding too much. Clean dust before painting or finishing the planets.
Painting And Detailing Planets
Painting your wooden toy solar system model brings the planets to life. Careful detailing makes each planet unique and realistic.
Use the right colors and add surface features to show the planets' distinct looks. This guide helps you paint with accuracy and creativity.
Color Choices For Realism
Choosing the right colors helps your planets look real. Use shades that match the real planets in our solar system.
- Mercury: Gray with dark spots
- Venus: Pale yellow with light brown streaks
- Earth: Blue oceans, green and brown land, white clouds
- Mars: Red-orange with some dark patches
- Jupiter: Bands of orange, white, and brown
- Saturn: Pale yellow with rings (paint separately)
- Uranus: Light blue-green
- Neptune: Deep blue with white spots
Adding Surface Features
Small details add depth and interest. Use different painting tools to create textures and marks that match each planet.
| Planet | Surface Feature | Painting Tip |
| Mercury | Crater-like dots | Use a small sponge dabbed with dark gray paint |
| Earth | Cloud swirls | Lightly brush white paint in soft circles |
| Mars | Dusty patches | Dry brush orange and brown shades |
| Jupiter | Storm bands | Paint horizontal stripes and blend edges |
| Saturn | Ring shadows | Shade the planet near the ring area with light gray |
Assembling The Model
Creating a DIY wooden toy solar system model is a fun project. You will learn about planets while building the model.
The assembly process requires attention and care. Follow these steps to attach planets and ensure balance.
Attaching Planets To Supports
Each planet has its own support. Make sure to use the right size for each one.
- Identify each planet by its size and color.
- Match each planet to its specific support rod.
- Securely fasten each planet onto the rod.
Ensuring Stability And Balance
Balance is crucial for your model to look right. Check that all planets are evenly distributed.
To test stability, gently spin the model. If it wobbles, adjust the weights until it's steady.
| Planet | Support Length |
| Mercury | Short |
| Venus | Medium |
| Earth | Medium |
| Mars | Short |
Incorporating Solar System Facts
Building a DIY wooden toy solar system is a fun way to learn about planets. Each planet can show its size and distance from the sun.
Adding facts helps kids understand space better. They can see how planets differ in color and size.
Labels And Educational Notes
Label each planet with its name and a few key facts. You can write notes on small cards or stickers to attach to the planets.
- Include planet names like Mercury, Venus, Earth, and Mars
- Add one fact about each planet’s size or temperature
- Mark the sun as the center and brightest object
- Note the order of planets from the sun
Interactive Learning Ideas
Make the model interactive by asking questions or adding simple activities. This helps kids remember the facts better.
- Ask which planet is closest to the sun
- Have kids match facts to the right planet
- Use a flashlight to show how the sun lights up planets
- Create a quiz about planet sizes and colors
Safety Tips For Kids
Building a DIY wooden toy solar system model can be fun. Kids learn a lot while they build. Safety should always come first during the project.
Here are some important safety tips for kids when working on this model. These tips help ensure a safe and enjoyable experience.
Supervision During Building
Always have an adult supervise the building process. Adults can help with tools and guide kids safely. This prevents accidents and ensures proper use of materials.
Keeping a watchful eye helps kids if they struggle. Adults can explain steps or demonstrate safe techniques.
- Stay close to offer guidance
- Ensure tools are used correctly
- Encourage asking questions
Non-toxic Materials
Choose non-toxic materials for the toy solar system model. Safe materials protect kids from harmful chemicals. Check labels for safety certifications.
Wood and paint should be free from toxic substances. This is crucial, especially if the kids are young and curious.
- Look for non-toxic paint
- Use untreated wood
- Verify material safety standards
Benefits Of Building The Model
Building a DIY wooden toy solar system model is a fun and useful activity. It helps you learn about the planets and space in a hands-on way.
This project also improves skills like focus, patience, and problem-solving. You get a cool model to display after finishing it.
Educational Advantages
Making the solar system model teaches you about planets and their order from the sun. It helps you understand space better.
Using the model, you can see the size and distance differences between planets. It makes learning science more real and easy.
- Learn planet names and positions
- Understand planet sizes and colors
- Explore basic space facts
- Improve memory by hands-on activity
Encouraging Creativity
Building the model lets you paint and decorate the planets as you want. This boosts your imagination and art skills.
You can create your own space stories and design ideas while working on the project. It helps you think in new ways.
- Choose colors and patterns freely
- Design unique planet looks
- Create fun space stories
- Practice artistic skills with wood

Credit: www.walmart.com
Frequently Asked Questions
What Materials Are Needed For A Wooden Toy Solar System?
You need wooden blocks, non-toxic paint, glue, string, and a small solar motor. These materials help create a durable and eco-friendly model.
How Long Does It Take To Build The Model?
Building the model typically takes 2 to 4 hours. Time depends on skill level and drying time for paint and glue.
Is This Solar System Model Educational For Kids?
Yes, it teaches kids about planets, their order, and orbits. It promotes hands-on learning and creativity.
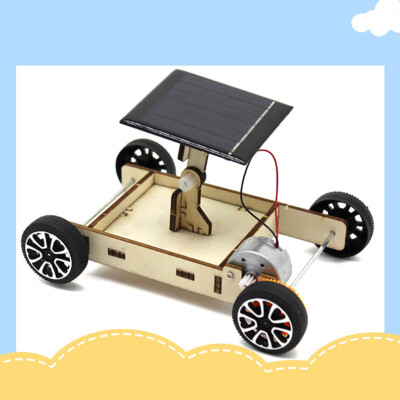
Can The Model Be Powered By Solar Energy?
Yes, the solar motor allows the planets to orbit using sunlight. This feature makes the model interactive and eco-friendly.
Conclusion
Building a wooden toy solar system model brings learning to life. It helps children see planets and their order clearly. The hands-on activity boosts creativity and fine motor skills. This simple project connects fun with science in a meaningful way.
Try making one for family time or school projects. It makes space easy to understand and enjoy. Give it a go and watch curiosity grow!