Have you ever wanted your very own capsule toy machine but thought it was too expensive or complicated to get? What if you could build one yourself, step by step, using simple materials right at home?
Imagine the fun and excitement you could bring to your space—whether it’s for your kids, friends, or even as a unique business idea. In this guide, you’ll discover how to create a DIY capsule toy machine that works just like the ones you see in stores.
Ready to turn your creativity into a fun, hands-on project? Keep reading, and you’ll be surprised at how easy and rewarding this can be.
Choosing The Right Materials
Building a capsule toy machine yourself can be fun and rewarding. Picking the right materials makes sure your machine works well and lasts long.
Think about how each material affects the machine’s look, strength, and ease of use. This guide helps you choose plastics, wood, and tools for your project.
Types Of Plastic And Wood
Plastic and wood are common materials for capsule toy machines. Each type has its strengths and suits different parts of the machine.
- Acrylic Plastic:Clear and strong. Good for display windows.
- Polycarbonate:Tough and impact-resistant. Ideal for moving parts.
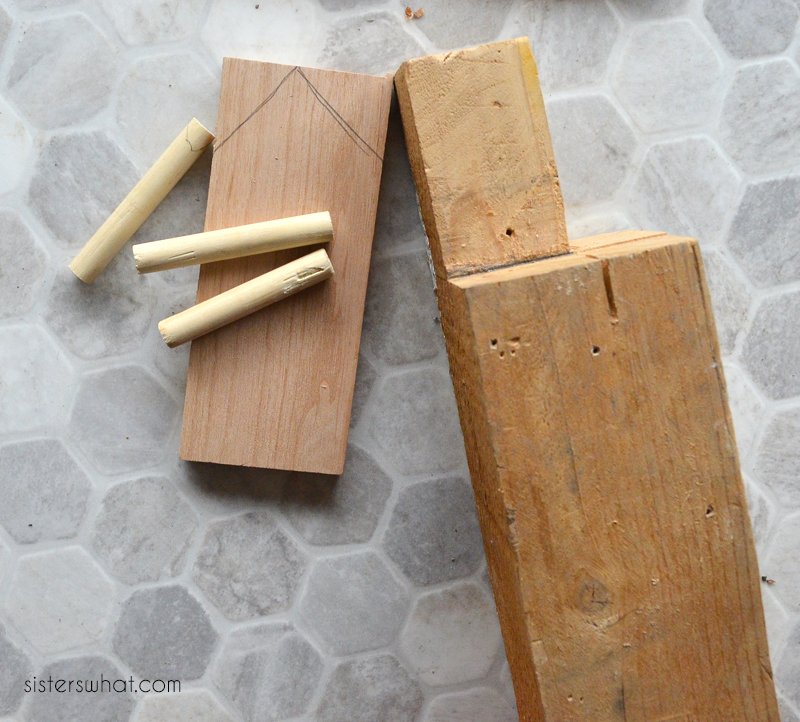
- Plywood:Stable and easy to cut. Great for the machine frame.
- MDF (Medium-Density Fiberboard):Smooth surface for painting. Used for outer panels.
- Balsa Wood:Lightweight but less strong. Good for small decorative parts.
Essential Tools Needed
You need some basic tools to work with plastics and wood. These tools help cut, shape, and join parts safely and accurately.
- Measuring tape or ruler to get exact sizes.
- Utility knife or plastic cutter for clean cuts on acrylic.
- Jigsaw or handsaw for cutting wood pieces.
- Drill for making holes in plastic and wood.
- Sandpaper to smooth edges and surfaces.
- Wood glue and screws for strong assembly.
- Screwdriver set for fitting screws.
Where To Source Components
You can find materials and parts for your toy machine at many places. Choose suppliers that offer good quality and fair prices.
| Component | Where to Buy | Notes |
|---|---|---|
| Acrylic sheets | Hardware stores, online retailers | Buy clear and smooth sheets for windows |
| Wood panels | Lumber yards, craft stores | Look for plywood or MDF boards |
| Small screws & nails | Hardware stores | Choose sizes fitting your design |
| Capsule toy balls | Online marketplaces, toy stores | Check diameter to fit your machine |
| Plastic gears and springs | Electronics or hobby shops | Needed for the dispensing mechanism |
Designing Your Capsule Toy Machine
Building a capsule toy machine is a fun and creative project. You get to design how it looks and works. This guide helps you plan your own machine step by step.
Good design starts with understanding the basic parts. Then you can add your own style. Sketching your ideas makes the process easier and clearer.
Basic Structure And Dimensions
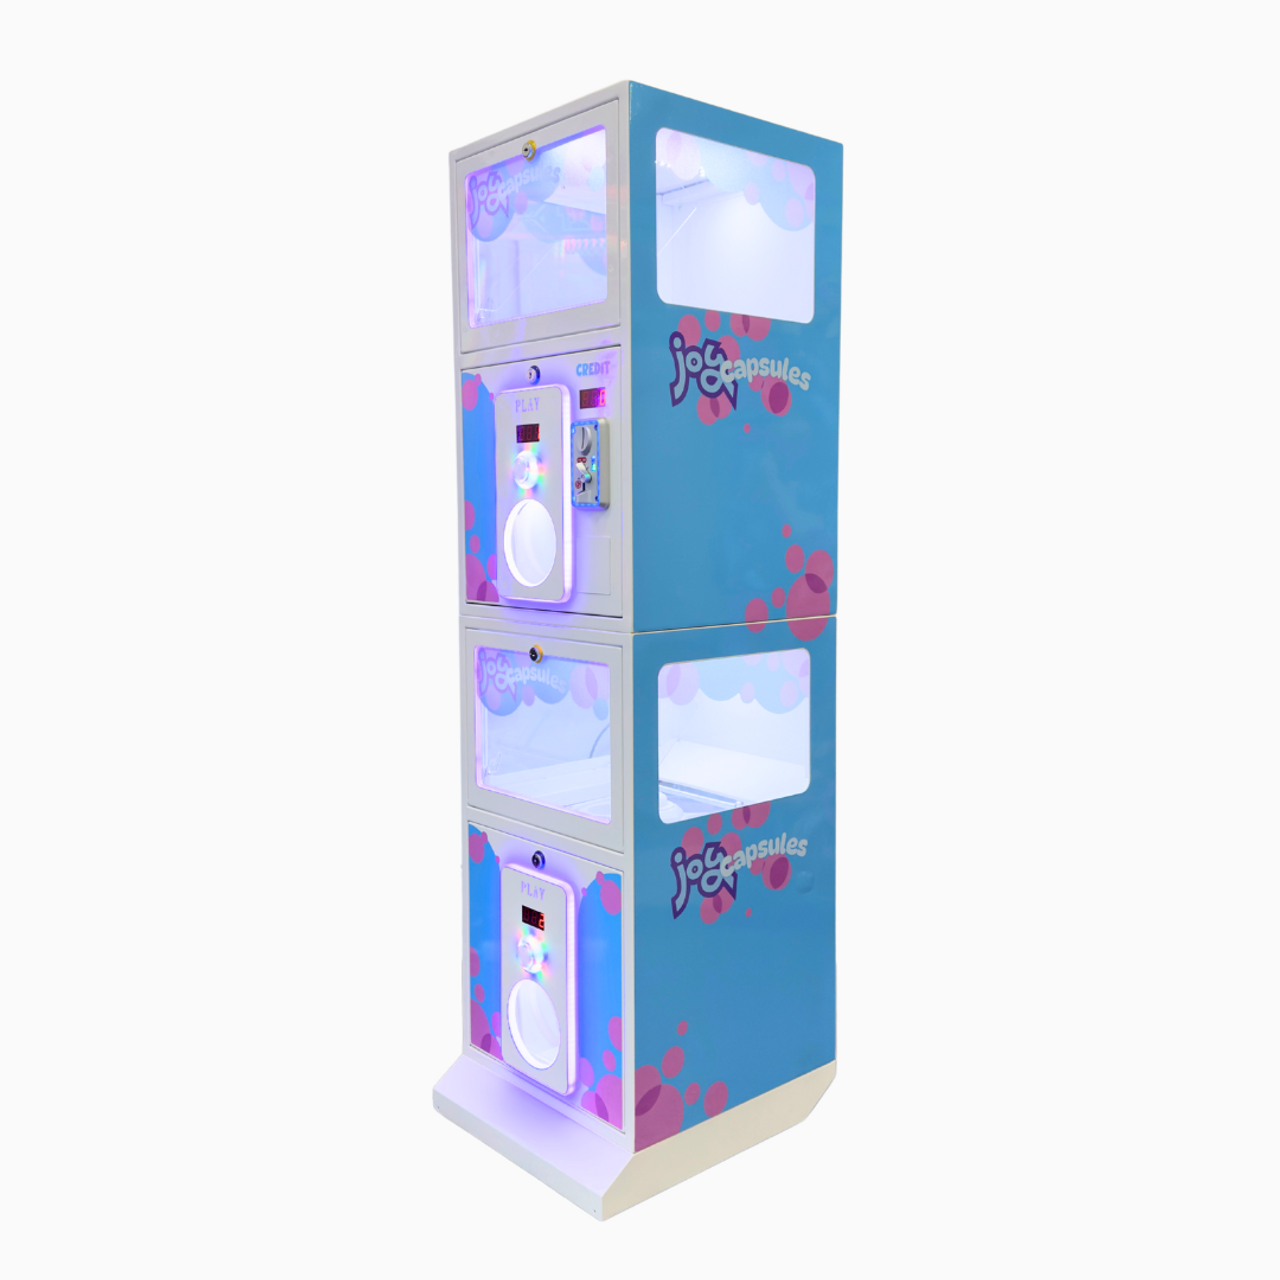
Your capsule toy machine needs a sturdy frame. It should hold the capsules and allow smooth dispensing. Most machines use a box shape with a turning handle.
| Part | Suggested Size | Material |
|---|---|---|
| Frame | 30 cm x 30 cm x 30 cm | Wood or plastic |
| Capsule Storage | Diameter 25 cm | Clear plastic container |
| Dispensing Slot | Width 5 cm, Height 3 cm | Plastic or metal |
| Handle | Length 10 cm | Wood or metal |
Creative Customization Ideas
Adding personal touches makes your machine unique. You can use colors, shapes, and decorations to show your style. Think about what will attract attention and be fun to use.
- Paint the frame with bright colors or patterns
- Add stickers or decals related to toys or cartoons
- Use LED lights inside the capsule storage
- Shape the handle like a character or object
- Include a small window to see capsules inside
Sketching And Planning
Start by drawing your ideas on paper. Sketch the front, side, and top views. Mark where parts will go and how big they should be. Planning helps avoid mistakes when building.
- Draw the main box shape with measurements
- Add the capsule storage area and label it
- Mark the dispensing slot location
- Design the handle and its position
- Note any decoration or lighting features
- Review and make changes before building
Building The Machine Step-by-step
Creating a capsule toy machine at home can be fun and rewarding. This guide explains how to build the machine clearly and simply.
Follow each part carefully to make sure your machine works well and looks great.
Constructing The Frame
Start by making the main frame that holds everything together. Use strong materials like wood or thick plastic for stability.
- Cut four pieces for the base and top supports.
- Join the pieces with screws or nails to form a box shape.
- Add cross braces inside the frame for extra strength.
- Sand the edges to make them smooth and safe.
Assembling The Capsule Dispenser
The capsule dispenser holds and releases the toys. Assemble it with care to ensure smooth operation.
| Part | Description |
| Capsule Hopper | Container for storing capsules |
| Rotating Drum | Holds capsules and rotates to release one |
| Discharge Slot | Where the capsule drops out |
| Guide Rails | Keep capsules moving in the right path |
Attach the dispenser to the frame securely. Check that the drum turns freely without sticking.
Installing The Crank Mechanism
The crank lets you turn the drum manually. Install it so it moves smoothly and controls the dispenser well.
Follow these steps to set up the crank:
- Fix the crank handle to the rotating drum shaft.
- Use washers and nuts to secure the handle tightly.
- Test the crank by turning it slowly to see the drum move.
- Adjust any loose parts to stop wobbling or jamming.
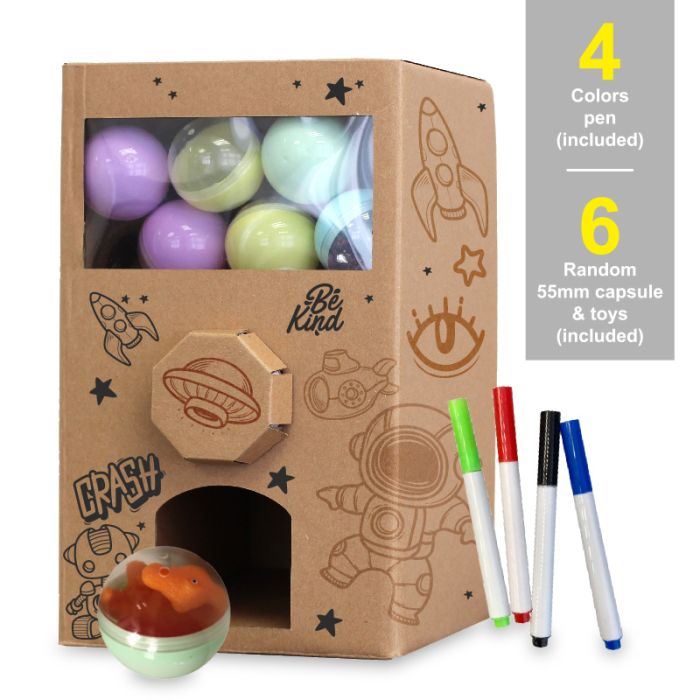
Adding Fun Features
Building your own capsule toy machine is exciting. Adding fun features makes it more enjoyable.
These features can bring your machine to life and make it unique for everyone.
Lighting And Sound Effects
Lights grab attention and make the machine look cool. Sound effects add to the excitement.
You can use LED lights that flash or change colors. Small speakers can play fun sounds when a capsule drops.
- Use battery-powered LED strips or bulbs
- Add sound chips that trigger on button press
- Choose bright colors for lights to attract users
- Pick cheerful sounds like chimes or bells
Personalizing Capsules
Personalized capsules make the toy machine special. You can add custom stickers or colors to each capsule.
Write names or fun messages on the capsules. This makes getting a capsule more exciting for kids and friends.
- Use colorful stickers or markers
- Include small notes or jokes inside capsules
- Decorate capsules with glitter or paint
- Match capsule colors to different prize types
Interactive Elements
Interactive parts let users feel more involved. Add buttons, levers, or wheels to control the machine.
Try including a small window to see capsules move inside. This makes using the machine more fun and exciting.
- Add a crank handle to turn and release capsules
- Include a button to play sounds or light up
- Use clear plastic to show capsules inside
- Make the machine easy to open for refilling capsules
Testing And Troubleshooting
Building your own capsule toy machine can be fun. Testing is key to ensure it works smoothly.
Troubleshooting helps solve any issues that might arise during operation.
Common Issues And Fixes
Even the best DIY projects face issues. Here are some common problems and their solutions.
- Capsules not dispensing:Check if the slots are clear of obstructions.
- Machine jams:Ensure all parts are aligned correctly.
- Coins not accepted:Verify the coin slot is clean and operational.
Ensuring Smooth Operation
To keep your machine running well, regular checks are essential. Clean parts to prevent build-up.
| Task | Frequency |
| Inspect slots | Weekly |
| Lubricate moving parts | Monthly |
| Check coin mechanism | Weekly |
Safety Tips
Safety is important when using your capsule toy machine. Follow these tips to keep it safe for everyone.
- Always keep the machine stable to avoid tipping.
- Ensure no small parts are accessible to young children.
- Turn off the machine before maintenance.

Creative Uses And Ideas
A Do It Yourself capsule toy machine is a fun project to build and customize. It lets you create your own toys and prizes inside small capsules.
There are many ways to use your DIY capsule toy machine. It can add fun to parties, teach new lessons, or help with gifts and fundraising.
Party And Event Fun
The capsule toy machine is great for parties and events. Kids and adults enjoy trying to get surprise toys from the machine.
You can fill the capsules with small prizes, candies, or notes for games. This makes any event more exciting and interactive.
- Birthday parties with custom toys inside capsules
- School fairs where kids win small prizes
- Family gatherings as a fun activity
- Holiday events with themed capsules
Educational Applications
Teachers can use capsule toy machines to make learning fun. Capsules can hold quiz questions, math problems, or vocabulary words.
Students take turns using the machine to get a capsule. They then answer the question or solve the problem inside.
- Science facts inside capsules for quick learning
- Language practice with word challenges
- Math games using number puzzles
- History trivia to encourage curiosity
Gift And Fundraising Options
DIY capsule toy machines can be used for gifts or to raise money. Fill capsules with small handmade gifts or coupons.
At fundraisers, people pay to use the machine. It adds fun while supporting a cause or group.
- Custom capsules as party favors or gifts
- Fundraising events with prize capsules
- School clubs selling capsule toys
- Charity events with surprise rewards

Frequently Asked Questions
What Materials Do I Need For A Diy Capsule Toy Machine?
You need plastic capsules, a sturdy box, a turning knob, and a dispensing slot. Basic crafting tools like glue and scissors are essential too.
How Much Does It Cost To Build A Capsule Toy Machine?
Costs vary but typically range between $20 to $50. Using recycled materials can reduce expenses significantly.
Can Kids Safely Use A Homemade Capsule Toy Machine?
Yes, if built with non-toxic materials and smooth edges. Adult supervision is recommended during use and assembly.
How Do I Customize Toys For My Capsule Machine?
Choose small toys or trinkets that fit inside capsules. Personalize by theme, colors, or special editions.
Conclusion
Building your own capsule toy machine brings fun and learning together. It lets you create something unique with your own hands. This project teaches simple mechanics and creativity. You can enjoy showing it to friends and family. Try different designs to make it special.
Small steps lead to great results. Start today and see how fun making can be!