Are you ready to create something special that your child will treasure? Building a toy house out of wood is a fun and rewarding project you can do with your own hands.
Imagine the joy on your child’s face when they play in a house you built just for them. This guide will walk you through simple steps to turn raw wood into a charming toy house. Whether you’re a beginner or have some experience, you’ll find easy tips and tricks to make your project a success.
Keep reading, and soon you’ll have a beautiful wooden toy house that sparks imagination and lasts for years.
Credit: abeautifulmess.com
Materials And Tools Needed
Building a toy house out of wood needs careful choice of materials and tools. These help create a strong, safe, and beautiful toy house. Knowing what to prepare makes the project easier and more fun.
Choosing The Right Wood
Pick wood that is easy to cut and shape. Pine and cedar work well for toy houses. These woods are light and smooth. Avoid hardwoods; they are hard to handle and heavy. Softwood also feels safer for kids to play with.
Make sure the wood is free of splinters and cracks. Sand the pieces to smooth rough edges. Use untreated wood to keep the toy house non-toxic and safe.
Essential Tools For The Project
Start with basic tools like a saw, hammer, and screwdriver. A small hand saw or a jigsaw helps cut wood pieces precisely. Use nails or screws to hold parts together.
A measuring tape and pencil help mark wood pieces before cutting. Sandpaper smooths the wood for a nice finish. A drill can speed up making holes for screws.
Safety Gear To Use
Wear safety glasses to protect your eyes from wood dust and chips. Use work gloves to avoid splinters and cuts. A dust mask helps keep wood dust away from your lungs.
Keep the work area clean and well-lit. Always work on a stable surface. Safety gear keeps the project safe and enjoyable.
Planning Your Toy House
Planning your toy house is the first step to a fun woodworking project. It helps you stay organized and saves time. Good planning makes building easier and more enjoyable.
Start by thinking about the size and shape of the toy house. Consider how many rooms you want and what details to include. A clear plan helps you avoid mistakes during building.
Designing Simple Floor Plans
Draw a basic floor plan on paper. Keep shapes simple: squares and rectangles work best. Mark where walls, doors, and windows will go. Use a ruler to keep lines straight. This plan guides you through the cutting and assembling stages. It also helps you see the final look before you start.
Measuring And Marking Wood Pieces
Measure wood pieces carefully using a tape measure or ruler. Mark each piece clearly with a pencil. Double-check measurements to avoid errors. Mark lines where cuts will be made. Clean, precise marks lead to better fitting parts. This step prepares your wood for smooth cutting and assembly.
Cutting The Wood Pieces
Cutting the wood pieces is an important step in building your toy house. It shapes the parts that will come together to form the structure. Accuracy and safety matter a lot here. Taking time with cutting helps the toy house look neat and fit well. Using the right tools and methods makes the work easier and safer.
Safe Cutting Techniques
Always wear safety glasses to protect your eyes. Use clamps to hold the wood steady. Keep your fingers away from the blade. Cut slowly and carefully to avoid mistakes. Use a sharp saw for cleaner cuts. Work in a well-lit area to see clearly. Make sure your workspace is free from clutter. Take breaks if you feel tired to stay focused.
Tips For Accurate Cuts
Measure twice before cutting once. Mark the cut lines clearly with a pencil. Use a square tool to draw straight lines. Cut along the marked lines slowly. Check the saw blade is straight before cutting. Use a guide or fence to keep cuts straight. Sand edges lightly after cutting for smoothness. Double-check measurements to ensure all pieces fit well.

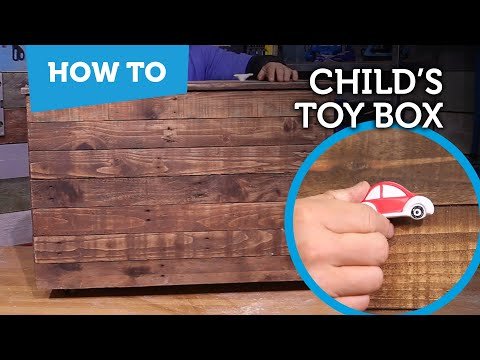
Credit: www.youtube.com
Assembling The Walls And Floor
Assembling the walls and floor is an important step in building your wooden toy house. This part gives the house its shape and strength. Careful work here makes the house stable and safe for play.
Start by arranging the wood pieces to match your design. Make sure the edges line up perfectly. This helps the parts fit well and look neat.
Joining Wood Pieces Securely
Use clamps to hold wood pieces together firmly. Check that corners form right angles. This keeps the structure strong and even. Sand rough edges before joining to avoid splinters. Take your time to fit pieces tightly.
Using Nails And Wood Glue
Apply wood glue along the edges for a strong bond. Press pieces together and wipe off extra glue quickly. Use small nails to hold the parts in place while glue dries. Nail gently to avoid splitting the wood. Let the glue dry completely before moving on.
Building The Roof
Building the roof is an important step in creating a toy house out of wood. The roof gives the house its shape and protects the inside. It also adds character and charm to your project. You can choose different roof styles to match your design idea. After that, you will attach the roof panels securely to the frame. This part needs careful work to make sure everything fits well and stays strong.
Choosing A Roof Style
Selecting a roof style sets the look of your toy house. Simple styles like flat or gable roofs are easy to build. Gable roofs have two sloping sides and a peak in the middle. Flat roofs are easier but less traditional. You can try a hip roof with slopes on all sides for a classic look. Think about the size of your house and how much wood you have. Pick a style that suits your skills and materials.
Attaching Roof Panels
Cut the roof panels to fit the chosen style. Use smooth, thin wood pieces for easy handling. Place the panels on the frame carefully. Make sure they align perfectly at the edges. Secure each panel with small nails or wood glue. Check for gaps and adjust if needed. Press the panels firmly and let the glue dry well. This ensures a tight, strong roof for your toy house.
Adding Doors And Windows
Adding doors and windows gives your wooden toy house charm and realism. These details make the house inviting and fun to play with. They also improve the overall look and feel of the project. Simple steps can help you add neat and functional doors and windows.
Cutting Openings
First, mark the spots for doors and windows on the wood. Use a pencil and ruler for straight lines. Cut carefully along these lines with a small saw or jigsaw. Smooth the edges with sandpaper to avoid splinters. Make sure the openings fit the frames you plan to attach.
Attaching Door And Window Frames
Next, prepare the frames by cutting wood strips to size. Attach the frames around the openings with wood glue or small nails. Press firmly and let the glue dry fully for a strong hold. Add small hinges if you want doors to open and close. Paint or decorate the frames to match the house style.
Sanding And Finishing
Sanding and finishing are key steps in building a wooden toy house. They make the wood smooth and safe for children. These steps also give the toy house a nice look and protect it from damage. Proper sanding and finishing help the toy last longer and look beautiful.
Smoothing Rough Edges
Start by using medium-grit sandpaper to smooth all rough edges. Sand along the wood grain to avoid scratches. Check corners and small parts carefully. Use fine-grit sandpaper for a softer finish. Smooth edges keep children safe from splinters. Take your time for an even surface.
Applying Paint Or Varnish
Choose child-safe paint or varnish for finishing. Use a brush to apply thin, even coats. Allow each coat to dry before adding the next. Paint adds color and fun to the toy house. Varnish protects the wood and keeps it strong. Finish with a soft, clean cloth to remove dust.
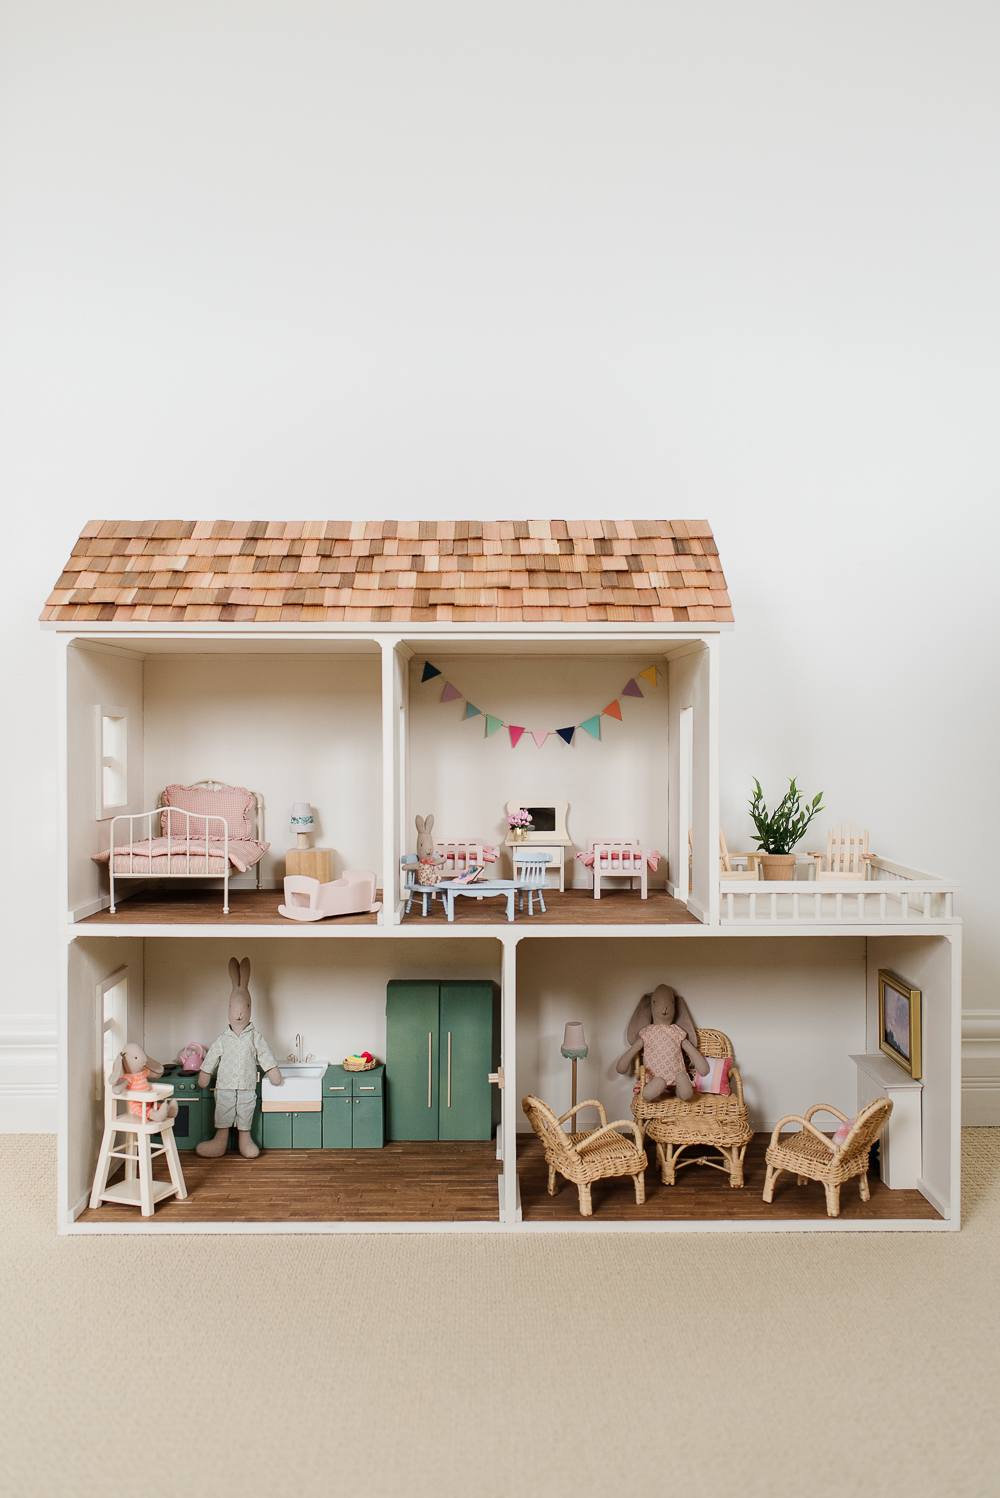
Decorating Your Toy House
Decorating your wooden toy house brings it to life. It makes the house feel cozy and fun. Small details create a big difference. You can use many ideas to make the house special. Let’s explore ways to decorate your toy house beautifully.
Adding Furniture And Accessories
Start with simple furniture pieces. Use small wooden blocks for chairs and tables. Soft fabric scraps can become cushions or rugs. Tiny boxes work well as cabinets or beds. Add little accessories like miniature books or plants. These details make the toy house more realistic. Arrange the furniture carefully inside each room. Leave space for play and easy access. Use glue to keep items steady if needed.
Creative Painting Ideas
Choose bright colors to paint walls and roofs. Use patterns like stripes or dots for a playful look. Paint windows and doors in contrasting colors. Try using stencils to create shapes or flowers. Add a touch of glitter for a sparkly effect. Let each layer dry before painting the next. Use non-toxic paints safe for children. A well-painted house looks inviting and unique.
Maintenance Tips
Keeping your wooden toy house in good shape makes it last longer. Regular care stops damage and keeps it looking nice. Follow these tips to clean and store your toy house properly.
Cleaning And Repairs
Dust the toy house often with a soft cloth. Use a damp cloth for sticky spots, but never soak the wood. Check for cracks or loose parts regularly. Fix small cracks with wood glue. Tighten screws or nails to keep the house sturdy. Sand rough edges gently to avoid splinters. Use child-safe paint or varnish to refresh the surface if needed.
Storing The Toy House Safely
Store the toy house in a dry place. Avoid areas with high humidity or direct sunlight. Keep it off the floor to prevent moisture damage. Cover it with a cloth to protect from dust. Make sure the storage spot is away from pests. Proper storage helps keep the wood strong and the colors bright.
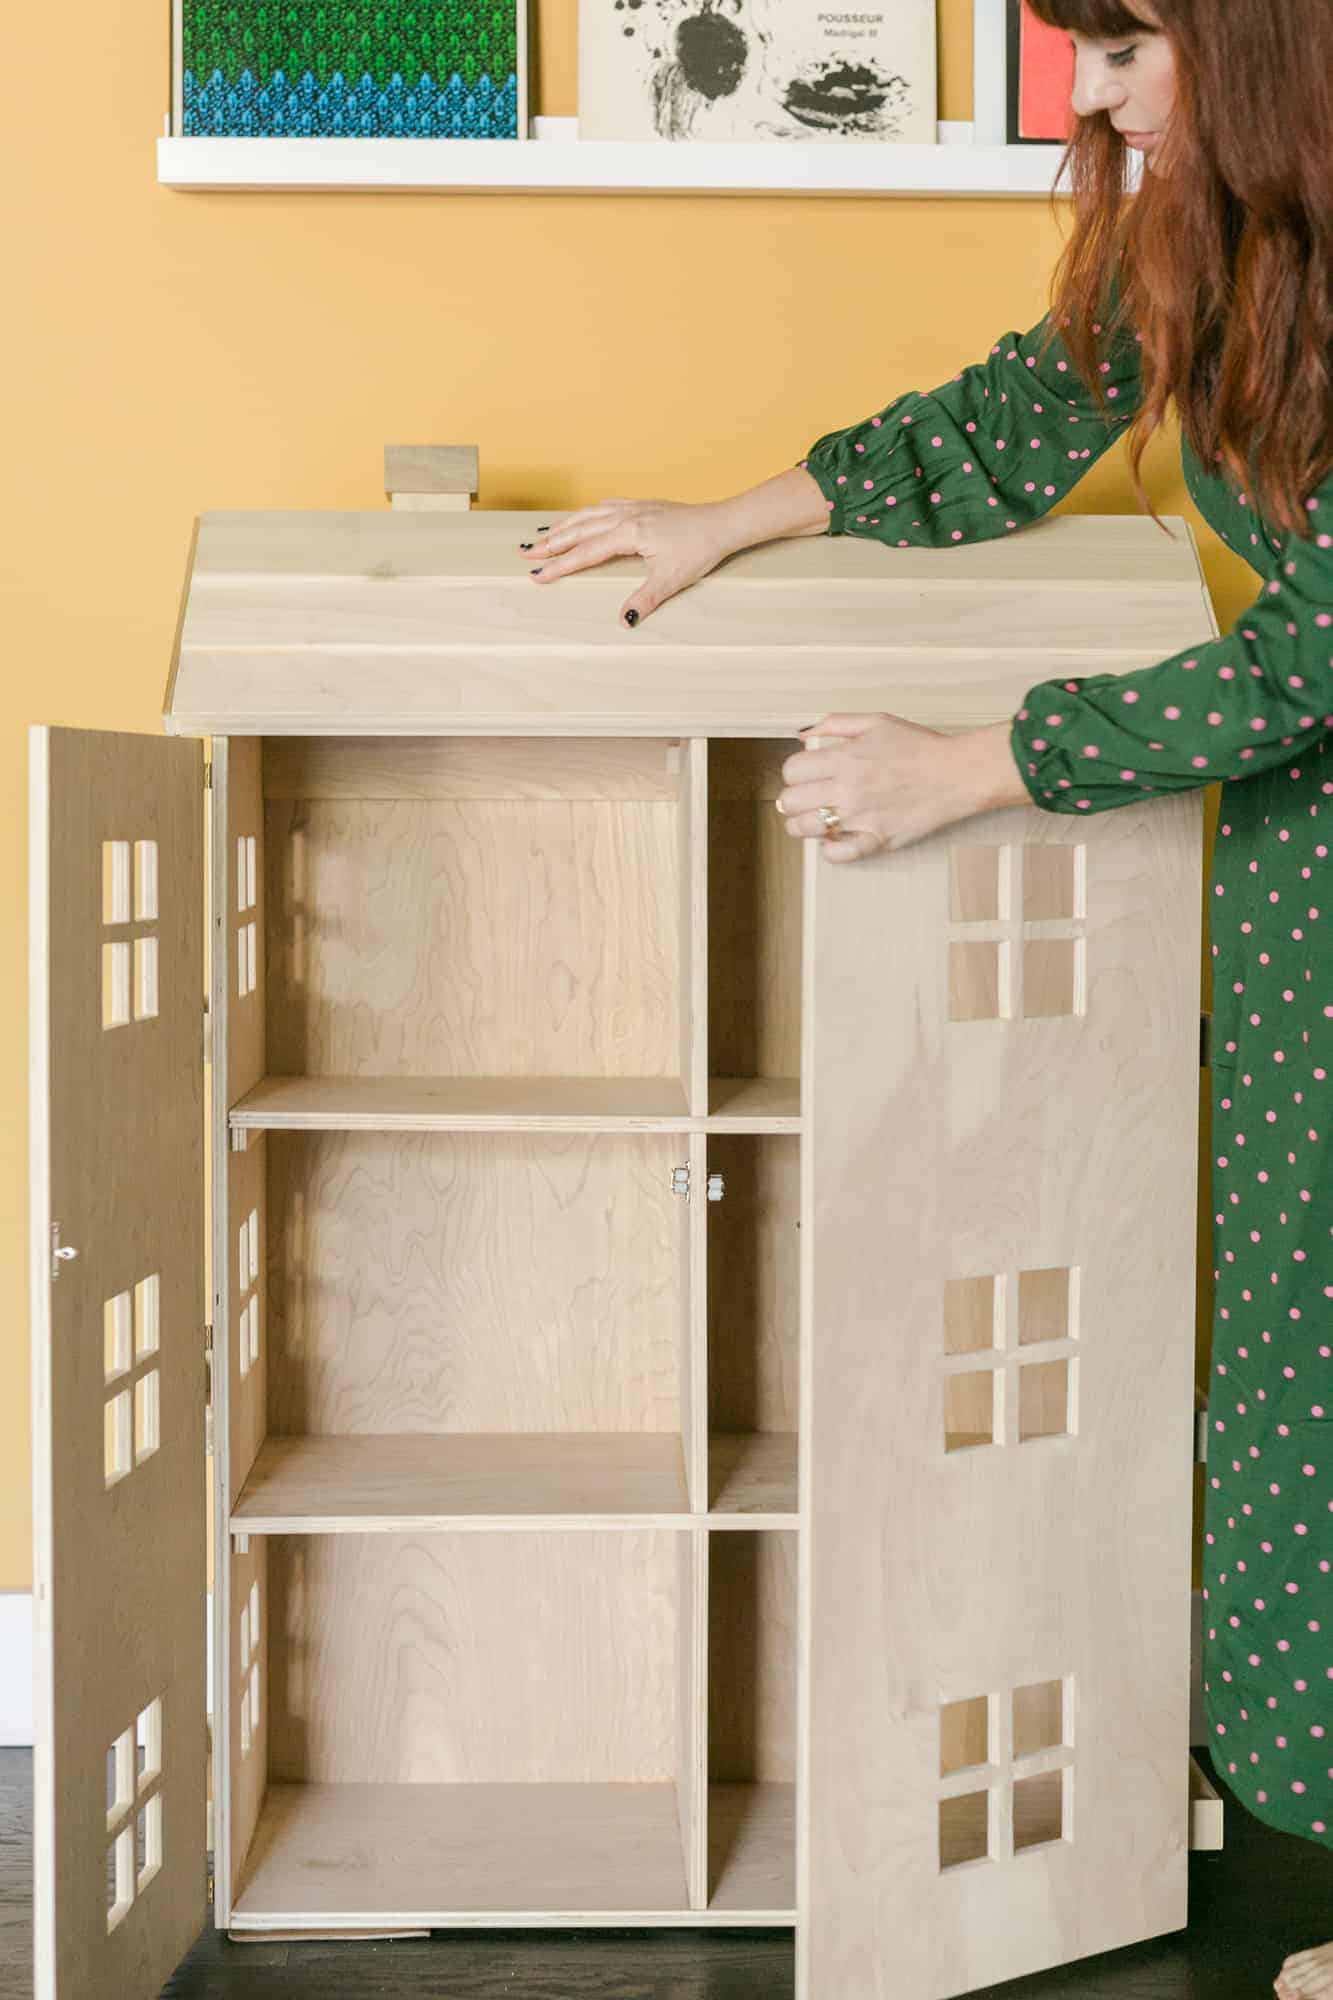
Credit: www.nickandalicia.com
Frequently Asked Questions
What Materials Are Needed To Build A Wooden Toy House?
You need wood pieces, nails, glue, sandpaper, paint, and basic tools. Choose lightweight, non-toxic wood for safety and ease of handling.
How Do I Ensure The Toy House Is Safe For Children?
Use smooth, splinter-free wood and non-toxic paints. Avoid small parts that can be choking hazards. Sand edges carefully for safety.
What Is The Best Wood Type For A Toy House?
Pine and plywood are ideal due to their light weight and ease of cutting. Both are affordable and safe for children’s toys.
How Long Does It Take To Build A Wooden Toy House?
Building typically takes 4 to 6 hours depending on design complexity and skill level. Allow extra time for drying paint or glue.
Conclusion
Building a toy house out of wood is a fun and creative project. It lets you use simple tools and basic skills. Step by step, you shape pieces into a charming small house. This activity helps improve focus and hand coordination.
Plus, it creates a lasting toy for kids to enjoy. Try different designs and colors to make it unique. Most importantly, enjoy the process and learn along the way. Woodworking can be simple and rewarding for everyone. Start your wooden toy house today and see what you create!