Have you ever wanted to create something unique with your own hands? Carving wooden toy planets is a fun and rewarding way to bring the solar system right into your home.
Imagine holding a smooth, handcrafted planet, perfect for decorating your space or giving as a special gift. In this guide, you’ll discover simple steps and tips that make carving these wooden planets easier than you think. By the end, you’ll be ready to start your own creative adventure and impress everyone with your beautiful wooden creations.
Let’s get started!
Credit: www.etsy.com
Choosing The Right Wood
Picking the right wood is important for carving wooden toy planets. The wood should be safe, easy to carve, and strong.
Good wood helps your toy planets look smooth and last a long time. You want wood that is light and not too hard.
Best Wood Types For Toy Planets
Some woods are better for carving toy planets because they are soft and easy to shape. They also hold paint well.
- Basswood:Soft and easy to carve. Great for beginners.
- Maple:Harder wood but smooth finish. Good for detailed work.
- Birch:Strong and light color. Holds paint nicely.
- Pine:Soft and affordable. Watch for knots.
- Cherry:Smooth grain and nice color. Slightly harder to carve.
Wood Preparation Tips
Prepare your wood well before carving. This makes the carving easier and safer.
Start by sanding the wood to remove rough spots. Check for cracks or knots that may cause problems.
- Use fine sandpaper to smooth the surface.
- Keep the wood dry and clean before carving.
- Cut the wood into small, workable pieces.
- Wear a mask to avoid inhaling wood dust.
Essential Tools For Carving
Carving wooden toy planets is a fun project that needs the right tools. Using proper tools helps you shape the wood safely and neatly.
This guide covers the basic carving tools and safety gear you need before starting your work.
Basic Carving Tools
Choose tools that match the size and detail of your toy planets. Sharp tools make carving easier and cleaner.
- Carving knives:For cutting and shaping wood precisely.
- Gouges:These curved tools help remove wood in smooth curves.
- Chisels:Use chisels for straight cuts and fine details.
- Mallet:Helps tap chisels gently without damage.
- Sandpaper:Smooths the wood surface after carving.
- Wood rasps:For shaping rough edges quickly.
Safety Gear Recommendations
Safety gear protects you from cuts and dust while carving. Always wear the right equipment to avoid injuries.
- Cut-resistant gloves:Protect your hands from sharp tools.
- Safety glasses:Shield your eyes from wood chips.
- Dust mask:Prevents breathing in wood dust.
- Apron:Keeps your clothes clean and adds protection.
Designing Your Toy Planets
Designing toy planets starts with simple ideas. You want your wooden planets to look fun and easy to carve.
Good designs help you carve shapes that are clear and smooth. Let’s look at how to plan your toy planets.
Sketching Simple Planet Shapes
Start by drawing basic round shapes for each planet. Use circles or ovals to make the forms easy to carve.
Keep your lines light and simple. This helps you adjust shapes before you start carving.
- Use a pencil to sketch on paper
- Draw circles of different sizes
- Try ovals for planets that are a bit stretched
- Keep shapes smooth, no sharp edges
Adding Surface Details
Add details like rings, craters, or stripes to make planets unique. These details bring your toy to life.
Draw small marks lightly on your sketch. These will guide your carving tools for surface features.
- Draw thin rings around some planets
- Sketch small circles for craters
- Add lines or spots for texture
- Use simple shapes to keep carving easy

Credit: www.reddit.com
Step-by-step Carving Process
Carving wooden toy planets is a fun and creative project. It lets you turn a block of wood into a small, round planet shape.
This guide shows the main steps to carve your toy planet. You will shape, refine, and smooth the wood for a nice finish.
Shaping The Basic Form
Start by choosing a soft wood block. A size about 3 to 4 inches works well for a toy planet.
Use a pencil to draw a circle on the wood. This circle will be your planet’s outline.
Use a carving knife or a small saw to cut around the circle. Then, start carving the edges to make a round shape.
- Draw a circle on wood
- Cut around the circle carefully
- Carve edges to round the shape
Refining The Details
After shaping the basic form, look at your planet’s surface. Use smaller carving tools to add details like craters or lines.
Work slowly and remove small amounts of wood. Check your work often to keep the shape smooth and natural.
- Use small tools for fine details
- Add craters and surface texture
- Remove wood slowly and carefully
Sanding For Smoothness
After carving, sand your toy planet to make it smooth. Start with medium grit sandpaper to remove rough spots.
Then use fine grit sandpaper to finish the surface. Sand evenly until the wood feels soft and smooth to touch.
- Begin with medium grit sandpaper
- Finish with fine grit sandpaper
- Sand evenly for a smooth finish
Painting And Finishing
Painting wooden toy planets adds color and character. Finishing protects the wood and paint.
Use safe materials to keep toys child-friendly and durable. Follow simple steps for the best results.
Choosing Safe Paints
Select paints that are non-toxic and water-based. These paints are safer for children and easy to clean.
- Look for labels stating “non-toxic” or “child-safe”
- Avoid paints with lead or harmful chemicals
- Choose water-based acrylic paints for easy application
- Test paint on a small wood piece before full use
Applying Protective Coatings
Protective coatings seal the paint and wood. They keep the toy safe from moisture and wear.
| Coating Type | Benefits | Application |
| Water-Based Polyurethane | Clear finish, non-toxic | Brush on in thin layers |
| Natural Oil (e.g., Linseed) | Enhances wood grain, safe | Rub in with cloth, let dry |
| Beeswax Finish | Soft sheen, child-safe | Apply and buff with cloth |

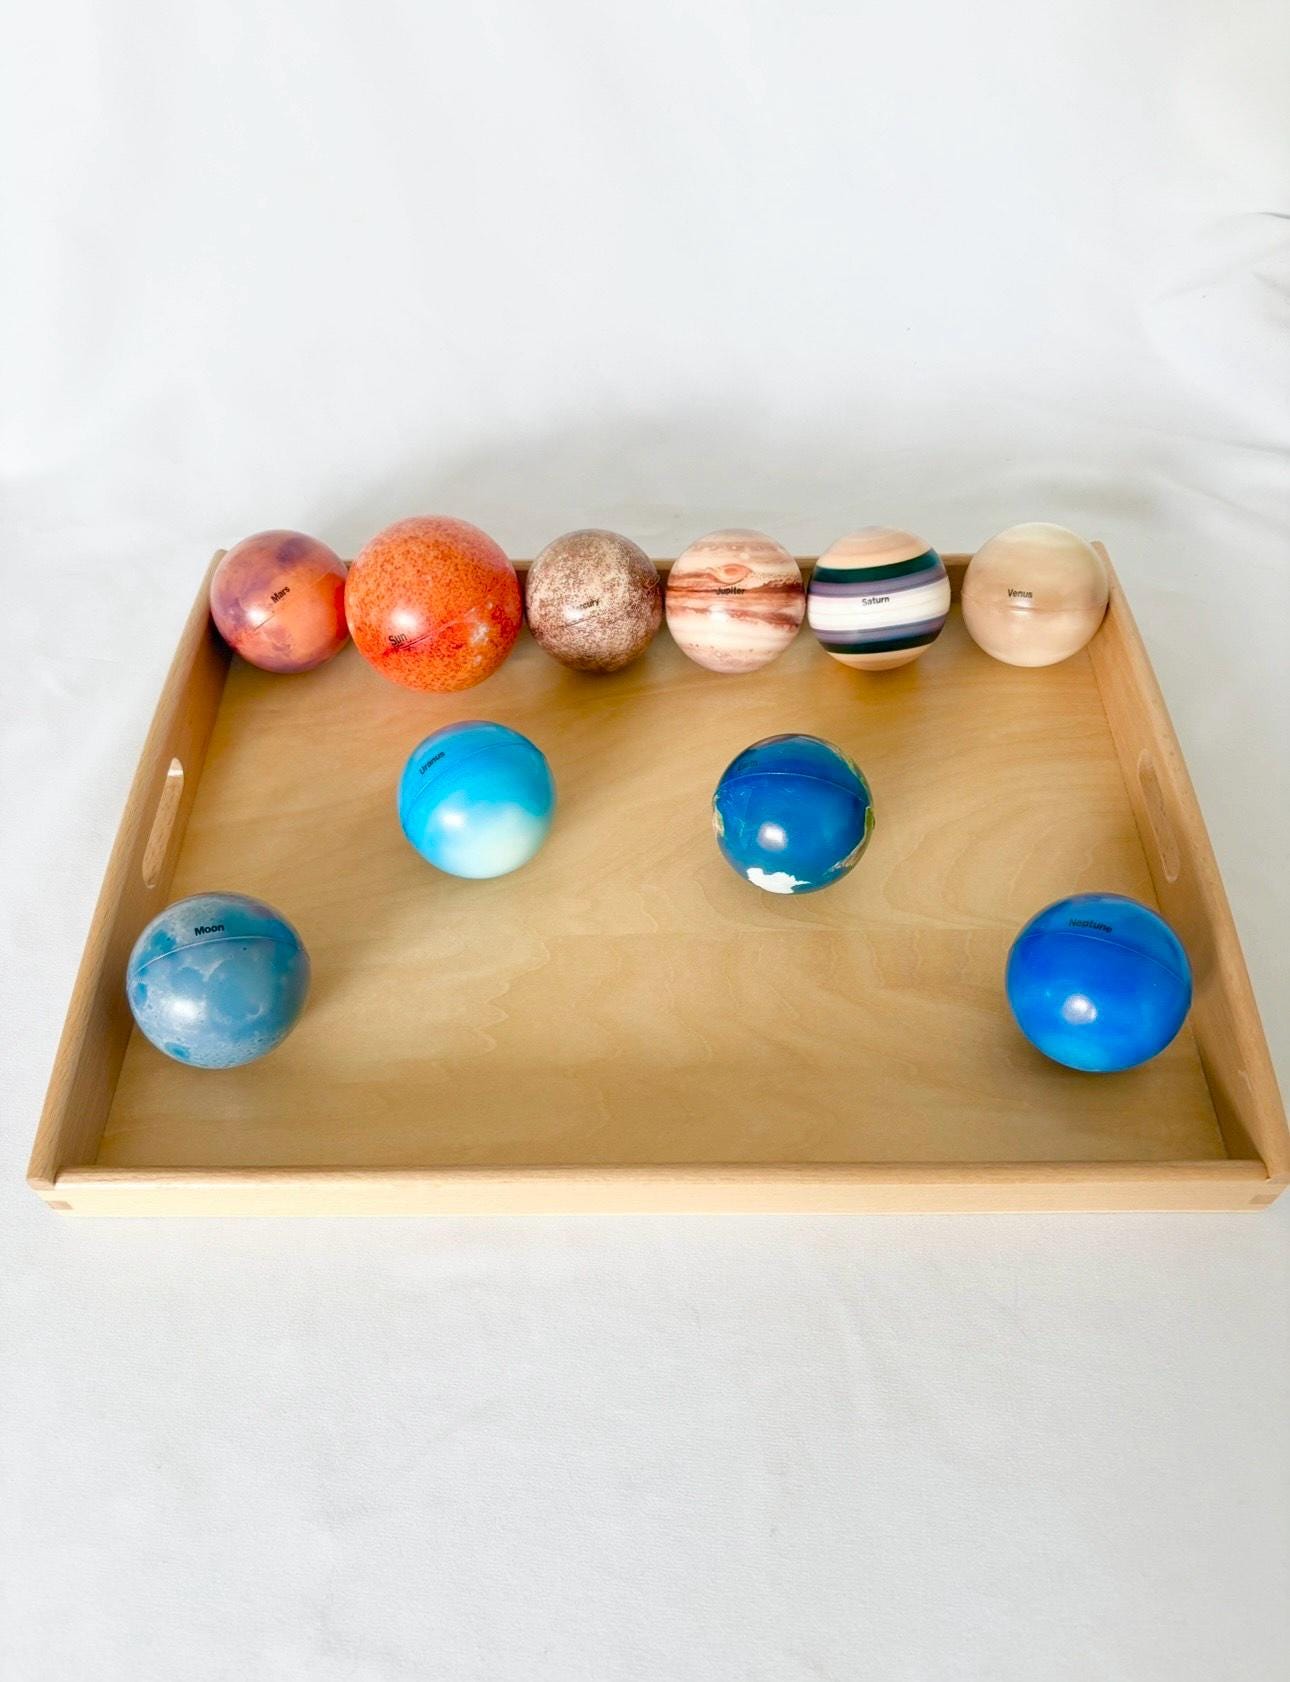
Credit: woodartsupply.com
Creative Variations And Ideas
Creating wooden toy planets is a fun and rewarding activity. You can add unique features to make them special.
Explore creative ideas to enhance your wooden planets. Let your imagination guide you.
Adding Rings And Moons
Adding rings and moons can make your toy planets more interesting. Rings can be made from thin wooden slices.
- Use sandpaper to smooth the edges of the rings.
- Attach small wooden balls as moons using non-toxic glue.
- Paint rings and moons to match your planet.
Combining Planets Into Sets
Creating sets of planets can provide endless fun. You can design them to represent different solar systems.
| Planet Type | Color | Features |
| Gas Giant | Blue | Rings |
| Rocky Planet | Red | Moons |
| Dwarf Planet | Gray | Small Size |
Tips For Beginners
Carving wooden toy planets can be a fun hobby. It is important to start with basic skills and tools. As a beginner, you can learn a lot by avoiding common mistakes.
With practice, you can improve your carving techniques. This guide will help you learn the essentials of carving wooden toy planets.
Common Mistakes To Avoid
Beginners often make errors that can be avoided. These mistakes can slow your progress and cause frustration.
- Using dull tools can make carving difficult.
- Skipping safety gear can lead to injuries.
- Carving against the wood grain causes splintering.
- Rushing the process often leads to mistakes.
Improving Carving Skills
With regular practice, your skills can improve greatly. Focus on precision and patience for better results.
| Skill | Improvement Tip |
| Tool Handling | Practice with scrap wood |
| Detailing | Use fine-grit sandpaper |
| Finishing | Apply wood polish for a smooth look |
Frequently Asked Questions
What Tools Are Needed To Carve Wooden Toy Planets?
You need carving knives, gouges, sandpaper, and a wood blank. A pencil and wood finish help detail and protect the planet.
Which Wood Type Is Best For Carving Toy Planets?
Basswood and pine are ideal for carving. They are soft, easy to shape, and have a smooth finish.
How Do You Create Round Shapes For Toy Planets?
Start by drawing a circle on wood. Use carving tools to carefully shape the wood into a sphere. Sand for smoothness.
What Safety Tips Should I Follow While Carving?
Always carve away from your body. Wear protective gloves and goggles. Keep tools sharp and work in a well-lit area.
Conclusion
Carving wooden toy planets is a fun and creative hobby. Start with simple shapes and take your time. Use the right tools and stay safe while working. Each planet you carve shows your effort and skill. Enjoy the process and learn with each try.
These toys make great gifts and decorations. Keep practicing to improve your carving techniques. Wooden planets bring a unique charm to any collection. Have fun turning blocks of wood into little worlds. Your patience and care will shine in every piece.