Are you looking for a safe and fun way to soothe your baby’s sore gums? Making a teething toy yourself is easier than you think.
You can create something soft, colorful, and perfect for your little one to chew on. Plus, it’s a great way to ensure the toy is free from harmful chemicals. Keep reading, and you’ll discover simple steps to craft a teething toy that your baby will love.
Your hands-on effort will bring comfort and joy to your child every time they need it most.

Choosing Safe Materials
Making a teething toy yourself means you control what goes in it. Safety matters most for your baby’s health.
Pick materials that are gentle and free from harmful chemicals. This helps avoid risks while your baby chews.
Non-toxic Options
Select materials that are labeled non-toxic and safe for babies. Natural wood, food-grade silicone, and organic cotton are good choices.
- Untreated hardwood like maple or beech
- Food-grade silicone without BPA or phthalates
- Organic cotton fabrics dyed with natural colors
- Natural rubber free from harmful chemicals
Avoiding Small Parts
Small parts can break off and cause choking. Choose materials that are solid and well made.
| Material | Risk Level |
| Loose beads or buttons | High |
| Sewn fabrics with tight stitching | Low |
| Solid wooden blocks | Very Low |
| Plastic parts that snap easily | High |
Hypoallergenic Fabrics
Use hypoallergenic fabrics to reduce allergy risk. Babies often react to synthetic or treated materials.
Look for these fabric qualities:
- Made from organic cotton or bamboo
- Free from dyes and harsh chemicals
- Soft and breathable to avoid skin irritation

Essential Tools And Supplies
Making a teething toy at home is simple and fun. You need a few tools and supplies to start.
Choosing the right materials helps keep the toy safe and comfortable for babies.
Basic Craft Tools
Basic craft tools help you shape and assemble the teething toy. Use tools that are easy to handle.
- Scissors for cutting fabric or yarn
- Needle and thread for sewing parts together
- Sandpaper to smooth wooden edges
- Measuring tape or ruler for accurate sizes
- Glue gun for strong bonding (optional)
Sanitizing Equipment
Sanitizing keeps the teething toy clean and safe for babies. Use proper equipment to remove germs.
- Boiling pot for sterilizing wooden parts
- Clean cloths for wiping surfaces
- Mild soap for washing fabric or silicone pieces
- Food-safe disinfectant spray (optional)
Optional Decorative Items
Decorative items can make your teething toy look nice. Choose safe and baby-friendly materials.
- Non-toxic paint or markers for color
- Wooden beads with smooth edges
- Soft ribbons or fabric strips
- Silicone shapes made for babies
Simple Teething Toy Designs
Teething toys help soothe babies during their first teeth. You can make safe toys with simple materials at home. These toys come in different textures and shapes to comfort your child.
This guide shows easy ideas using fabric, wood, and silicone. Each material offers unique benefits and can be crafted with basic tools.
Fabric-based Toys
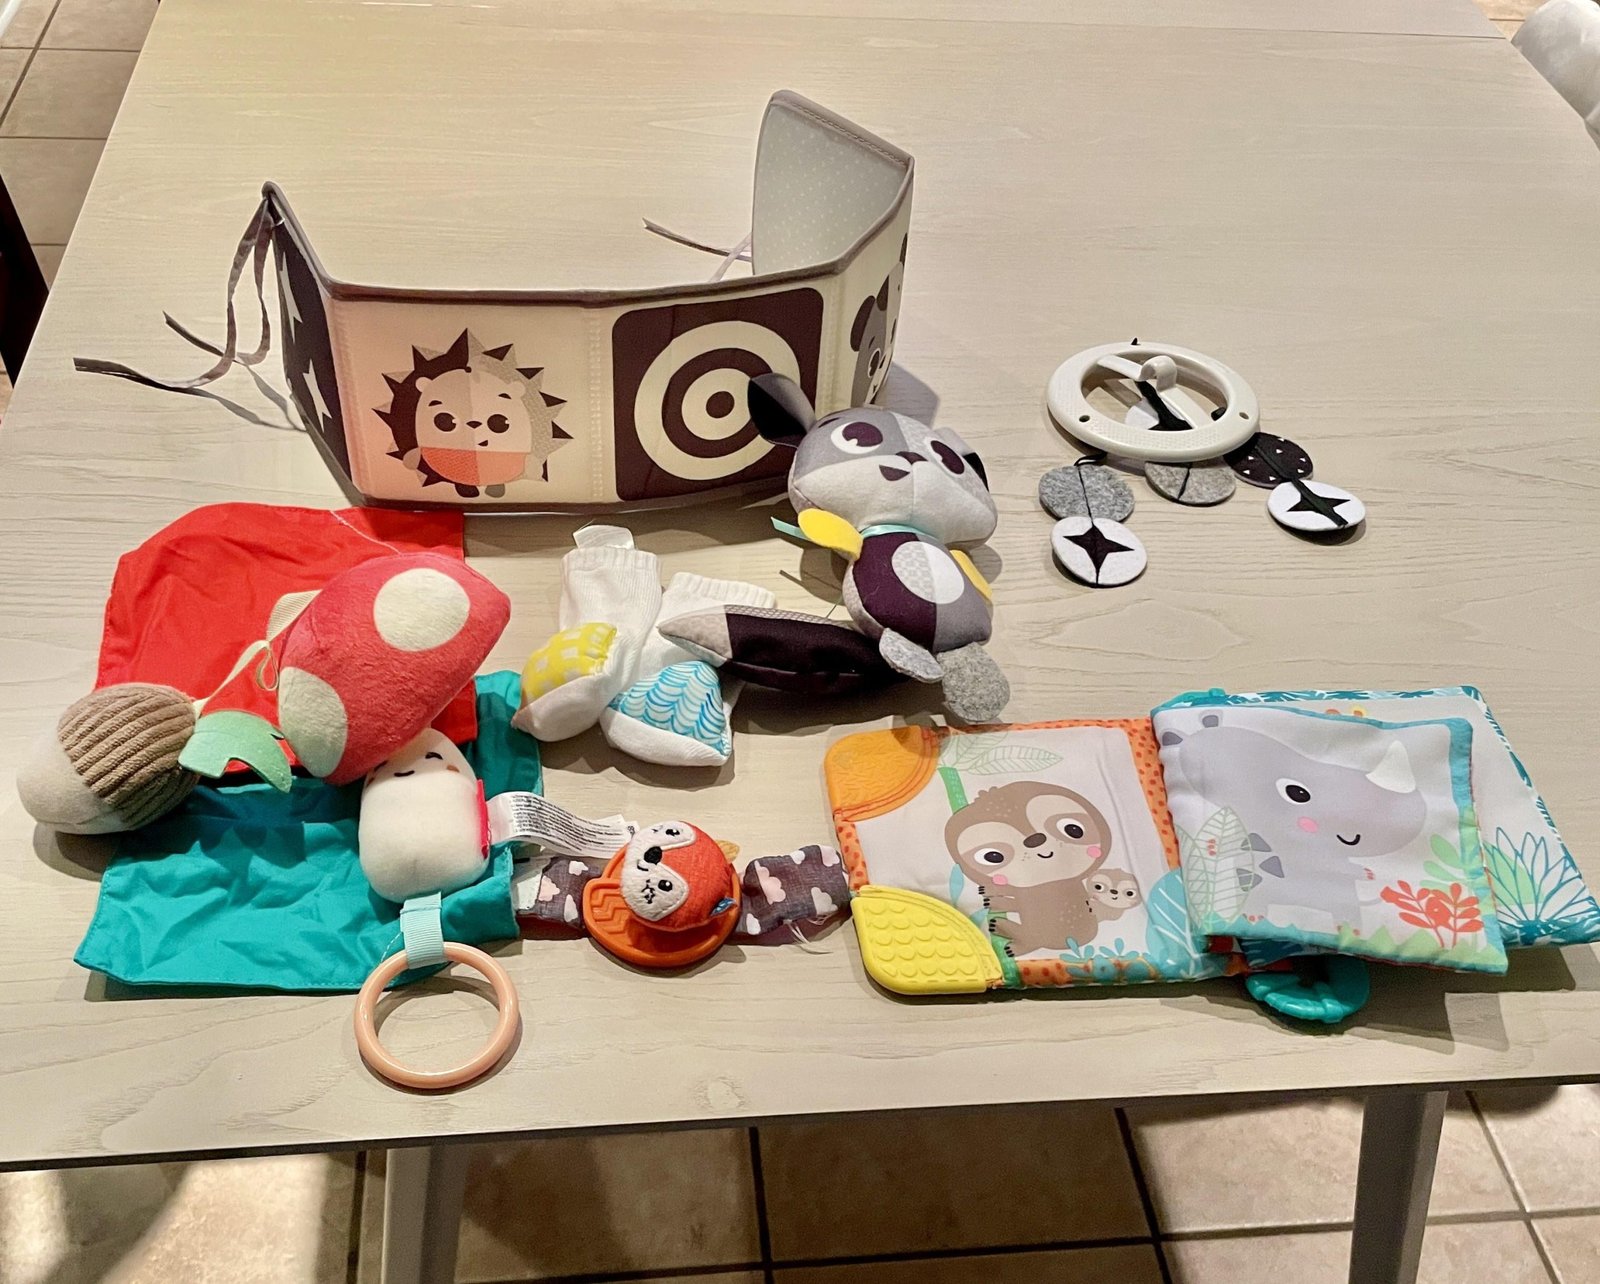
Fabric toys are soft and gentle for babies. You can sew small shapes filled with safe stuffing. Use natural fabrics like cotton or bamboo for comfort.
- Cut fabric into fun shapes like stars or animals
- Sew edges leaving a small opening to add stuffing
- Use hypoallergenic filling such as cotton or wool
- Close the opening tightly to keep stuffing inside
- Add small fabric tags for extra texture
Wooden Teethers
Wooden teethers are firm and natural. Choose smooth, untreated wood to avoid splinters. Sand all surfaces well for a safe finish.
| Wood Type | Advantages | Care Tips |
| Maple | Hard, smooth finish | Clean with damp cloth only |
| Beech | Durable and dense | Avoid soaking in water |
| Bamboo | Lightweight and eco-friendly | Wipe dry after use |
Silicone Options
Silicone teethers are soft and flexible. Use food-grade silicone to keep toys safe. You can mold silicone into easy shapes at home.
Here is a simple recipe to make silicone teething beads:
- Mix food-grade silicone with color pigments.
- Pour into bead-shaped molds.
- Let cure at room temperature for 24 hours.
- String beads together with a strong cord.
- Check for any tears before use.
Step-by-step Making Process
Making a teething toy at home is fun and simple. You can create a safe toy for your baby with easy steps.
Follow these clear steps to cut, assemble, and finish your DIY teething toy.
Cutting And Shaping
Start by choosing soft, baby-safe wood or silicone. Use a pencil to draw the toy shape on the material.
Cut the shapes carefully using a small saw or scissors. Sand the edges smooth to avoid sharp spots.
- Draw simple shapes like rings or animals
- Cut along the lines slowly and carefully
- Sand all edges until they feel smooth
Assembling Components
Gather the cut pieces and any beads or rings you want to add. Use strong, non-toxic string or elastic to connect parts.
Thread the string through holes in the pieces. Tie tight knots to keep parts secure and safe.
- Choose non-toxic, baby-safe beads
- Thread string through each piece carefully
- Tie knots to prevent pieces from falling off
Finishing Touches
Check the toy for rough spots or loose parts. Apply a baby-safe oil or wax to protect the wood.
Let the toy dry fully before giving it to your baby. This keeps it safe and ready for teething fun.
- Inspect for safety and smoothness
- Apply baby-safe finishing oil or wax
- Allow drying time before use
Cleaning And Maintenance Tips
Teething toys provide comfort for babies. They need regular cleaning and maintenance. This ensures they remain safe and durable for use.
Learn how to wash, store, and inspect teething toys effectively. This guide will help keep them in top condition for your child.
Safe Washing Methods
Washing teething toys properly removes germs and dirt. Follow these methods for safe cleaning.
- Use mild soap and warm water.
- Rinse thoroughly to remove soap residue.
- For silicone toys, boiling water can be used.
- Avoid harsh chemicals or bleach.
Storage Suggestions
Proper storage helps maintain the quality of teething toys. It also keeps them ready for use at any time.
Inspecting For Wear
Regular inspection ensures the teething toy remains safe for your baby. Look for signs of wear that could pose a hazard.
| Inspection Point | What to Check |
| Edges | Look for cracks or chips |
| Material | Check for soft spots or tears |
| Color | Ensure no fading or discoloration |
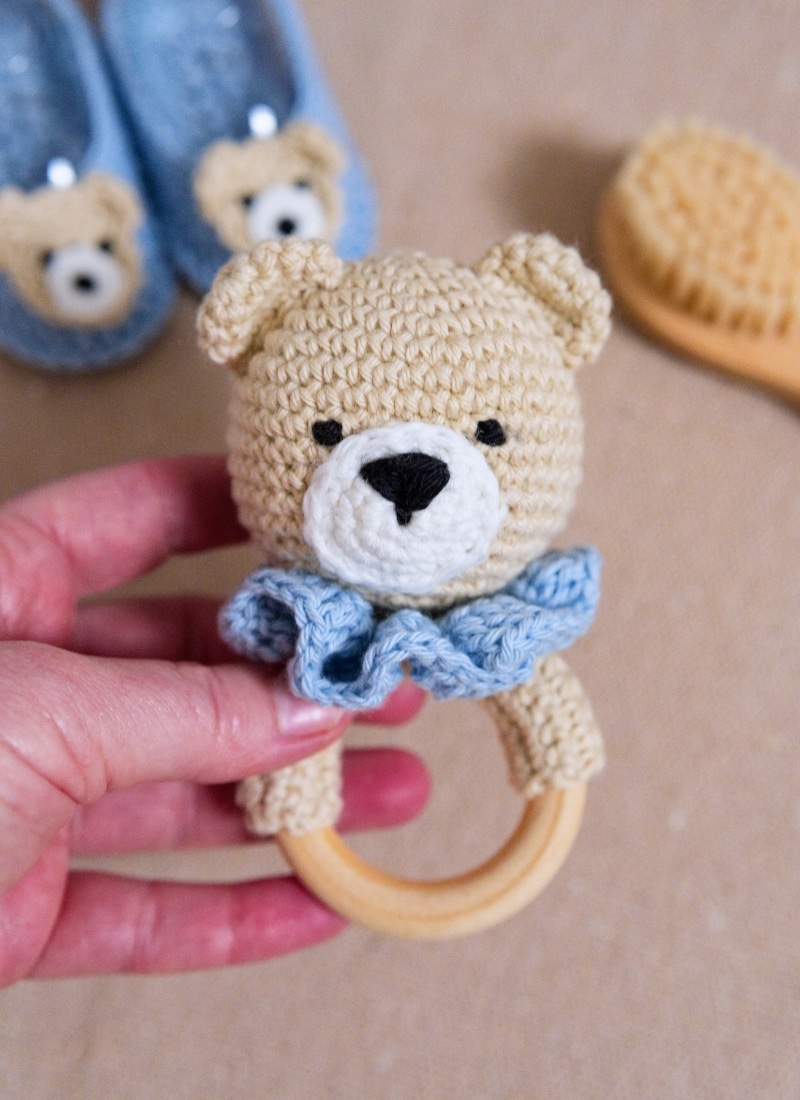
Additional Safety Tips
Making a teething toy at home can be fun and rewarding. Safety is important when crafting toys for babies. Here are some tips to ensure your DIY teething toy is safe.
Always use non-toxic materials and follow safety guidelines. Keep these additional safety tips in mind as you create and maintain your teething toys.
Supervising Use
Babies explore the world with their mouths. Always watch your baby when they use a teething toy. This helps prevent choking and other accidents.
Ensure the toy does not have any small parts that can break off. Even if the toy seems sturdy, supervision is key to safety.
Replacing Toys Regularly
Teething toys can wear out over time. Check them often for signs of damage. Replace them if they look worn or have loose parts.
Keeping the toys clean and in good condition is important. Regular replacement ensures the toys are safe and hygienic for your baby to use.
Recognizing Potential Hazards
Be aware of potential hazards in your DIY teething toy. Sharp edges, small parts, and toxic materials are dangerous.
- Check for sharp edges that might hurt your baby.
- Ensure all parts are securely attached.
- Use only safe, non-toxic materials.
Benefits Of Diy Teething Toys
Making your own teething toy can be a fun and useful project. It helps you create a safe and personal item for your baby.
DIY teething toys offer many benefits over store-bought options. You can save money, customize the toy, and enjoy time with your child.
Cost Savings
Buying teething toys can be expensive. Making one at home costs much less.
You only need simple materials that you might already have. This helps you avoid spending a lot on many toys.
- Use inexpensive materials like wood, fabric, or silicone
- Create several toys at a low cost
- Reduce the need to buy new toys often
Customization
You can choose the shape, size, and colors of the teething toy. This makes it perfect for your baby’s needs.
Customizing allows you to add textures and safe materials that soothe your baby’s gums.
- Pick colors that your baby likes
- Choose safe, non-toxic materials
- Add different textures for better comfort
Bonding Experience
Making a teething toy yourself helps you spend quality time with your baby. It shows your care and love.
Working on the toy can be a relaxing and joyful activity. Your baby will feel special using something made by you.
- Involve older siblings in the making process
- Talk and sing while creating the toy
- Share the joy of giving a handmade gift
Frequently Asked Questions
What Materials Are Safe For Diy Teething Toys?
Use non-toxic, BPA-free silicone, organic cotton, and untreated wood. Avoid small parts that can detach. Ensure materials are easy to clean and gentle on babies’ gums for safe teething.
How Do I Clean Homemade Teething Toys?
Wash teething toys with warm soapy water regularly. Avoid harsh chemicals. For silicone or wood, wipe with a damp cloth and air dry. Clean toys often to prevent bacteria buildup.
Can I Customize Teething Toys For My Baby?
Yes, you can customize colors, shapes, and textures. Personalize with safe beads or fabric patterns. Custom DIY toys engage babies and soothe their gums effectively.
How Long Does A Diy Teething Toy Last?
The lifespan depends on materials and usage. Regular inspection ensures safety. Replace toys if damaged or worn to avoid choking hazards. Proper care extends usability.
Conclusion
Making a teething toy DIY is simple and fun. You can choose safe materials for your baby’s comfort. Handmade toys help soothe sore gums naturally. Plus, crafting toys saves money and adds a personal touch. Give it a try and enjoy the process.
Your baby will love the soft, safe toy you make. Keep safety in mind and watch your little one smile. Creating something special feels great. Why not start today?