Have you ever wanted to create something fun with your own hands? Making a toy boat is easier than you think, and it’s a great way to enjoy a simple, creative project.
Imagine watching your very own boat float smoothly on water, knowing you built it yourself. In this guide, you’ll discover step-by-step instructions that anyone can follow, using materials you probably already have at home. Ready to impress yourself and others with a cool, homemade toy?
Keep reading and let’s get started!
Materials Needed
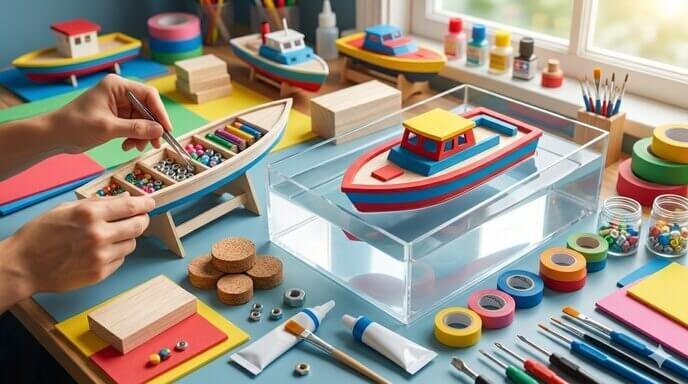
Making a toy boat is fun and simple. The materials you need are easy to find. Prepare everything before you start building. This saves time and keeps the process smooth.
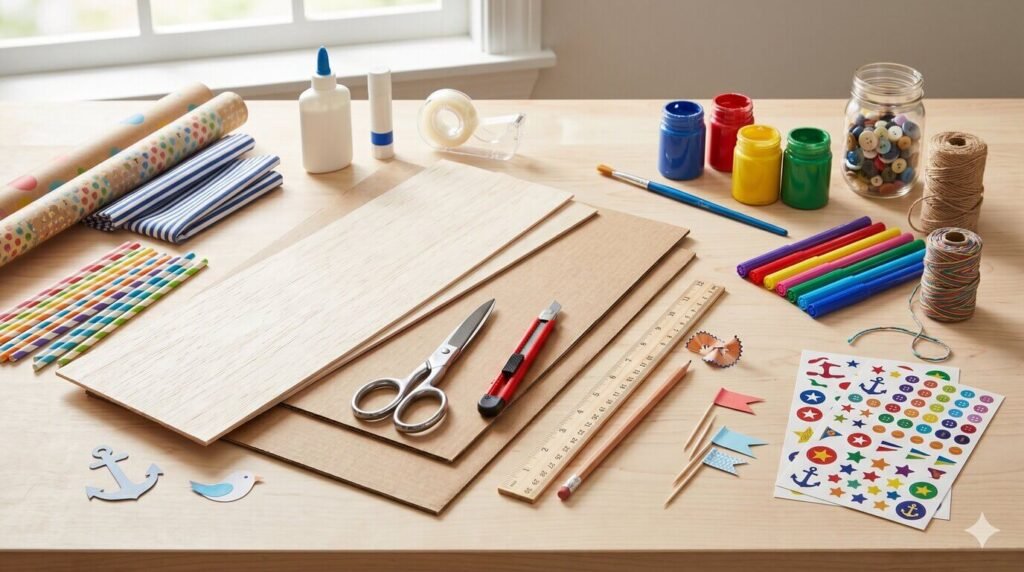
Basic Supplies
- Thin wood or sturdy cardboard for the boat body
- Scissors or a craft knife for cutting
- Glue or tape to hold parts together
- A ruler to measure pieces accurately
- Pencil for marking cuts and designs
- Plastic or paper straws for the mast
- Paper or fabric for the sail
Optional Decorations
- Paints or markers to add color
- Stickers for fun designs
- String to tie the sail
- Buttons or beads for extra detail
- Small flags or paper cutouts to personalize
Choosing The Right Design
Choosing the right design is key to making a fun toy boat. The design affects how easy the boat is to build. It also changes how well the boat floats and moves in water. Picking a simple or creative design helps keep the project fun and successful.
Simple Shapes For Beginners
Simple shapes make the building process easy. Rectangles, triangles, and circles are good choices. These shapes fit together well and need less cutting. Beginners can focus on learning basic skills first. Simple designs also float better and are less likely to sink.
Start with a flat base like a rectangle. Add a small triangle for the sail. Use a circle for the wheel or decoration. These shapes create a classic boat look. Beginners can build confidence and enjoy the project this way.
Creative Ideas For Kids
Kids love using imagination for design. Bright colors and fun shapes make boats exciting. Try animal shapes like fish or turtles. Use recycled materials like bottle caps or straws. This adds a unique touch and saves money.
Encourage kids to draw their own boat designs first. This helps them think about what they want to build. Mixing shapes and colors makes the process playful. Creative designs keep kids interested and proud of their boats.
Step-by-step Assembly
Building a toy boat is fun and easy. Follow these steps to make your own boat. Each step helps you create a strong and neat toy boat. Take your time and enjoy the process.
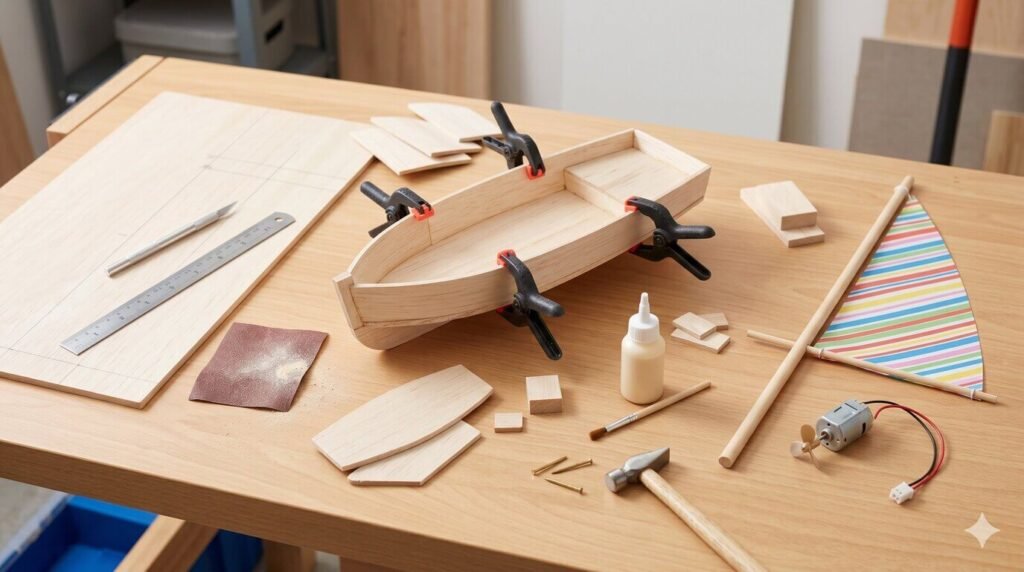
Cutting The Pieces
Start by cutting the wood or plastic pieces. Use a ruler to measure the parts carefully. Cut the base, sides, and any small parts you need. Smooth the edges with sandpaper to avoid rough spots. Precise cuts help the boat fit together well.
Assembling The Base
Lay the base flat on your workspace. Attach the sides to the base using glue or small nails. Hold the pieces in place until they stay firm. Check that the boat’s shape is even and balanced. Let the glue dry completely before moving on.
Adding The Sail Or Motor
Choose whether to add a sail or a motor. For a sail, fix a small stick in the center of the boat. Attach a paper or cloth sail to the stick. For a motor, follow the instructions for your motor kit. Secure the motor at the back to push the boat forward.
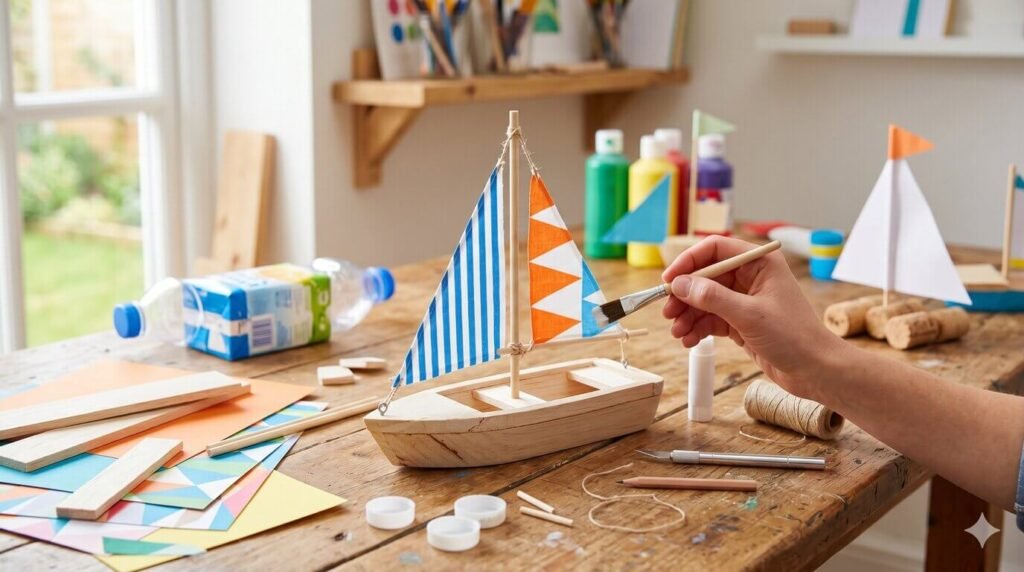
Painting And Decorating
Painting and decorating your toy boat makes it unique and fun. This step lets you add color and personality to your creation. Choose safe materials to keep the project kid-friendly. Simple decorations can turn a plain boat into a colorful masterpiece.
Safe Paint Options
Use non-toxic, water-based paints for safety. These paints are easy to clean and dry fast. Avoid spray paints or harsh chemicals. Acrylic paints also work well and are safe for kids. Always test a small spot first to check for reactions.
Fun Decoration Tips
Try bright colors to make your boat stand out. Use stickers or small decals for extra design. Add stripes or dots with a thin brush. Glue small craft items like paper flags or beads. Keep decorations light so the boat floats well.
Testing Your Toy Boat
Testing your toy boat is an exciting part of the project. This step shows if your boat floats and moves well on water. It also helps find any problems before using the boat for play. Testing can be done in a small pond, bathtub, or even a large bowl.
Watch how the boat behaves in the water. Does it stay balanced? Does it move smoothly? These clues tell you if the boat is ready or needs changes.
Water Safety Tips
Always test your toy boat in a safe place. Choose calm water to avoid accidents. Never test near deep or fast-moving water. Keep children supervised during testing. Avoid testing near electrical devices or outlets. Use water that is clean and free of debris. Have a towel nearby to dry hands and boat.
Making Adjustments
Check if the boat tips or sinks easily. Add small weights to balance it. Use tape or glue to fix loose parts. Trim edges that catch water or slow the boat. Test again after each change. Small changes can improve float and speed. Patience helps create a better toy boat.
Troubleshooting Common Issues
Building a toy boat can be fun and rewarding. Sometimes, the boat may not work as expected. It might tilt, sink, or move slowly. These problems are common and fixable. Understanding the issues helps improve your boat’s performance. Let’s explore how to solve these problems easily.
Fixing Balance Problems
A toy boat must be balanced to float well. If it tips to one side, check the weight. Heavy parts should be spread evenly. Move small items like decorations or batteries to balance the boat. Use light materials for one side if needed. Test the boat in water often to see if it stays level.
Improving Buoyancy
Buoyancy keeps the boat afloat. If the boat sinks, it may hold too much water. Seal any holes with waterproof glue or tape. Use lightweight materials like foam or cork for the base. Avoid heavy objects inside the boat. Make sure the boat’s bottom is flat and wide to hold water better.
Expanding Your Boat Skills
Expanding your boat skills brings new fun and challenges. You can try new shapes and add features. This makes your toy boats more interesting and unique. It also helps you learn more about building and design.
Advanced Designs
Try making boats with different shapes. Use curved edges or multi-level decks. These designs look cool and float well. Experiment with materials like lightweight wood or plastic. This changes how your boat moves on water.
Study real boats for ideas. Simple sailboats or fishing boats work well. Copy their shapes to improve your skills. Practice cutting and assembling parts neatly. This makes your boat strong and smooth.
Incorporating Electronics
Add small motors to make your boat move by itself. Use batteries and switches to control it. This adds excitement and learning about basic electronics. You can also add LED lights for night play.
Try remote controls for more fun. This teaches how to use simple circuits and controls. Use waterproof parts to keep your boat safe. Electronics bring a new level of enjoyment to toy boats.
Frequently Asked Questions
What Materials Are Needed To Make A Toy Boat?
You need simple materials like paper, cardboard, or plastic. Additional items include glue, scissors, and paint for decoration. These materials are easy to find and safe for kids, making the project fun and educational.
How Do You Make A Paper Toy Boat Float?
Fold the paper carefully to create a boat shape with a flat bottom. Ensure the folds are tight and the paper is waterproof or coated. This helps the boat float longer without sinking in water.
Can Kids Make Toy Boats Safely At Home?
Yes, kids can make toy boats safely with adult supervision. Use child-friendly materials and tools like safety scissors. This activity promotes creativity and fine motor skills while ensuring a safe crafting environment.
How Long Does It Take To Build A Toy Boat?
Building a simple toy boat usually takes 15 to 30 minutes. More complex designs may require up to an hour. Time depends on materials used and the detail level in decoration.
Conclusion
Making a toy boat can be simple and fun. You only need a few materials and some patience. Each step brings you closer to a boat you can play with. This project helps you learn and enjoy at the same time.
Try making different designs to see what floats best. Share your boat with friends or family for extra fun. Keep experimenting and enjoy the process of creating something with your hands. Building a toy boat is a great way to spend time and be creative.