Are you looking for a fun and creative way to make your child’s costume stand out? A toy soldier costume is a classic choice that brings imagination to life.
With a few simple materials and easy steps, you can craft a costume that your kid will love to wear. Keep reading, and you’ll discover how to make a toy soldier costume that’s not only impressive but also comfortable and affordable.
Let’s get started!
Materials Needed
Making a toy soldier costume for kids is fun and simple. You only need a few materials to create a great look. These items are easy to find and work with.
Below are the main materials grouped by type. This will help you gather everything before you start.
Fabric And Clothing
Choose fabrics and clothing that match a classic toy soldier uniform. Use comfortable materials for kids to wear all day.
- Red or green jacket or shirt
- Black or navy blue pants
- White belt or sash
- Gold or yellow fabric paint or ribbon
- Felt or stiff fabric for collar and cuffs
Accessories And Props
Accessories complete the toy soldier look. You can make or buy simple props that fit the costume theme.
| Item | Description | Purpose |
| Toy soldier hat | Black with a gold band or emblem | Authentic headwear |
| Plastic toy rifle or sword | Lightweight and safe for kids | Props for marching soldier |
| White gloves | Simple cotton or polyester gloves | Completes formal look |
| Boot covers | Black fabric covers for shoes | Make shoes look like boots |
Tools And Supplies
You will need some tools and supplies to put the costume together. These help with sewing, gluing, and decorating.
- Scissors for cutting fabric and ribbon
- Needle and thread or sewing machine
- Fabric glue or hot glue gun
- Measuring tape or ruler
- Paintbrushes for fabric paint
- Markers for adding details
- Pins to hold pieces while sewing
Designing The Costume
Making a toy soldier costume for kids is fun and creative. Designing the costume well helps your child look great and feel comfortable.
Focus on style, colors, and size to create a perfect costume. This guide covers these key parts to help you start.
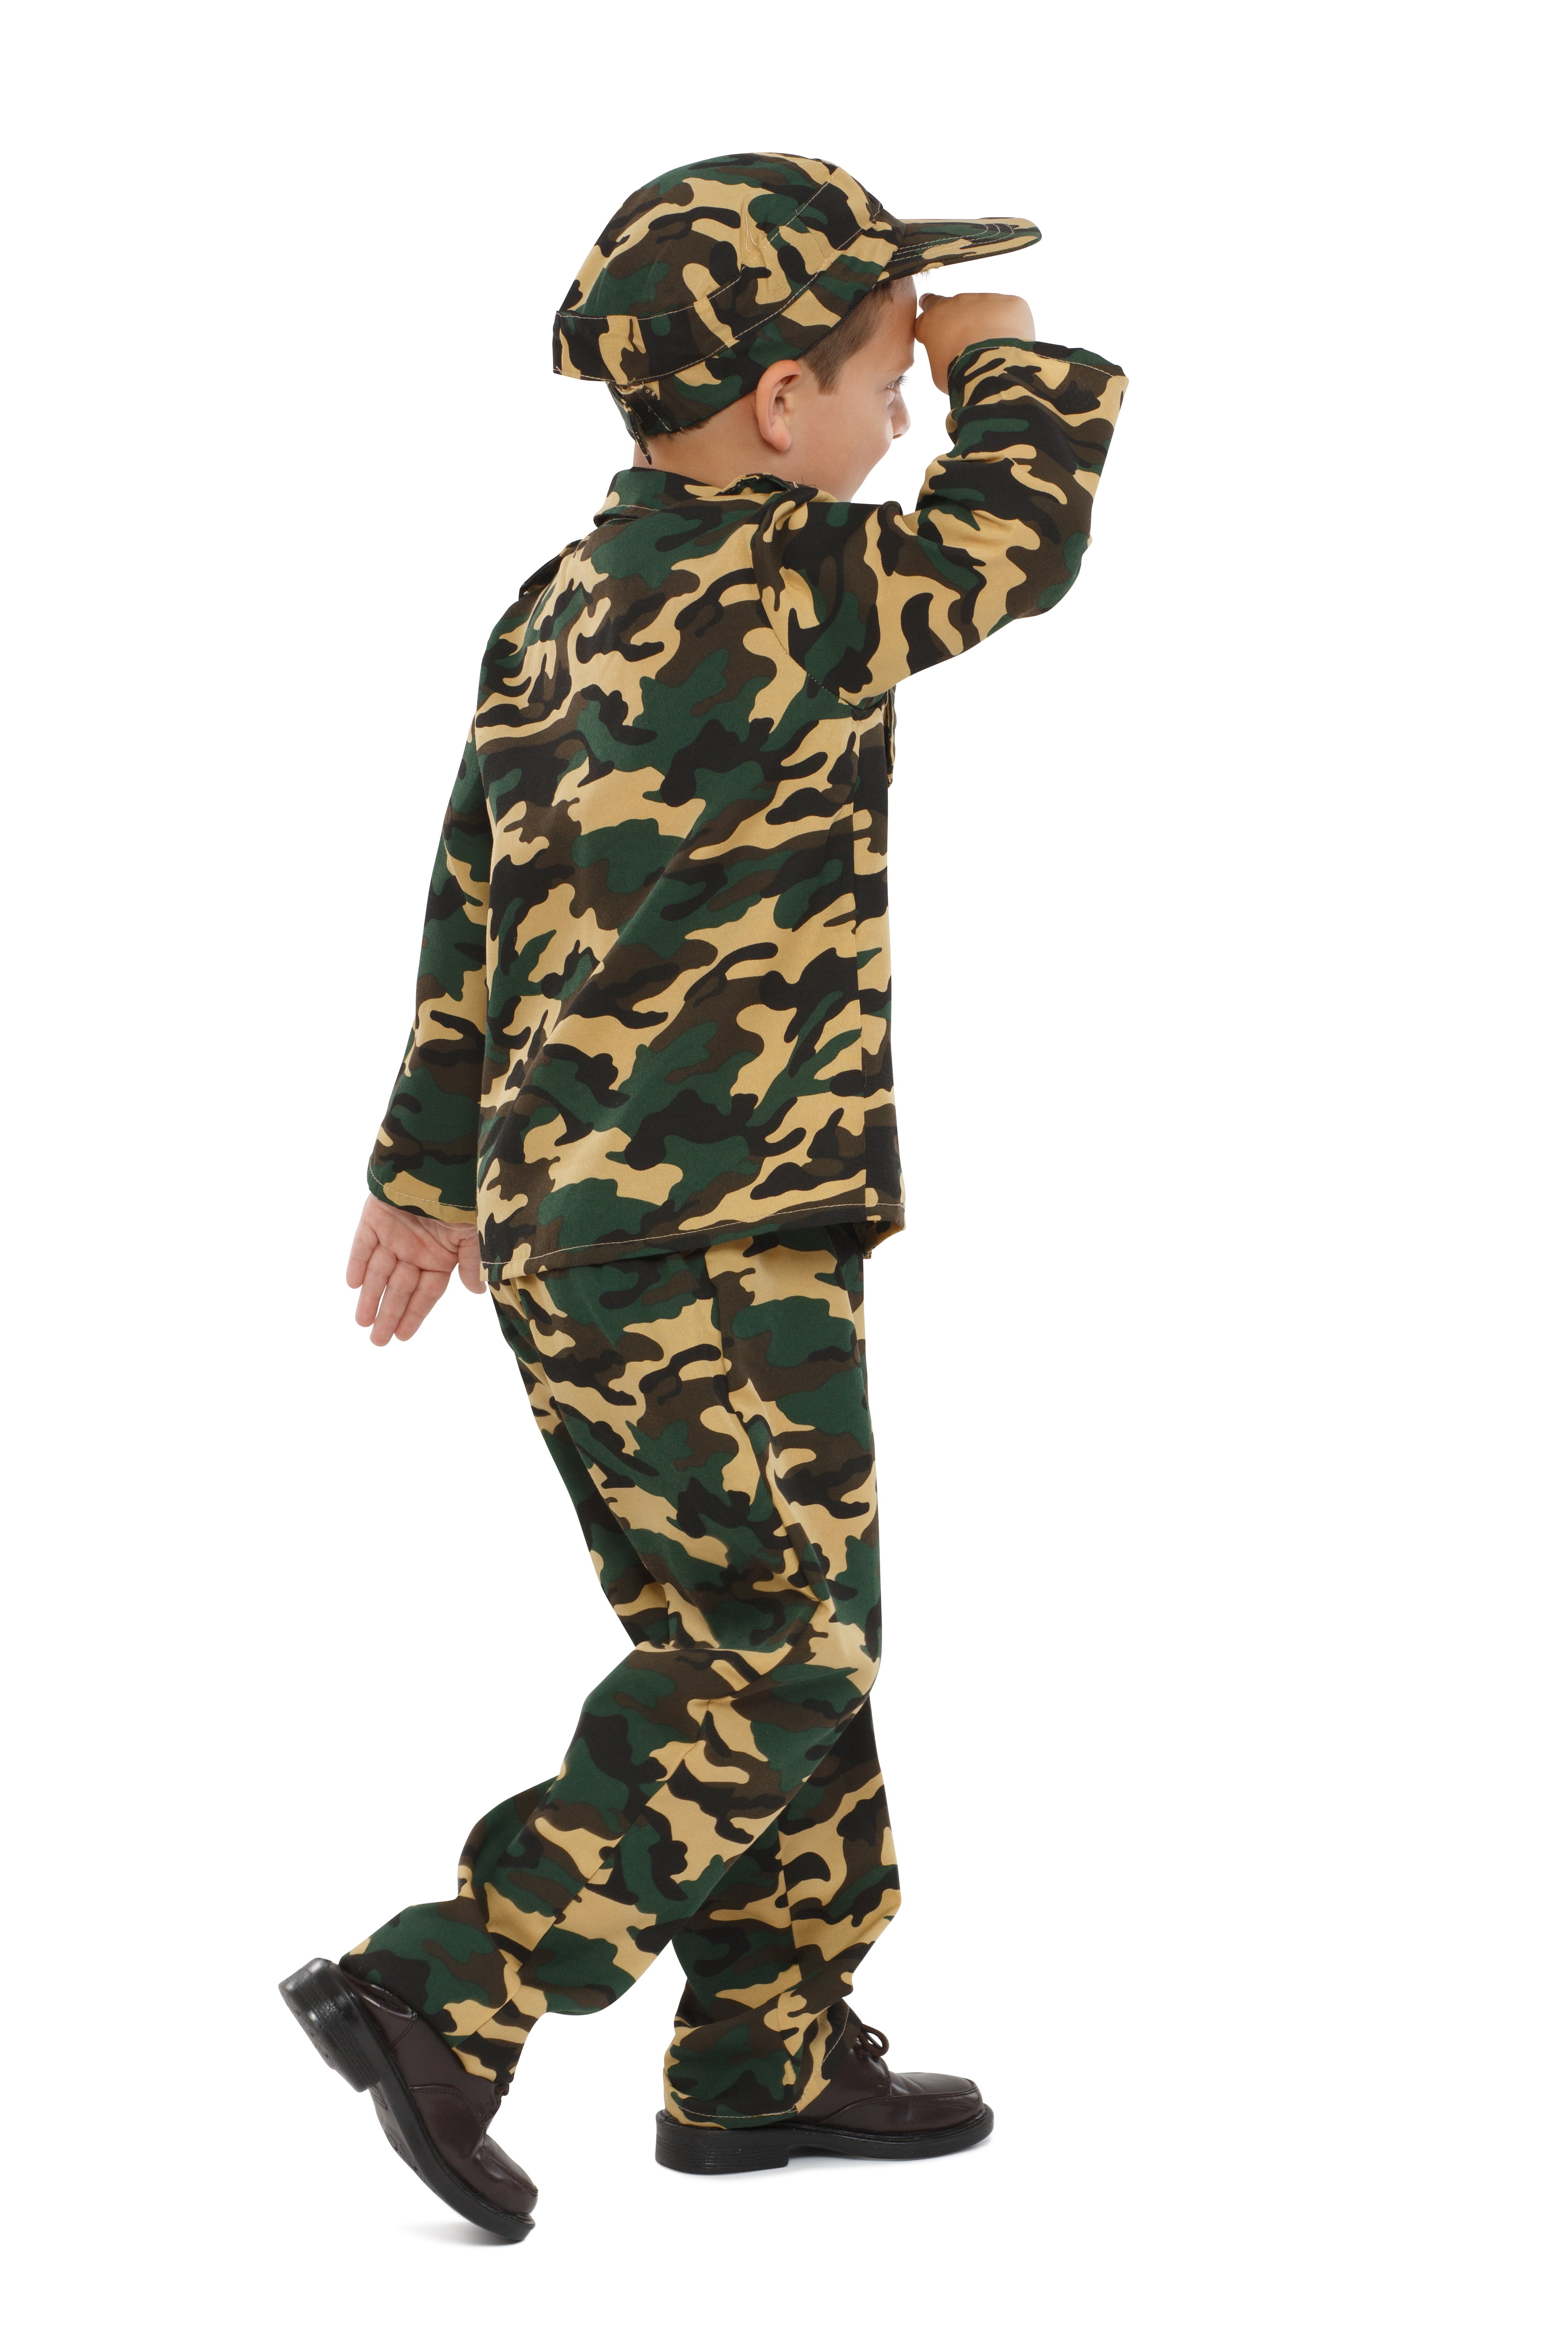
Choosing The Style
Pick a style that fits the classic toy soldier look. Decide if you want a traditional or a modern design. Think about details like hats, jackets, and boots.
- Classic soldier with a tall hat and jacket
- Marching band style with epaulettes
- Simple soldier with a tunic and belt
- Fantasy soldier with bright accessories
Selecting Colors
Colors make the costume look lively and real. Choose colors that match the toy soldier theme. Red, blue, and gold are popular choices.
| Color | Meaning | Use in Costume |
|---|---|---|
| Red | Bold and traditional | Jacket or hat |
| Blue | Calm and classic | Jacket or pants |
| Gold | Decorative and bright | Buttons and trims |
| White | Clean and simple | Gloves and belts |
Sizing And Measurements
Correct sizing keeps your child comfortable while wearing the costume. Measure carefully before you start making it.
- Measure chest size with a soft tape
- Measure waist and hips for fit
- Measure arm length for sleeves
- Measure height for overall length
- Check head size for hats
Creating The Jacket
Making a toy soldier jacket for kids is fun and simple. This jacket is the main part of the costume.
Follow easy steps to cut fabric, add details, and sew well.
Cutting Fabric Pieces
Start by choosing a sturdy fabric like felt or cotton. Use a pattern or draw shapes for the jacket parts.
- Cut two main pieces for the front and back of the jacket.
- Cut two sleeves, making sure they fit the child's arms.
- Cut strips for the collar and cuffs.
- Cut small rectangles for decorative shoulder straps.
Adding Decorative Details
Details make the jacket look like a toy soldier uniform. Use bright colors and shiny materials.
Decorative elements to add:
- Gold or silver trim along the front edges
- Buttons in two rows down the front
- Epaulets made from fabric or cardboard covered in fabric
- Bright colored cuffs and collar
Sewing Tips
Use a sewing machine or hand sew carefully for a neat finish. Pin pieces before sewing.
| Tip | Reason |
| Use matching thread | Blends with fabric for a clean look |
| Sew slowly on curves | Prevents fabric bunching |
| Backstitch at seams | Keeps stitches secure |
| Press seams with iron | Makes jacket look crisp |

Credit: www.amazon.ca
Making The Pants
Making pants for a toy soldier costume is a fun project. The pants should look neat and fit well.
Choose simple designs and comfortable fabrics to keep kids happy while wearing the costume.
Simple Pattern Options
Use easy patterns that do not need advanced sewing skills. Straight-leg pants work well for toy soldiers.
Patterns with elastic waistbands make the pants easy to put on and take off.
- Draw a basic pants shape on paper.
- Make the legs straight and loose for comfort.
- Add extra length for hems.
- Include a wide waistband for elastic.
Adjusting For Comfort
Comfort is important because kids move a lot. Use soft fabric that stretches a little.
Add elastic at the waist and cuffs to keep pants in place without tightness.
- Choose cotton or knit fabric for softness.
- Use elastic bands for easy fitting.
- Check the length so pants do not drag on the floor.
- Make sure pants are loose enough for running and sitting.
Crafting The Hat
The hat is a key part of a toy soldier costume. It sets the look and makes the outfit stand out.
Making the hat involves simple shapes and fun decorations. This guide shows you how to create both.
Basic Shapes
Start with a round base for the hat. Use stiff cardboard or craft foam for shape and strength.
- Cut a circle about 10 inches wide for the top.
- Cut a long strip, 3 inches tall, to form the sides.
- Join the strip ends to make a ring that fits the child's head.
- Attach the circle to the ring with glue or tape.
- Let the glue dry before moving on.
Adding Embellishments
Decorate the hat to match a classic toy soldier style. Use bright colors and shiny details.
| Embellishment | Material | How to Add |
| Gold Band | Ribbon or Paint | Wrap around the base and glue |
| Button | Plastic or Metal | Glue at the front center |
| Feather | Craft Feather | Glue on one side for flair |
| Star | Cardboard Cutout | Paint gold and glue on top |
Credit: www.walmart.com
Adding Accessories
Accessories bring a toy soldier costume to life. They add detail and fun to the look.
Simple accessories make the costume feel real and complete for kids.
Belts And Buttons
Belts help keep the costume neat and add a classic soldier touch. Use a simple black or brown belt with a shiny buckle.
Buttons add charm and style. Sew or glue gold or silver buttons on the jacket or vest.
- Choose large buttons for a bold look
- Use fabric glue for easy attachment
- Arrange buttons in rows on the chest
- Match belt color to shoe or boot covers
Toy Rifle Or Sword
A toy rifle or sword adds excitement and makes the costume more realistic. Use lightweight plastic or foam for safety.
Make sure the toy weapon is easy to carry and fits the child’s size.
| Accessory | Material | Safety Tip |
| Toy Rifle | Plastic | Rounded edges only |
| Toy Sword | Foam | Soft tip |
| Sling or Holster | Fabric | Adjustable straps |
Boot Covers
Boot covers complete the look and protect shoes. Use felt or faux leather for easy wear.
To make boot covers:
- Cut fabric to fit over shoes.
- Sew or glue the edges together.
- Add elastic bands for a snug fit.
- Decorate with buttons or stripes.
Final Assembly And Fitting
After creating all the parts of the toy soldier costume, it is time to put them together. This step makes sure the costume looks great and fits well. Proper fitting also keeps your child comfortable and safe.
Follow the tips below to finish the costume and adjust it for the best fit. Safety is important to keep in mind during this process.
Putting Pieces Together
Start by attaching the main parts of the costume. Use glue or stitching for fabric pieces. For hard parts, use tape or fasteners. Make sure each piece is secure but easy to remove if needed.
- Attach the jacket to the pants using Velcro or buttons.
- Secure the belt around the waist with snaps or hooks.
- Fix the shoulder epaulets with safety pins or sewn stitches.
- Attach the hat with an elastic band or clips.
- Check all connections to avoid loose parts.
Adjusting Fit
Check the costume on your child to see how it fits. Make changes to improve comfort and appearance. Adjust straps, hems, and closures to avoid tight spots or loose areas.
| Adjustment | How to Fix | Why It Matters |
| Loose jacket | Use extra buttons or Velcro strips | Prevents slipping and looks neat |
| Tight sleeves | Loosen seams or add fabric inserts | Allows free arm movement |
| Hat slipping | Add elastic band or chin strap | Keeps hat in place during play |
| Belt too tight | Use adjustable buckle or add holes | Makes wearing comfortable |
Safety Considerations
Check the costume for any parts that could cause harm. Remove sharp edges or small loose items. Use materials that do not irritate the skin. Make sure the costume allows easy movement and breathing.
- Secure all attachments firmly to avoid choking hazards.
- Choose flame-resistant fabrics and paints.
- Avoid long or trailing parts that could cause tripping.
- Test the costume indoors before outdoor use.
Tips For Customization
Making a toy soldier costume for kids can be fun. You can personalize it to make it unique. Here are some tips for customizing the costume.
Adding personal touches can make the costume special. Use your creativity to make it stand out.
Personalizing Colors And Details
Choose colors that your child likes. This makes the costume more exciting for them to wear.
Add details like stars or stripes. These can be glued or sewn onto the costume.
- Red and blue are traditional soldier colors
- Use gold or silver for buttons
- Paint stars with fabric paint
Using Alternative Materials
You don't need to buy expensive materials. Many items can be found at home or in nature.
Recycle old clothes or use cardboard for parts. This is both fun and eco-friendly.
- Old t-shirts can be cut and used
- Cardboard makes great hats or shields
- Paint sticks for toy weapons

Credit: www.amazon.com
Frequently Asked Questions
What Materials Are Needed For A Toy Soldier Costume?
You need fabric, buttons, felt, a hat, face paint, and glue. Choose green, red, or blue fabric for authenticity. Use cardboard for the hat’s base. Simple sewing or fabric glue works well for assembly.
How Long Does It Take To Make This Costume?
Making a toy soldier costume usually takes 2 to 4 hours. Time depends on your sewing skills and detail level. Preparing materials beforehand speeds up the process. Allow extra time for painting and decoration.
Can I Customize The Costume For Different Ages?
Yes, you can easily adjust the costume size for any age. Use measurements to scale fabric and hat size accordingly. Add more or fewer decorations based on child’s preference. Customizing helps ensure a perfect fit and comfort.
Is This Costume Safe And Comfortable For Kids?
Yes, it’s designed with comfort and safety in mind. Use breathable fabrics and avoid tight or restrictive parts. Ensure non-toxic paints and secure attachments to prevent hazards. Always supervise kids while wearing face paint or accessories.
Conclusion
Creating a toy soldier costume for kids is fun and simple. Gather basic materials and follow easy steps. Let your child’s imagination come alive with this outfit. The costume fits well for parties or playtime. Personal touches make the costume unique and special.
Enjoy the process and share smiles together. This project brings joy and creativity for everyone. Try making one and watch the excitement grow.