Have you ever wanted to create a fun, moving toy that kids and adults alike will enjoy? Making a walking duck toy yourself is easier than you think, and it’s a fantastic way to bring creativity and play together.
In this guide, you’ll discover simple steps and easy-to-find materials that turn into a charming, waddling duck. Whether you’re crafting for fun, learning, or gifting, this DIY project will keep you hooked from start to finish. Ready to bring your own little duck to life?
Let’s dive in!
Materials Needed
Making a walking duck toy by yourself is fun and easy. You need some simple materials to start your project.
Gather everything before you begin. This helps you work smoothly without stopping.
Basic Craft Supplies
These are the main items you need to create the walking duck toy. They help build the toy’s body and movement parts.
- Wooden clothespins or small wood blocks for the body
- Small wooden wheels or bottle caps for feet
- Strong glue or hot glue gun
- Thin wire or small springs for legs
- Paints and brushes for coloring
- Scissors or a craft knife
- Markers or pens for details
Optional Decorative Items
You can add these items to make your duck toy look more fun and colorful. They are not necessary but make the toy special.
- Googly eyes for a lively look
- Feathers to add texture
- Glitter to make it shine
- Ribbons or small bows for decoration
- Colored paper or stickers
- Small bells for sound
Choosing The Right Design
Making a walking duck toy by yourself starts with picking the right design. The design affects how easy your toy will be to build and how it looks when finished.
Focus on styles and sizes that match your skills and space. A good design makes the project fun and the toy enjoyable.
Simple Vs. Detailed Styles
Simple designs use fewer parts and easy shapes. They are faster to make and good for beginners. Detailed styles have more parts and look more like real ducks.
- Simple style: basic shapes, easy assembly
- Detailed style: many pieces, realistic look
- Simple style: less time and tools needed
- Detailed style: more fun for skilled makers
Selecting Size And Shape
Size and shape affect how the duck walks and fits in your space. Choose a size that matches your workspace and materials.
| Size | Effect |
| Small | Easier to carry, less material |
| Medium | Good balance of detail and size |
| Large | More detail, needs more space |
| Round shape | Smoother walking motion |
| Flat shape | Stable but less natural movement |
Preparing The Parts
Making a walking duck toy starts with preparing all the parts carefully. Proper preparation helps the toy move smoothly later on.
This guide covers cutting, shaping, painting, and decorating the parts. Follow each step to get the best results.
Cutting And Shaping
Cut the wood or plastic pieces to the right sizes for the duck's body, legs, and wings. Use sandpaper to smooth any rough edges.
- Mark the shapes on the material using a pencil.
- Cut along the lines with a saw or craft knife.
- Sand all edges to remove splinters and sharp points.
- Test fit the pieces before moving on.
Painting And Decorating
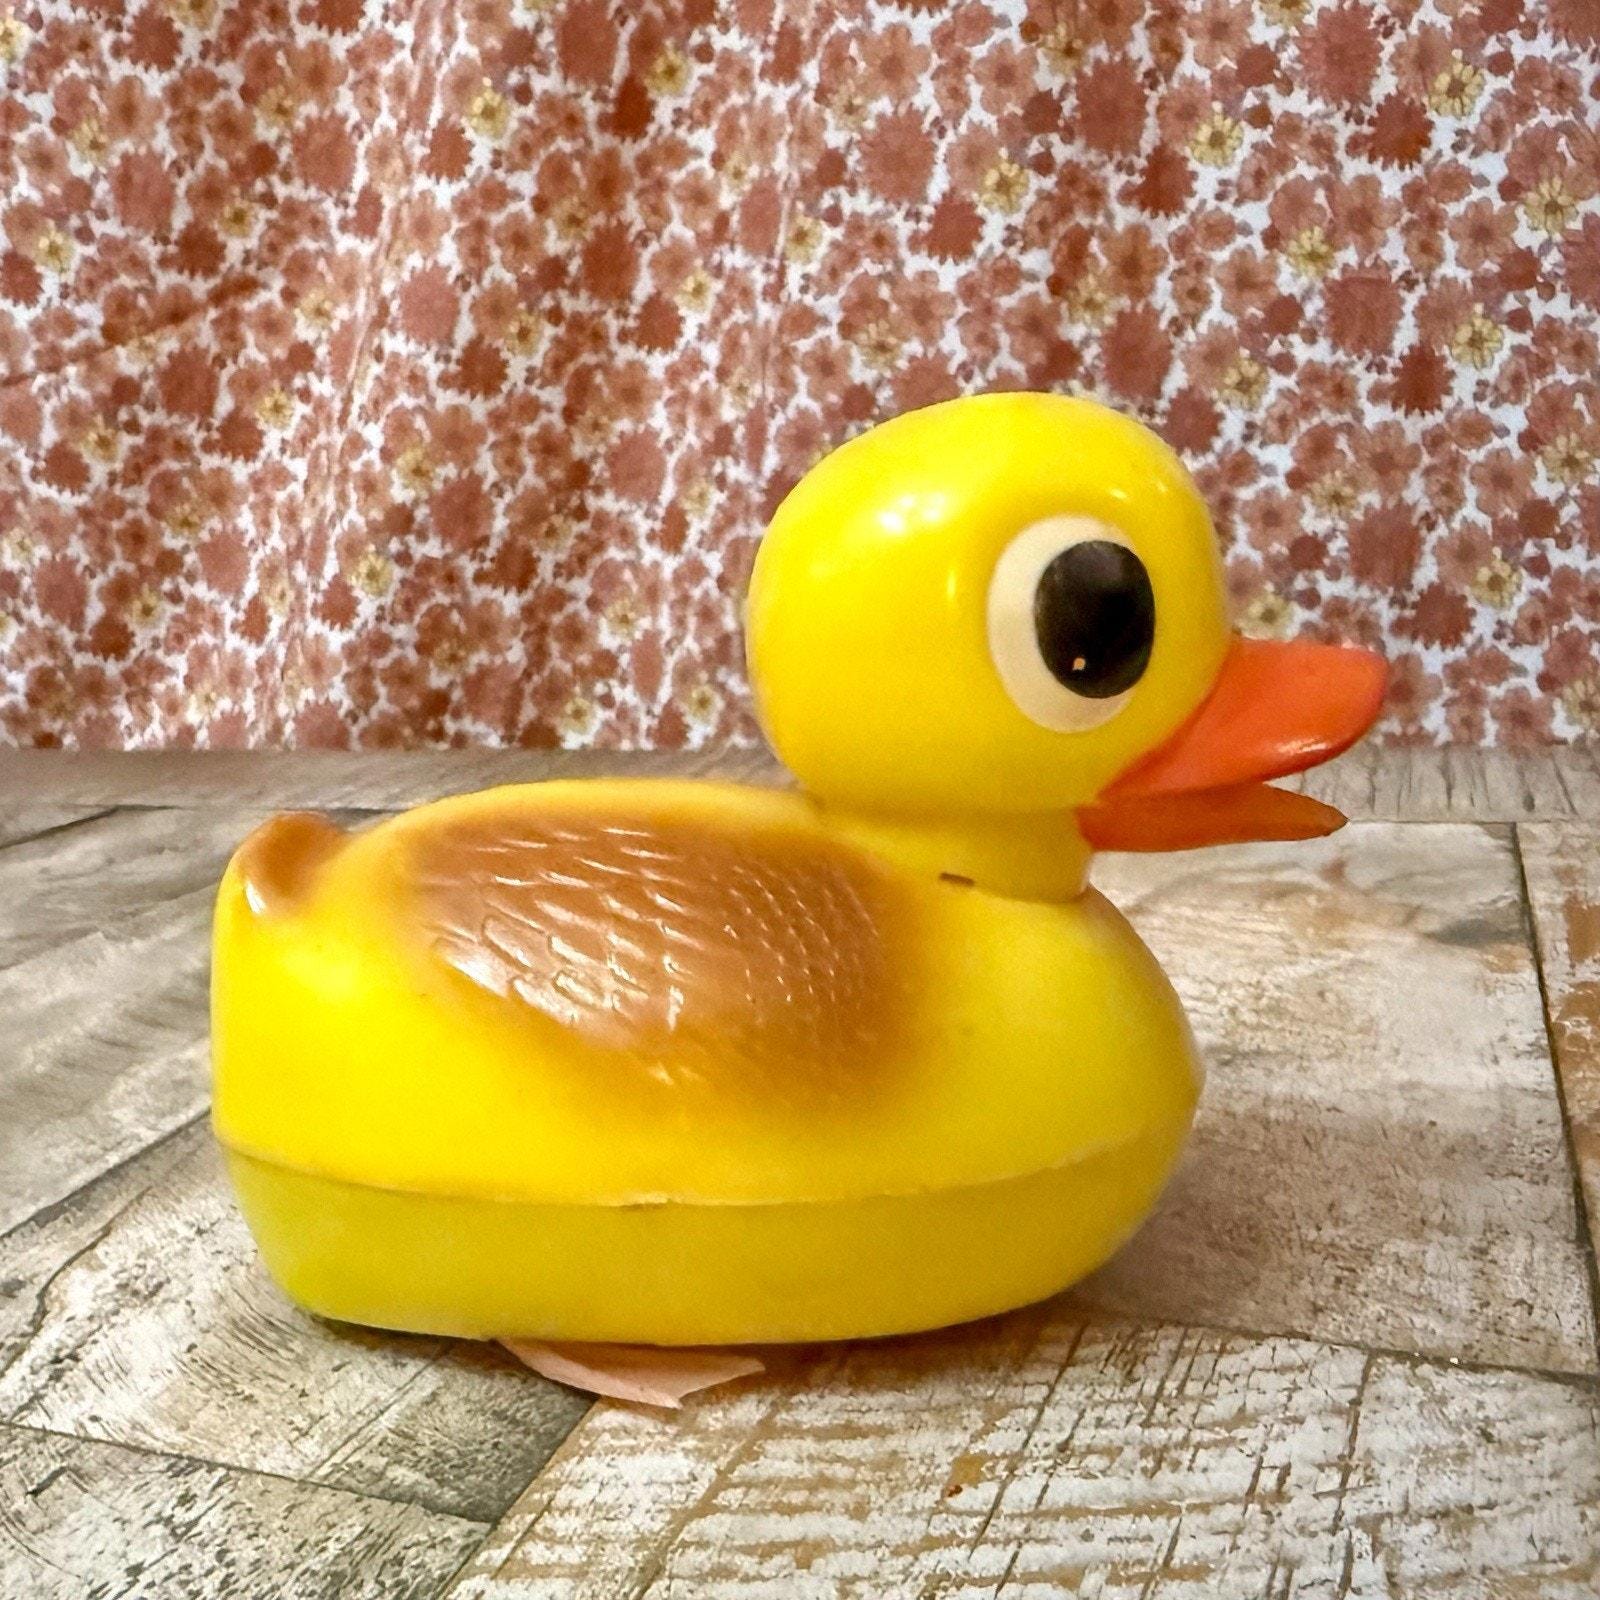
Use bright colors to paint the duck parts. Let each coat dry before adding the next one.
| Part | Recommended Color | Drying Time |
| Body | Yellow | 30 minutes |
| Beak | Orange | 15 minutes |
| Wings | White or Light Brown | 20 minutes |
| Legs | Orange or Red | 15 minutes |
Add small details like eyes or feathers with a fine brush after the base paint dries. This makes the toy more charming.
Assembling The Duck Toy
Building your walking duck toy is fun and easy. You will join the parts to make a moving duck.
Follow simple steps to connect legs, body, and moving parts for the best results.
Attaching Legs And Body
Start by fixing the legs to the duck’s body. Use screws or glue for a strong hold.
Make sure legs are even so the duck can walk smoothly. Check that they move freely.
- Align legs with the marked holes on the body
- Insert screws or apply glue carefully
- Let glue dry completely if used
- Test leg movement before final assembly
Securing Moving Parts
Attach the wings, tail, and head parts so they can move. Use small pins or joints.
Check that all moving parts turn or flap without falling off. Tighten pins if needed.
- Place moving parts on their joints
- Insert pins or small screws to hold them
- Test each part’s movement gently
- Adjust tightness for smooth motion
Adding Movement Mechanism
Creating a walking duck toy can be fun. Adding movement makes it more exciting. You can use simple materials to make this work.
Movement is key in making the toy walk. Springs or wires are great for this. They help the duck mimic walking.
Using Springs Or Wires
Springs or wires help the duck move. They act like legs. They provide the bounce needed for walking.
Attach springs to the duck's feet. Connect wires to create a stepping motion. Make sure they are flexible.
- Springs offer bounce
- Wires create steps
- Flexibility is important
Testing Walking Action
Testing ensures the toy works well. Place the duck on a flat surface. Push gently to see it walk.
Adjust the springs or wires if needed. The duck should walk smoothly. Keep testing until satisfied.
- Test on a flat surface
- Adjust for smooth walking
- Repeat testing as needed
Finishing Touches
Adding the final details brings your walking duck toy to life. These touches make it look real and fun. They also help the toy work well.
Focus on small features and strong parts. These make your toy special and last longer.
Detailing Features
Paint the duck with bright colors to show feathers. Use small brushes for eyes and beak details. Adding texture with a fine brush makes it look real.
- Use waterproof paint for better finish
- Draw small dots for feather patterns
- Attach tiny felt pieces for the wings
- Paint the eyes shiny black for life-like look
Ensuring Durability
Make sure the toy stays strong after many uses. Use glue that bonds well and seal the paint with a clear coat. Check moving parts for smooth action.
| Material | Purpose | Tip |
| Strong wood | Body base | Smooth edges to avoid cracks |
| Non-toxic glue | Hold parts | Apply evenly and press firmly |
| Clear sealant | Protect paint | Use two thin layers |
| Metal pins | Joint movement | Check tightness regularly |
Tips For Safe Crafting
Making a walking duck toy DIY is fun and creative. Safety is important while crafting.
Follow simple rules to keep yourself and others safe during the project.
Handling Tools Properly
Use each tool only for its intended purpose. Keep sharp tools away from your body.
Hold scissors and knives carefully. Cut away from your hands to avoid injuries.
- Use safety scissors for children
- Keep tools clean and dry
- Store tools in a safe place after use
- Do not rush when using sharp tools
Supervision For Kids
Children need adult supervision during all crafting steps. This helps prevent accidents.
Watch them closely when they use scissors, glue, or small parts. Give clear instructions.
- Keep small parts out of reach of very young children
- Help with cutting and gluing tasks
- Explain safety rules before starting
- Stay nearby until the project is done
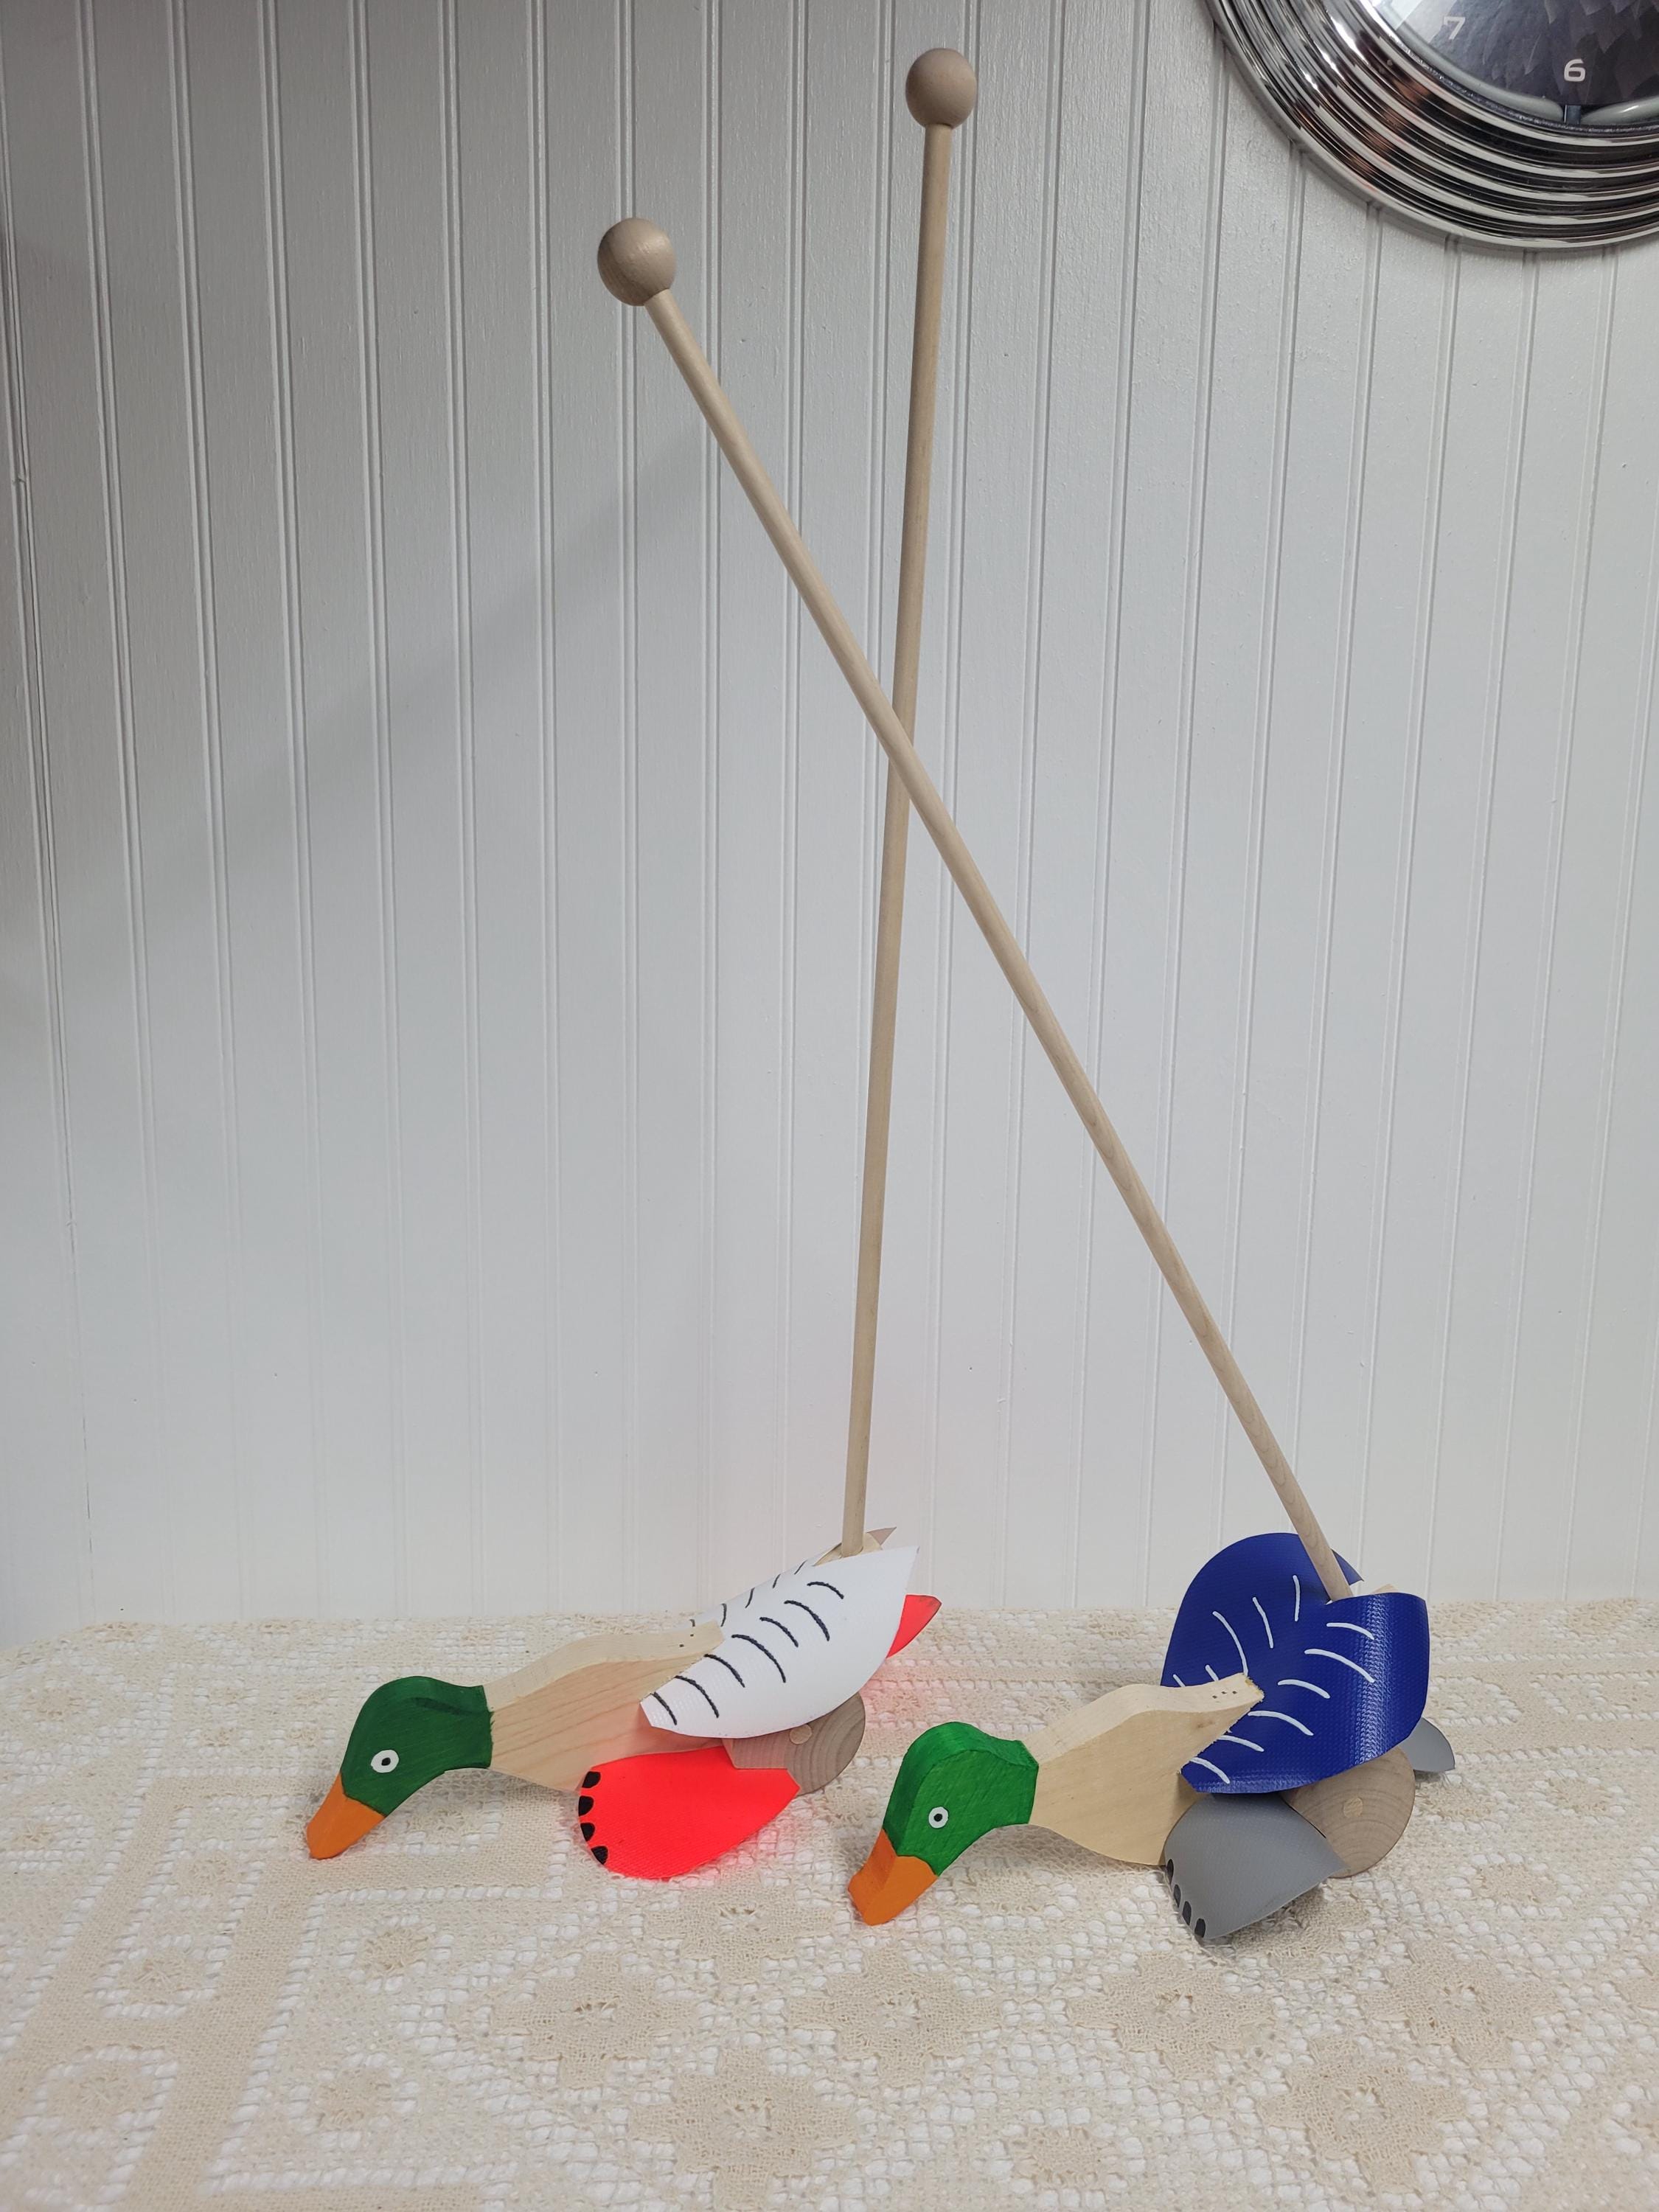
Fun Variations To Try
Making a walking duck toy is fun. You can try different variations. Each variation can make your toy unique.
Experimenting with different styles can make the process exciting. Let's explore some fun variations and creative ideas.
Different Animal Toys
You don't have to stick to ducks. Try making other animal toys. Each animal brings a new challenge and fun.
Choose animals that inspire you. This makes the crafting process more enjoyable.
- Cats can have whiskers and tails.
- Dogs can have floppy ears and paws.
- Frogs can have long legs and big eyes.
Creative Decoration Ideas
Decorating your toy adds personality. Use materials you have at home. This can make each toy special.
Try using colors and patterns. This makes your toy stand out.
- Use buttons for eyes to add charm.
- Paint spots or stripes for extra flair.
- Attach yarn for hair or tails.
Frequently Asked Questions
What Materials Are Needed For A Walking Duck Toy Diy?
You need wood, small wheels, paint, glue, and a rubber band. These materials are affordable and easy to find in craft stores or online.
How Do You Assemble The Walking Duck Toy?
Cut and shape the wood pieces, attach wheels, and connect parts with glue. Add a rubber band to create movement when pulled.
Can Children Safely Make A Walking Duck Toy?
Yes, with adult supervision for cutting and gluing. This project is simple and suitable for kids interested in crafts.
How Long Does It Take To Build A Walking Duck Toy?
It usually takes about 1 to 2 hours, depending on skill level. Drying time for glue may add extra time.
Conclusion
Making a walking duck toy by yourself is fun and rewarding. You only need simple materials and clear steps. This project helps improve your creativity and patience. Kids and adults both enjoy building and playing with it. Try different colors and sizes to make it unique.
Keep practicing to make your toy walk better. Enjoy the process and share your creation with friends. Simple crafts like this bring joy and learning together. Give it a try and see how much fun it can be.