Have you ever wanted to create a soft toy that’s not only cuddly but also fun to play with? Making a soft toy cube with bells is easier than you think, and it’s a perfect project for your next DIY adventure.
Imagine holding a soft, colorful cube that jingles gently every time you shake it. This guide will show you exactly how to make one step-by-step, so you can enjoy a toy that’s both soothing and entertaining. Ready to bring your creativity to life and make something truly special?
Keep reading, and let’s get started!
Materials Needed
Making a soft toy cube with bells is a fun and simple project. You need the right materials to create a soft, safe, and pleasant toy.
Gathering quality fabrics, selecting the right bells, and having extra supplies ready will help you make a perfect soft toy cube.
Fabric Choices
Choose soft and durable fabrics for your toy cube. Cotton, fleece, and minky fabric work well. These materials feel nice and are safe for children.
- 100% cotton fabric for softness
- Fleece for warmth and stretch
- Minky fabric for a plush texture
- Fabric scraps for colorful patches
Selecting Bells
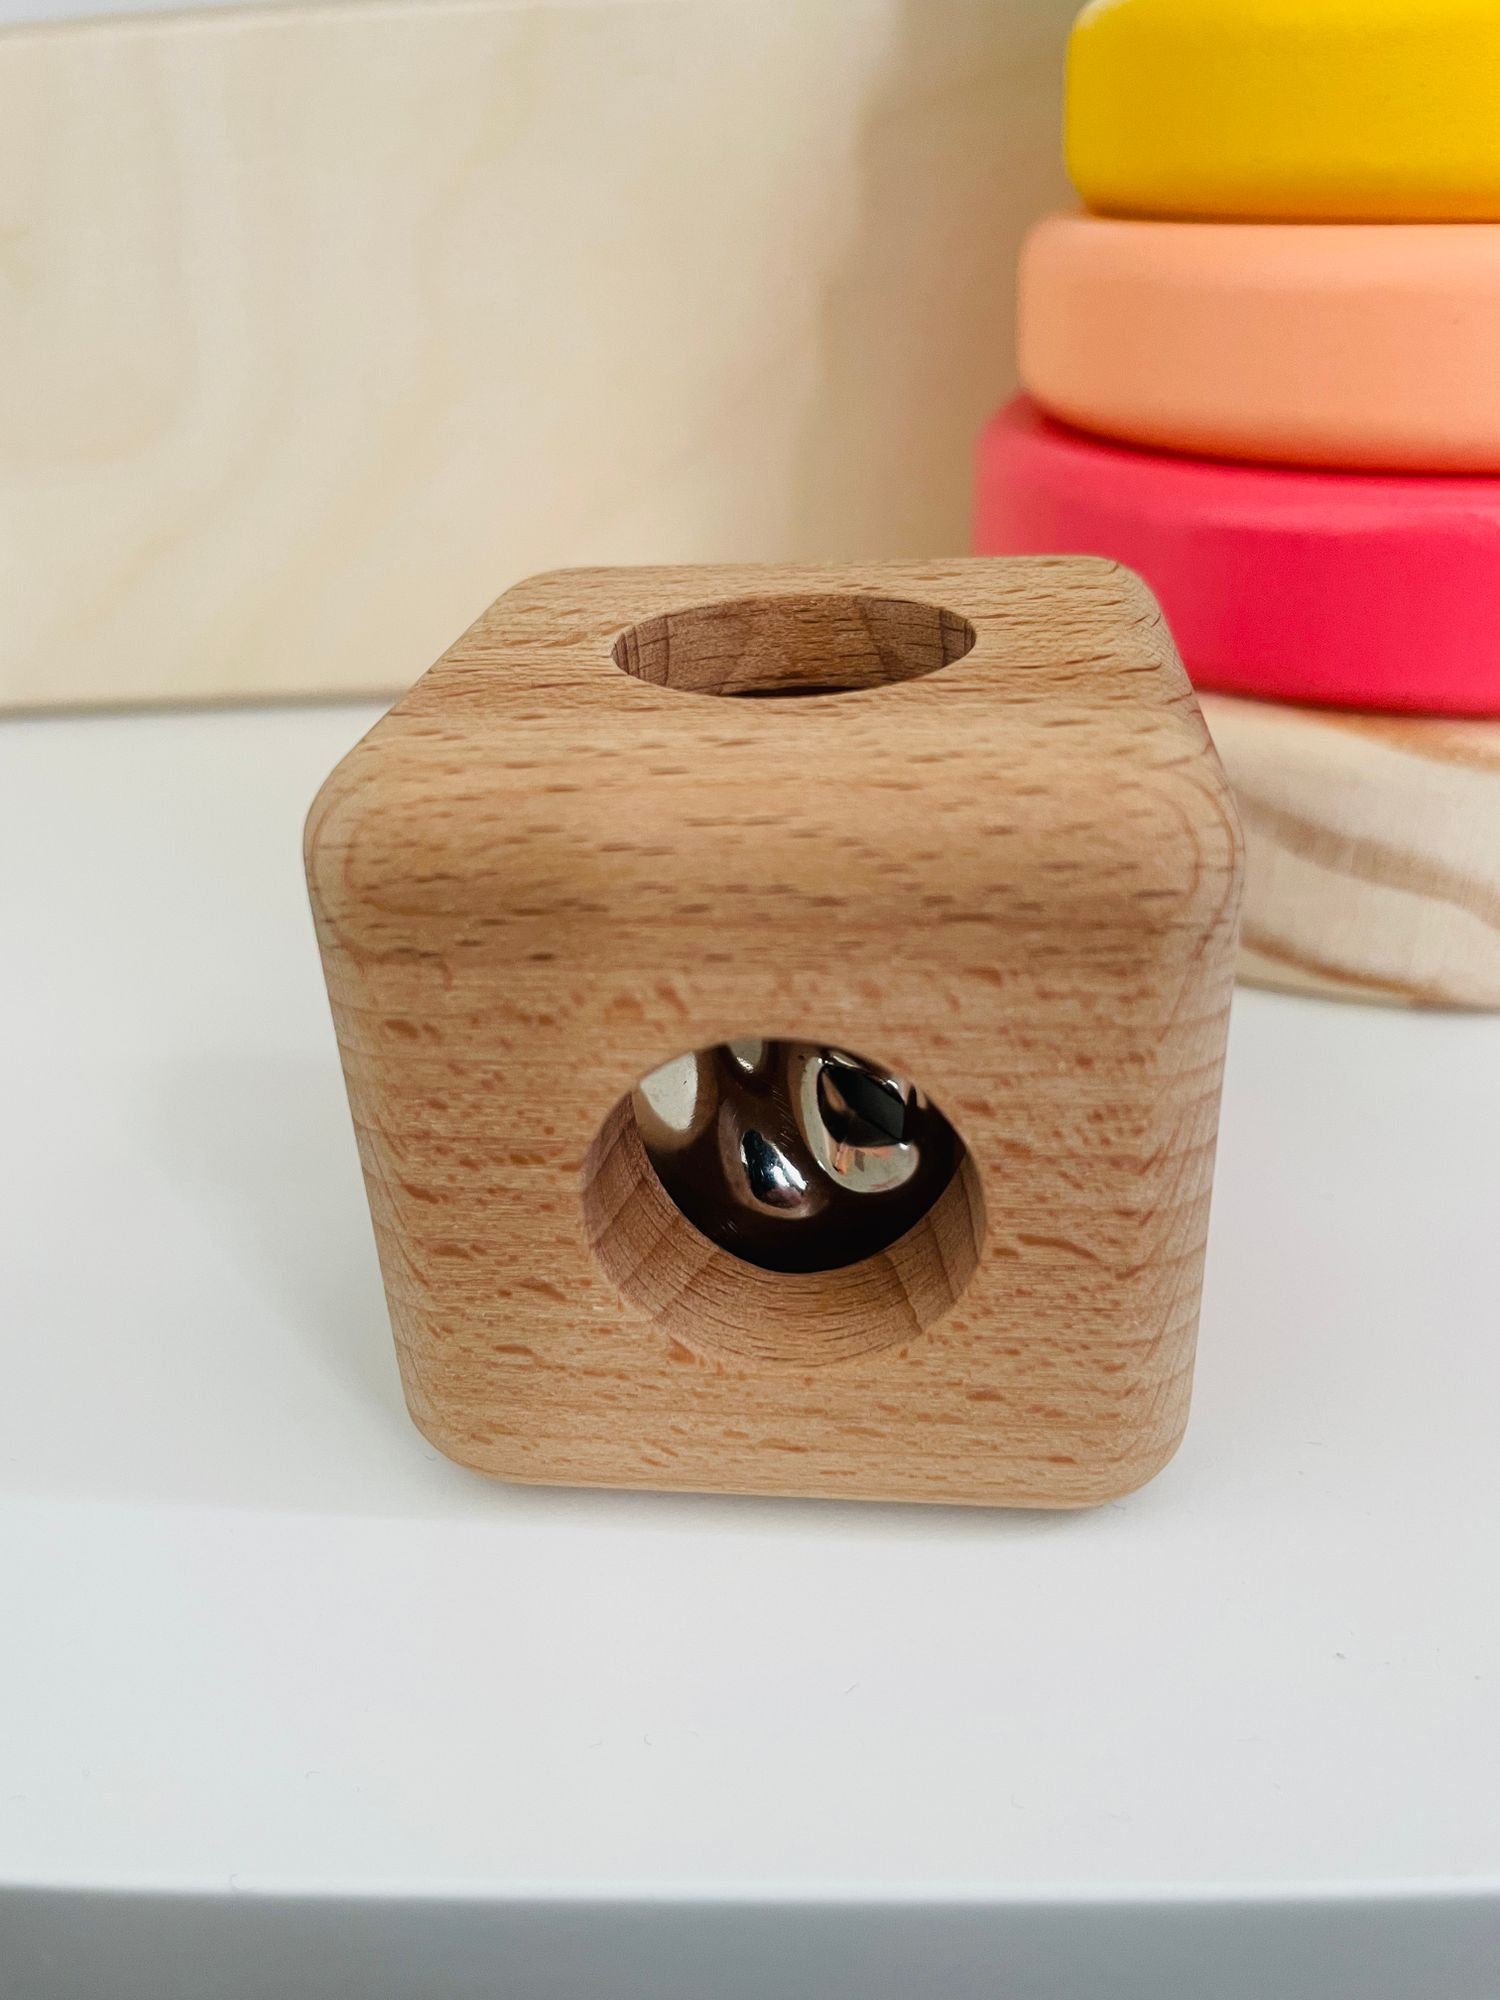
Pick small bells that make a gentle sound. Make sure they are securely enclosed inside the cube to avoid any choking hazard.
| Bell Type | Size | Sound |
| Jingle Bells | Small (10 mm) | Soft and clear |
| Craft Bells | Medium (15 mm) | Mild ringing |
| Baby Bells | Very Small (8 mm) | Quiet and gentle |
Additional Supplies
You will need some extra supplies to complete your soft toy cube. These items help with assembly and finishing touches.
- Thread matching your fabric colors
- Scissors for cutting fabric
- Needle or sewing machine
- Stuffing material like polyester fiberfill
- Fabric marker or chalk for marking cuts
- Pins to hold fabric pieces in place

Preparing The Fabric
Preparing the fabric is the first step to make a soft toy cube with bells. Proper fabric preparation helps the toy look neat and last longer.
In this section, you will learn how to measure and cut the fabric correctly. You will also see how to mark sewing lines for easy stitching.
Measuring And Cutting
Use a ruler or measuring tape to get exact dimensions for each side of the cube. The cube has six equal square faces. Add extra fabric for sewing seams.
- Decide the size of the cube sides, for example, 4 inches each.
- Draw six squares of this size on the fabric with a fabric pencil.
- Add a ¼ inch seam allowance around each square.
- Use sharp fabric scissors to cut out the six squares carefully.
Marking Sewing Lines
Mark sewing lines on the fabric to guide your stitches. These lines help you sew straight and keep the shape of the cube.
| Fabric Part | Marking Purpose | Marking Tool |
|---|---|---|
| Squares | Show seam allowance | Fabric pencil or chalk |
| Edges | Align pieces for sewing | Ruler and pencil |
| Center of squares | Place the bell inside | Light dot mark |
Sewing The Cube Sides
Sewing the sides of your soft toy cube is an important step. It shapes the cube and keeps the stuffing inside.
Take your time to sew straight seams and strong stitches. This will make your cube last longer and look neat.
Stitching Techniques
Use a simple running stitch or backstitch to join the cube sides. Backstitch is stronger and holds better.
- Align two fabric squares with the right sides facing each other.
- Start sewing from one corner using a backstitch.
- Sew along the edge with small, even stitches.
- Leave one side open to add stuffing later.
- Repeat to join all sides, forming a cube shape.
Adding Bells Inside
Adding bells inside the cube creates a fun sound when shaken. Place the bells carefully before sewing the last side.
| Bell Placement | Tip |
|---|---|
| Center of the cube | Wrap bells in a small fabric pouch to avoid noise rubbing. |
| Near corners | Secure bells firmly with stitches to prevent movement. |
| Multiple bells | Distribute evenly for balanced sound. |
After placing the bells, sew the final side closed. Make sure the stitches are tight to keep the bells inside securely.
Assembling The Cube
Assembling the soft toy cube is the fun part where all pieces come together. You will join the fabric panels and place the bells inside carefully.
Take your time to follow each step for a neat and soft finished cube. Make sure the bells are secure and the panels fit well.
Joining The Panels
Start by aligning two panels with the right sides facing each other. Use pins to hold them in place before sewing.
- Sew along the edges with a small seam allowance.
- Leave one side open to add the bells later.
- Repeat for all six panels to form the cube shape.
- Double-check all seams for strength and evenness.
Ensuring Bell Placement
Placing the bells inside the cube needs care. They should be evenly spread for balanced sound and feel.
| Bell Position | Panel Side | Notes |
|---|---|---|
| Center | Inside one panel | Secure with extra stitching |
| Corners | Near seam edges | Keep bells away from corners to avoid sharp sounds |
| Even Distribution | Across panels | Ensures balanced sound and feel |
After placing the bells, finish sewing the last open side. Turn the cube right side out and stuff it softly.
Stuffing The Toy
Stuffing a soft toy cube properly is important. It makes the toy look and feel nice. You want the cube to be soft and cuddly for playtime.
Let's talk about how to stuff your toy cube with bells inside. This will help you make a lovely and fun toy.
Choosing The Right Filling
The filling you choose affects the softness and shape. Some fillings are better than others for different toys.
Think about what you want your toy to feel like. Do you want it very soft or a bit firm?
- Polyester fiberfill is soft and fluffy.
- Cotton filling is natural and firm.
- Foam pieces can be used for extra shape.
Filling Without Gaps
Filling without gaps is key for a nice toy. Gaps make the toy look uneven and can affect the sound of the bells.
Make sure to fill all corners and edges of the cube. This keeps the toy firm and the bells in place.
| Tip: | Use small amounts of filling at a time. |
| Tip: | Press gently to spread the filling evenly. |

Finishing Touches
Creating a soft toy cube with bells is a fun project. The finishing touches make your cube look polished and complete.
After assembling the main parts, focus on closing the final seam and adding optional decorations.
Closing The Final Seam
The final seam is important for a neat finish. Use small, even stitches to close the opening.
Ensure the seam is tight so the stuffing and bells stay secure inside the cube.
Tips for sewing the final seam:
- Use a thread color that matches your fabric.
- Tuck in raw edges for a clean look.
- Double-knot the thread to prevent unraveling.
Optional Decorations
Decorations add personality to your soft toy cube. Consider adding colorful patches or embroidery.
Personal touches make the toy unique and special for the recipient.
- Stitch on felt shapes like stars or hearts.
- Use fabric paint for custom designs.
- Add ribbons or small bows for extra flair.
Care Tips For Soft Toy
Soft toys with bells bring joy to children and adults. Keeping them clean and safe helps them last longer.
Follow simple care tips to keep your soft toy cube fresh and in good shape.
Cleaning Instructions
Clean your soft toy cube regularly to remove dust and dirt. Use gentle methods to protect the fabric and bells inside.
Hand washing is the safest way to clean soft toys with bells. Avoid harsh chemicals or strong washing machines.
- Use mild soap and lukewarm water
- Gently scrub the surface with a soft cloth
- Rinse carefully to remove all soap
- Air dry completely before use
- Do not soak the toy to protect the bells inside
Storage Suggestions
Store your soft toy cube in a dry and clean place. Keep it away from direct sunlight to prevent color fading.
Proper storage keeps the toy soft and protects the bells from damage or rust.
- Place the toy in a breathable fabric bag
- Avoid storing in damp or humid areas
- Keep away from pets that may chew the toy
- Do not compress the toy under heavy items
- Check the toy regularly for any wear or damage
Frequently Asked Questions
What Materials Are Needed For A Soft Toy Cube With Bells?
You need soft fabric, sewing thread, stuffing, small bells, and a needle. Choose colorful fabrics to make the toy appealing and safe for kids.
How Do You Securely Attach Bells Inside The Cube?
Sew a small fabric pouch inside the cube to hold the bells. Ensure the pouch is tightly stitched to prevent bells from escaping.
What Stuffing Is Best For A Soft Toy Cube?
Use polyester fiberfill or cotton stuffing for softness and safety. These materials keep the toy lightweight and cuddly for children.
How Long Does It Take To Make A Soft Toy Cube?
Typically, it takes about 1 to 2 hours depending on your sewing skills. Beginners might need more time for precise stitching and stuffing.
Conclusion
Making a soft toy cube with bells is fun and simple. You only need a few materials and some basic steps. This craft brings joy to kids and adds a personal touch to gifts. You can customize colors and sounds to fit your style.
Try making one today and enjoy the process. It’s a great way to be creative and make something special. Keep practicing, and your skills will improve fast.