Have you ever wanted to create something unique with your own hands? Making a wooden person toy figurine is a fun and rewarding project that anyone can try.
Imagine holding a small, hand-crafted figure that you built from scratch—something personal and special. In this guide, you’ll learn simple steps to turn a piece of wood into a charming toy figurine. Whether you’re a beginner or looking for a new hobby, this project will spark your creativity and give you a sense of pride.
Ready to start making your own wooden person toy? Let’s dive in!

Credit: www.reddit.com
Materials Needed
Making a wooden person toy figurine needs the right materials. Choosing good wood and tools helps you create a nice toy.
This guide shows what wood, tools, and supplies you will need to start your project.
Choosing The Right Wood
Pick wood that is easy to carve and safe for toys. Soft woods work best for beginners. Hard woods last longer but need more skill.
Look for wood that is smooth and has no knots. Avoid treated or painted wood to keep the toy safe.
- Pine – soft and easy to carve
- Basswood – smooth and light
- Cedar – nice smell and soft
- Maple – harder but durable
Essential Tools
You need a few basic tools to shape and detail your wooden figurine. Sharp tools make the work safer and cleaner.
Keep your tools sharp and clean to avoid slips. Use a safe workspace with good light.
- Carving knives or whittling knives
- Small saw for cutting wood pieces
- Sandpaper in different grits for smooth edges
- Pencil for drawing your design
- Clamps to hold wood steady
Additional Supplies
Extra supplies help finish your toy and make it look nice. Paints and sealers protect the wood and add color.
Choose non-toxic paints and finishes to keep the toy safe for kids.
- Non-toxic acrylic paints or wood stains
- Paintbrushes in small sizes
- Wood glue for attaching parts
- Clear sealer or varnish to protect wood
- Protective gloves and goggles
Designing Your Figurine
Designing your wooden person toy figurine starts with a clear plan. You need to think about its shape and size before you begin carving.
A good design helps make your figurine look balanced and interesting. It also guides you through the making process.
Sketching The Shape
Start by drawing simple shapes to show the head, body, arms, and legs. Use circles and ovals to get the form right.
Sketch different poses to find one that looks natural. Keep your lines light so you can change them easily.
- Draw basic shapes first
- Focus on the overall pose
- Keep details minimal at this stage
- Use a pencil for easy adjustments
Selecting Size And Proportions
Decide how tall your figurine will be. Choose a size that fits your tools and wood piece.
Check the proportions of each part. The head, body, arms, and legs should look balanced together.
- Measure the wood block before starting
- Keep the head about one-seventh of total height
- Make arms and legs proportional to the body
- Sketch size guides on your drawing
Cutting The Wood
Cutting the wood is a key part of making a wooden person toy figurine. This step needs care and attention to get smooth shapes. Safety should always come first while working with tools.
In this section, we will look at how to mark the outline and use safe cutting techniques. These help you cut the wood correctly and avoid injuries.
Marking The Outline
Start by drawing the shape of the wooden person on the wood piece. Use a pencil and ruler for straight lines. If the figure has curves, use a flexible curve ruler or freehand carefully.
- Choose a smooth, flat wood surface
- Use a sharp pencil for clear lines
- Draw all main parts: head, body, arms, and legs
- Double-check measurements before cutting
- Make the lines dark enough to see easily
Safe Cutting Techniques
Use proper safety steps when cutting wood. Keep your workspace clean and wear safety gear like goggles and gloves. Always cut away from your body.
- Secure the wood piece firmly with clamps
- Choose the right saw for the cut type
- Use slow and steady motions to follow the outline
- Keep fingers and hands clear of the blade
- Take breaks to avoid fatigue and loss of control
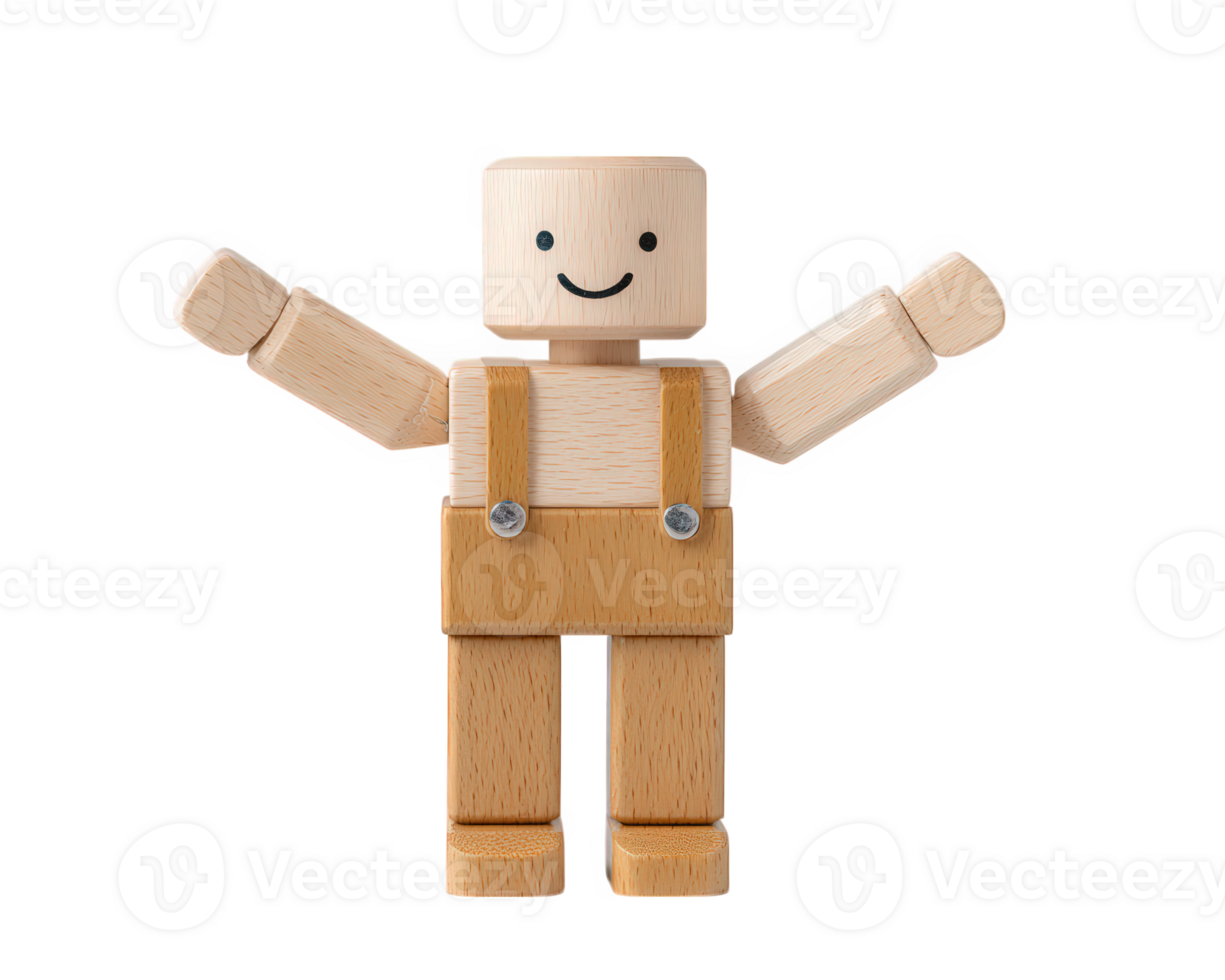
Credit: www.vecteezy.com
Shaping And Carving
Making a wooden person toy figurine starts with shaping the wood. You carve the wood to form the basic shape of the figure.
Carving adds details that bring the toy to life. Careful shaping and carving make the figurine look more real and fun.
Basic Carving Methods
Use simple tools like a carving knife or chisel to shape the wood. Cut away small pieces slowly to avoid mistakes.
Start with rough cuts to create the general shape. Then, use finer tools to smooth the surface and refine the form.
- Use a carving knife for detailed cuts.
- Chisels help remove larger wood pieces.
- Sandpaper smooths rough edges after carving.
- Work slowly to control the shape.
Detailing Features
Small details make your wooden person toy special. Carve eyes, mouth, and clothes carefully for a nice look.
Use fine knives or small gouges for tiny features. Add texture for hair or clothing to make the figure more interesting.
- Carve simple eyes and mouth shapes.
- Add hair texture with small cuts.
- Shape fingers and toes with fine tools.
- Use light sanding to keep details clear.
Sanding And Smoothing
Sanding is an important step in making a wooden person toy figurine. It removes rough spots and shapes the wood. Smoothing prepares the surface for painting or finishing.
Using the right sandpaper and technique helps achieve a clean, smooth finish. This makes your figurine look better and feel nice to touch.
Choosing Sandpaper Grit
Different sandpaper grits serve different purposes. Starting with a coarse grit removes big bumps. Finer grits smooth the surface step by step.
- Coarse grit (60-80): Removes rough wood and shapes the figurine.
- Medium grit (100-150): Smooths scratches left by coarse grit.
- Fine grit (180-220): Prepares wood for finishing by creating a smooth surface.
- Extra fine grit (320+): Used for sanding between finish coats for extra smoothness.
Achieving A Smooth Finish
After sanding, use clean cloth to remove dust. Sand in the direction of wood grain to avoid scratches. Use light pressure for the final sanding.
| Step | Action | Tip |
|---|---|---|
| 1 | Start with coarse grit sandpaper | Focus on rough areas and edges |
| 2 | Sand with medium grit | Even out the surface |
| 3 | Use fine grit for smoothness | Follow wood grain direction |
| 4 | Clean dust and check surface | Use a soft cloth or brush |
| 5 | Optionally, use extra fine grit | For very smooth finish before painting |
Painting And Decorating
Painting and decorating wooden toy figurines is a fun activity. It lets you add personality and charm to your toys.
You can use different paints and decorations. These choices can make your wooden person unique and special.
Selecting Paint Types
Choosing the right paint is important. It affects how your toy looks and lasts.
Water-based acrylic paints are good for beginners. They dry fast and are easy to clean.
- Acrylic paints for vibrant colors
- Non-toxic paints for safety
- Matte finish for a natural look
Adding Facial Features And Clothing
Facial features make your toy come alive. Simple lines can create eyes, a nose, and a mouth.
You can paint clothes to add character. Use different colors to show shirts, pants, and shoes.
- Use a fine brush for details
- Layer colors for depth
- Paint patterns for style
Sealing And Protecting
Making a wooden person toy figurine is fun. But it needs protection to last long.
Sealants guard the wood from moisture and scratches. This keeps your toy looking new.
Applying Sealants
Pick a sealant that is safe for toys. Water-based options are good choices.
Use a brush to apply the sealant evenly. Cover every part of the toy.
- Sand the wood lightly before sealing
- Apply a thin coat of sealant
- Let it dry completely
Drying And Curing Times
Drying time depends on the type of sealant. Check the label for details.
Curing makes the sealant strong. It takes longer but is very important.
| Sealant Type | Drying Time | Curing Time |
| Water-based | 1-2 hours | 24 hours |
| Oil-based | 6-8 hours | 48 hours |

Credit: www.amazon.com
Tips For Beginners
Making a wooden person toy figurine is fun and creative. It takes practice but anyone can start.
This guide helps beginners avoid mistakes and improve skills for better results.
Avoiding Common Mistakes
Many beginners rush the process or skip important steps. This leads to poor shapes or broken parts.
- Do not use dull tools; they cause splinters and rough cuts.
- Measure twice before cutting wood pieces.
- Sand edges carefully to avoid sharp or uneven surfaces.
- Glue parts only after dry fitting them in place.
- Paint after the glue dries to prevent smudges.
Improving Your Skills
Practice is key to making better wooden figurines. Focus on steady hands and smooth shapes.
| Skill | Practice Tips |
| Cutting | Use a sharp blade and cut slowly for clean lines. |
| Shaping | Sand with fine-grit paper to smooth curves evenly. |
| Assembling | Test fit all parts before gluing to avoid mistakes. |
| Painting | Apply thin coats and let dry between layers for neat finishes. |
Frequently Asked Questions
What Materials Are Needed For A Wooden Person Toy Figurine?
You need wood blocks, carving tools, sandpaper, wood glue, paint, and brushes. Choose softwood like pine for easy carving and smooth finishes.
How Long Does It Take To Make A Wooden Toy Figurine?
Making a wooden toy figurine usually takes 3 to 6 hours. Time varies based on design complexity and skill level.
What Safety Tips Should I Follow While Carving Wood?
Always use sharp tools carefully, wear safety goggles, and carve away from your body. Keep your workspace clean and well-lit to avoid accidents.
Can Beginners Make Wooden Person Toy Figurines Easily?
Yes, beginners can create simple figurines with basic tools. Start with easy designs and practice carving techniques before moving to complex shapes.
Conclusion
Creating a wooden person toy figurine is a fun and rewarding project. It lets you bring your ideas to life with simple tools. You can enjoy every step, from shaping to painting. This craft helps improve your skills and patience.
Each figurine you make is unique and special. Try different designs to keep learning and having fun. Start your wooden toy project today and see how creative you can be. Keep practicing, and your work will get better every time.
Enjoy the process and the joy of handmade toys.