Are you looking for a fun and creative project that you can easily do at home? Building your own DIY cardboard toy skeleton model is a perfect way to bring a cool, hands-on experience to your day.
Imagine holding a detailed skeleton you made yourself, piece by piece. Not only will this challenge your creativity, but it will also give you a sense of pride and accomplishment. Keep reading, and you’ll discover simple steps and tips to create your very own cardboard skeleton that’s both educational and entertaining.
Ready to get started? Let’s dive in!

Credit: www.youtube.com
Materials Needed
Building a cardboard toy skeleton model is a fun project. Using the right materials makes it easier to create. This guide helps you gather all you need.
Focus on the types of cardboard, the tools to use, and some decorative items to make your skeleton look great.
Choosing Cardboard Types
Pick cardboard that is sturdy but easy to cut. Corrugated cardboard works well for the main parts. Thin cardboard is good for small details.
| Cardboard Type | Use | Notes |
|---|---|---|
| Corrugated Cardboard | Main skeleton parts | Strong and easy to shape |
| Thin Cardboard | Small bones and joints | Flexible and detailed |
| Recycled Cardboard | Practice cuts | Eco-friendly and cheap |
Essential Tools
You need some basic tools to cut and assemble the cardboard. Keep safety in mind when using sharp tools.
- Box cutter or craft knife
- Cutting mat to protect surfaces
- Ruler and pencil for measuring
- Glue gun or strong adhesive
- Scissors for fine cuts
- Sandpaper to smooth edges
Optional Decorative Items
Decorate your skeleton to give it character. These items add color and style but are not required.
- White paint or markers to highlight bones
- Black marker for outlining details
- Googly eyes for a fun look
- Small stickers for decoration
- String or wire to connect parts
Designing The Skeleton
Building a cardboard toy skeleton begins with a clear design plan. Understanding the shape and parts helps create a sturdy model.
Focus on simple shapes and correct sizes to make assembly easier and the final skeleton look realistic.
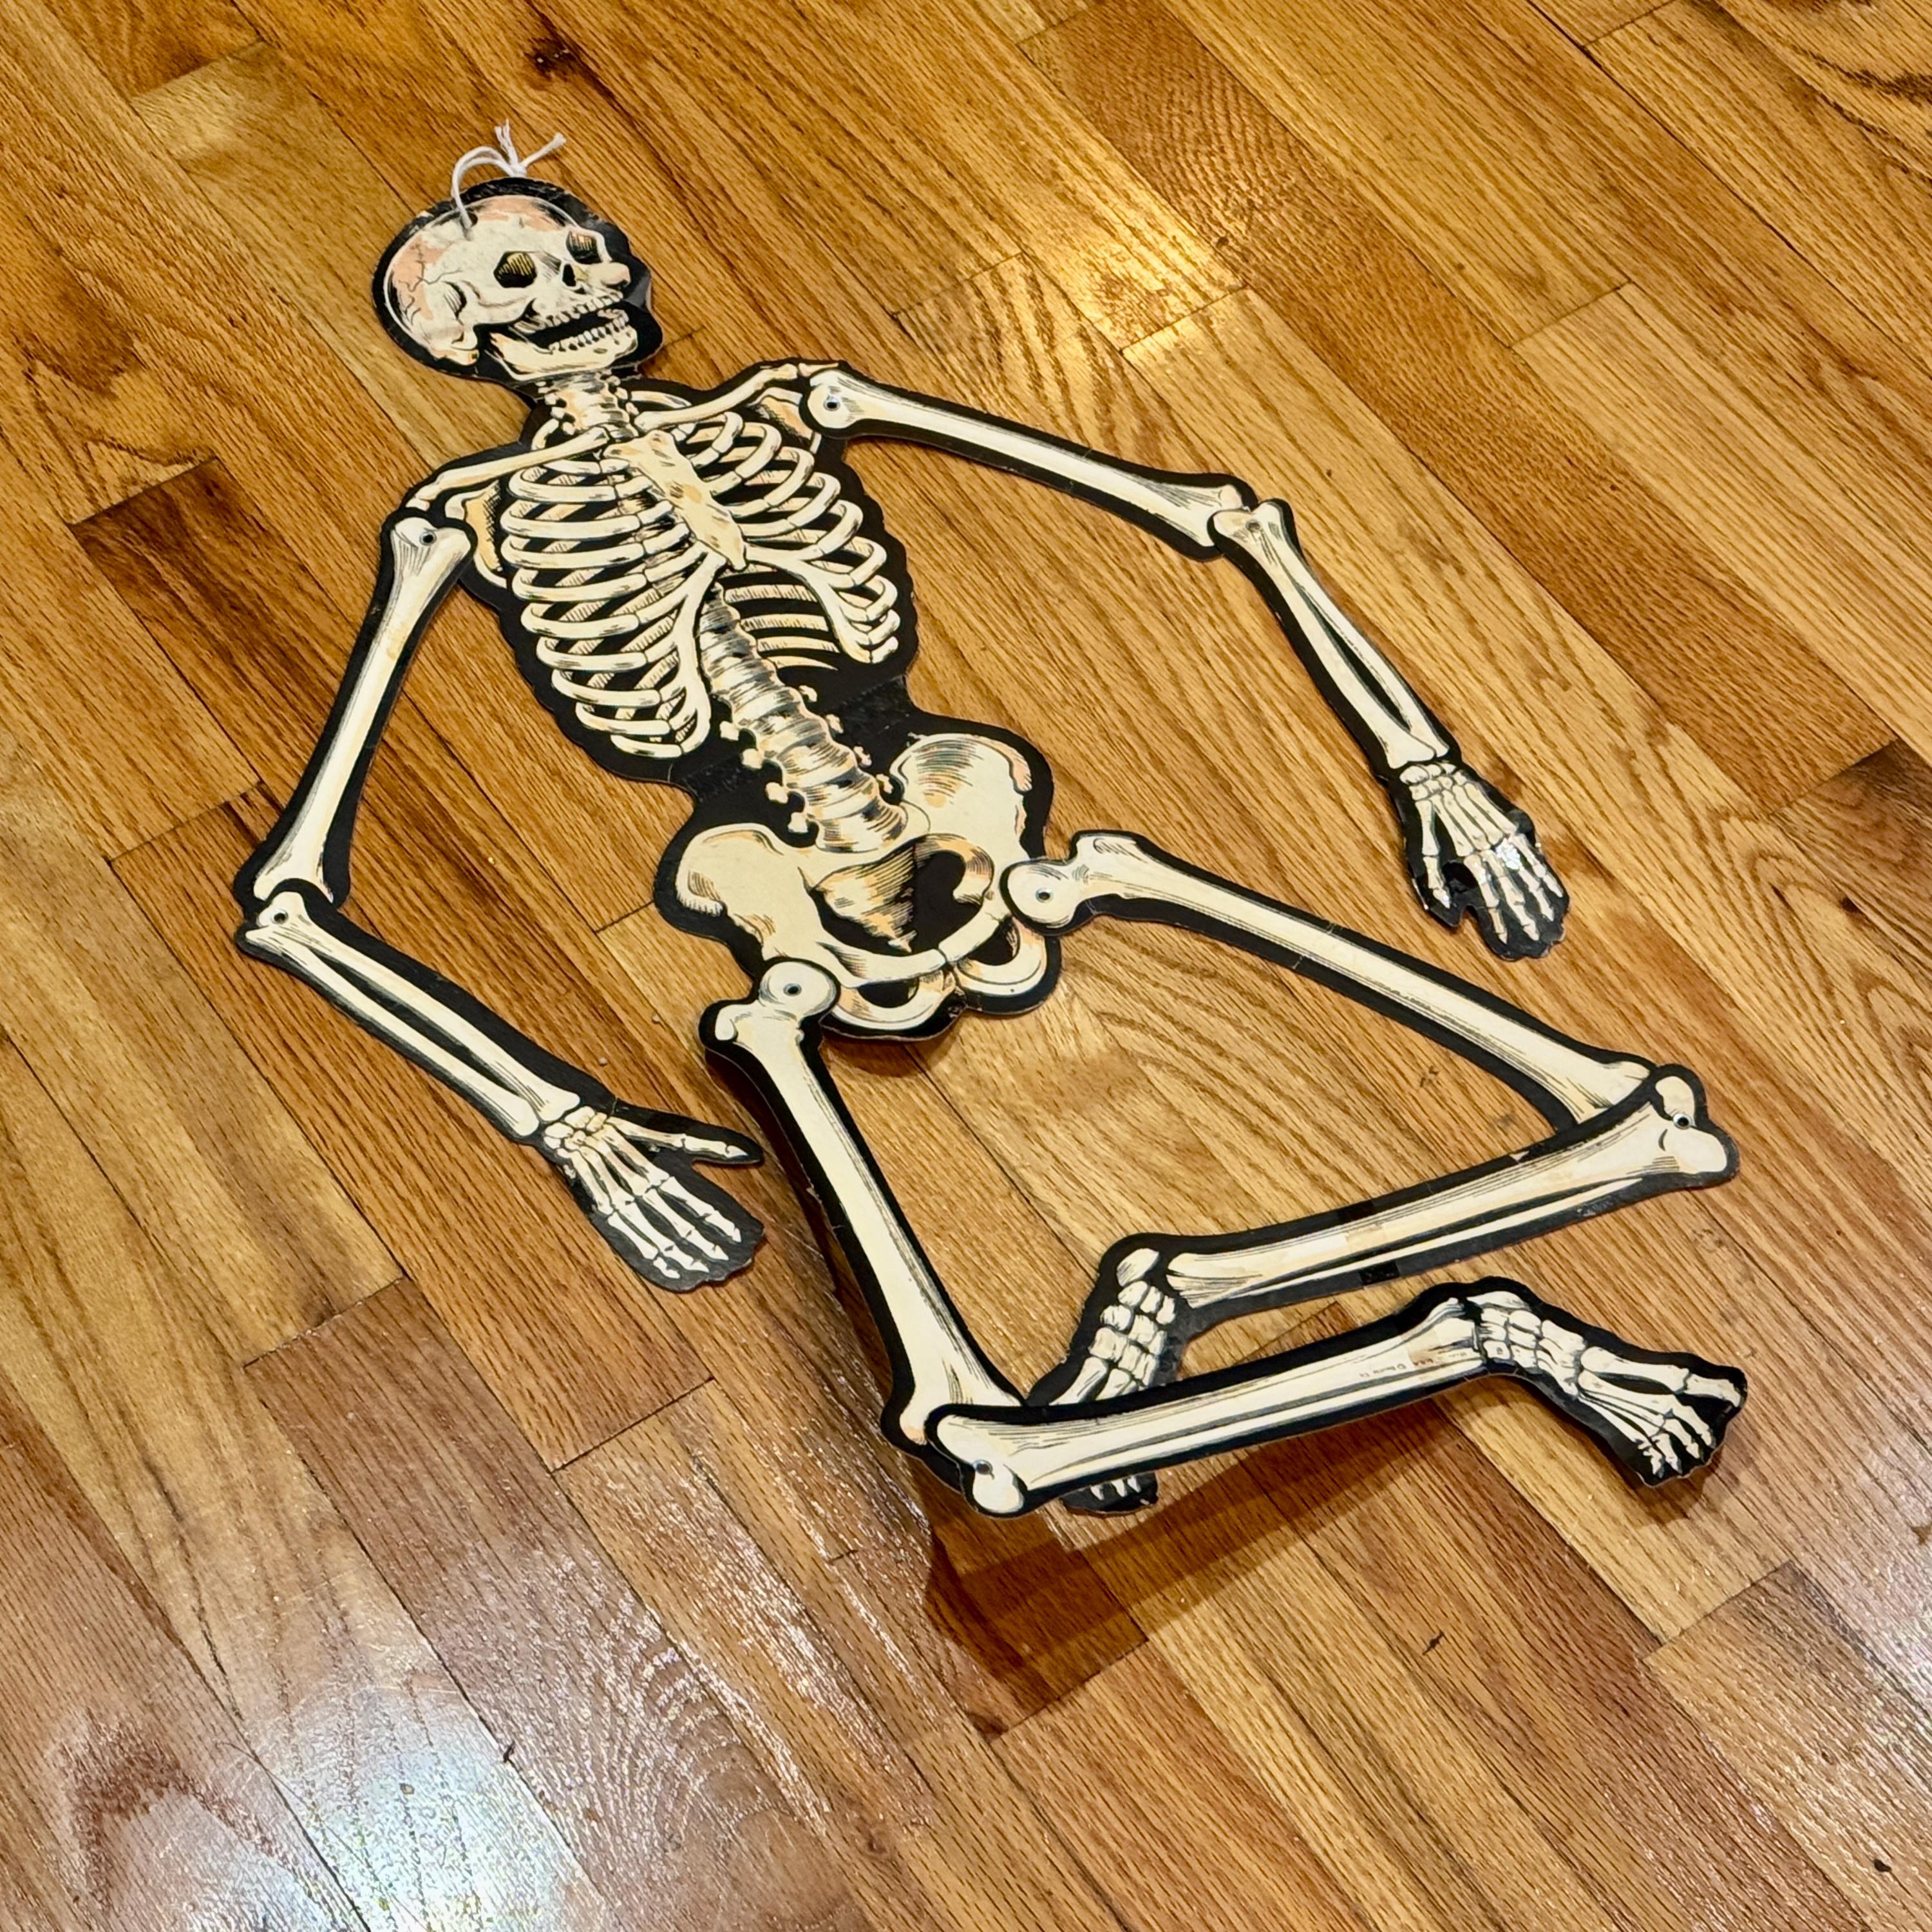
Basic Skeleton Anatomy
The skeleton has many parts, but you only need the main bones for your model. These include the skull, ribcage, spine, arms, and legs.
- Skull: the head bone that holds the face shape
- Ribcage: protects the chest area and lungs
- Spine: a chain of bones supporting the body
- Arms: upper and lower arm bones with hands
- Legs: thigh and lower leg bones with feet
Sketching The Parts
Draw each bone part on paper before cutting cardboard. Keep shapes simple and clear to help with cutting and folding.
| Bone Part | Key Shape | Notes |
| Skull | Oval with jawline | Include eye sockets and nose area |
| Ribcage | Rounded rectangle | Draw ribs as curved lines inside |
| Spine | Long thin rectangles | Segment into small connected pieces |
| Arm Bones | Thin rectangles | Separate upper arm and forearm |
| Leg Bones | Thicker rectangles | Include thigh and lower leg segments |
Scaling And Sizing
Choose a size that fits your cardboard sheets and workspace. Keep all parts proportional for a balanced look.
- Measure your cardboard width and height.
- Decide the skeleton height you want to build.
- Calculate each bone’s size based on real skeleton ratios.
- Adjust sizes to fit within your cardboard sheets.
- Draw all parts to scale on your sketches.
Cutting And Shaping
Cutting and shaping are important steps for making a cardboard toy skeleton model. Careful cutting creates clean pieces. Shaping gives the model a realistic look.
Using the right tools and techniques helps you build a strong and neat skeleton. Take time to work safely and accurately.
Safe Cutting Techniques
Always use a sharp craft knife or box cutter for clean cuts. Dull blades can slip and cause injury or rough edges.
Cut on a cutting mat to protect your surface. Keep your fingers away from the blade path. Cut slowly and steadily for control.
- Use a ruler to guide straight cuts
- Cut away from your body
- Replace blades when they get dull
- Work in a well-lit area
- Keep your hands dry and clean
Creating Joints And Movable Parts
Joints let the skeleton move its arms and legs. Cut small tabs and slots to connect parts. This creates flexible points.
Use thin cardboard strips as hinges. Attach parts with glue or small brads. Test the movement before the glue dries fully.
- Make slots slightly bigger than tabs
- Use paper fasteners for easy rotation
- Reinforce joints with extra cardboard
- Allow enough space for parts to move freely
Smoothing Edges
After cutting, edges can be rough or uneven. Use sandpaper or an emery board to smooth edges gently. This improves the look and feel.
Remove small paper fibers or bumps. Smooth edges also help pieces fit together better and make the model safer to handle.
- Use fine-grit sandpaper for best results
- Sand in one direction only
- Be gentle to avoid bending cardboard
- Clean dust off edges after sanding
Assembly Process
Building a cardboard toy skeleton is fun and easy. You need to follow some simple steps to put all parts together. This guide helps you join the bones and make the model strong.
Each part fits like a puzzle. The right tools and methods make your skeleton stable and ready to display.
Connecting Bones
Start by matching the slots on the bones. Insert tabs carefully to avoid bending the cardboard. Make sure parts fit snugly but do not force them.
- Align each bone piece by matching slots
- Insert tabs slowly into the slots
- Check that each joint moves if designed to
- Use a flat surface to keep parts steady
Using Fasteners And Adhesives
Fasteners like small brads or paper clips hold parts firmly. You can also use glue for a permanent hold. Choose glue that dries clear and sticks well to cardboard.
| Type | Use | Dry Time |
| Paper Clips | Temporary hold | Immediate |
| Brads | Strong joints | Immediate |
| White Glue | Permanent bond | 30 minutes |
| Hot Glue | Quick hold | 1-2 minutes |
Ensuring Stability
Check each connection for firmness. Reinforce weak spots with extra glue or tape. Keep the skeleton balanced by adjusting joints carefully.
- Let glue dry fully before moving parts
- Use small weights at the base if needed
- Adjust joints to avoid wobbling
Painting And Decorating
Creating a DIY cardboard toy skeleton model is a fun activity. Painting and decorating it can make the model unique and exciting.
With some creativity, you can bring your cardboard skeleton to life. Let's explore some simple steps to enhance its appearance.
Choosing Colors
Picking the right colors is important for your skeleton model. Choose colors that match the theme or setting you imagine.
- White and black for a classic look
- Neon colors for a modern touch
- Earth tones for a natural feel
Adding Details
Details make your skeleton model stand out. Use markers or paint to add lines and shapes that resemble bones.
Think about adding small features like cracks or textures. These can make your model look more realistic.
Sealing And Finishing
Sealing your model helps protect the paint. It can also give the skeleton a nice finish.
- Use a clear spray sealer for a glossy look
- Try matte finish for a subtle appearance
- Ensure the model is dry before sealing
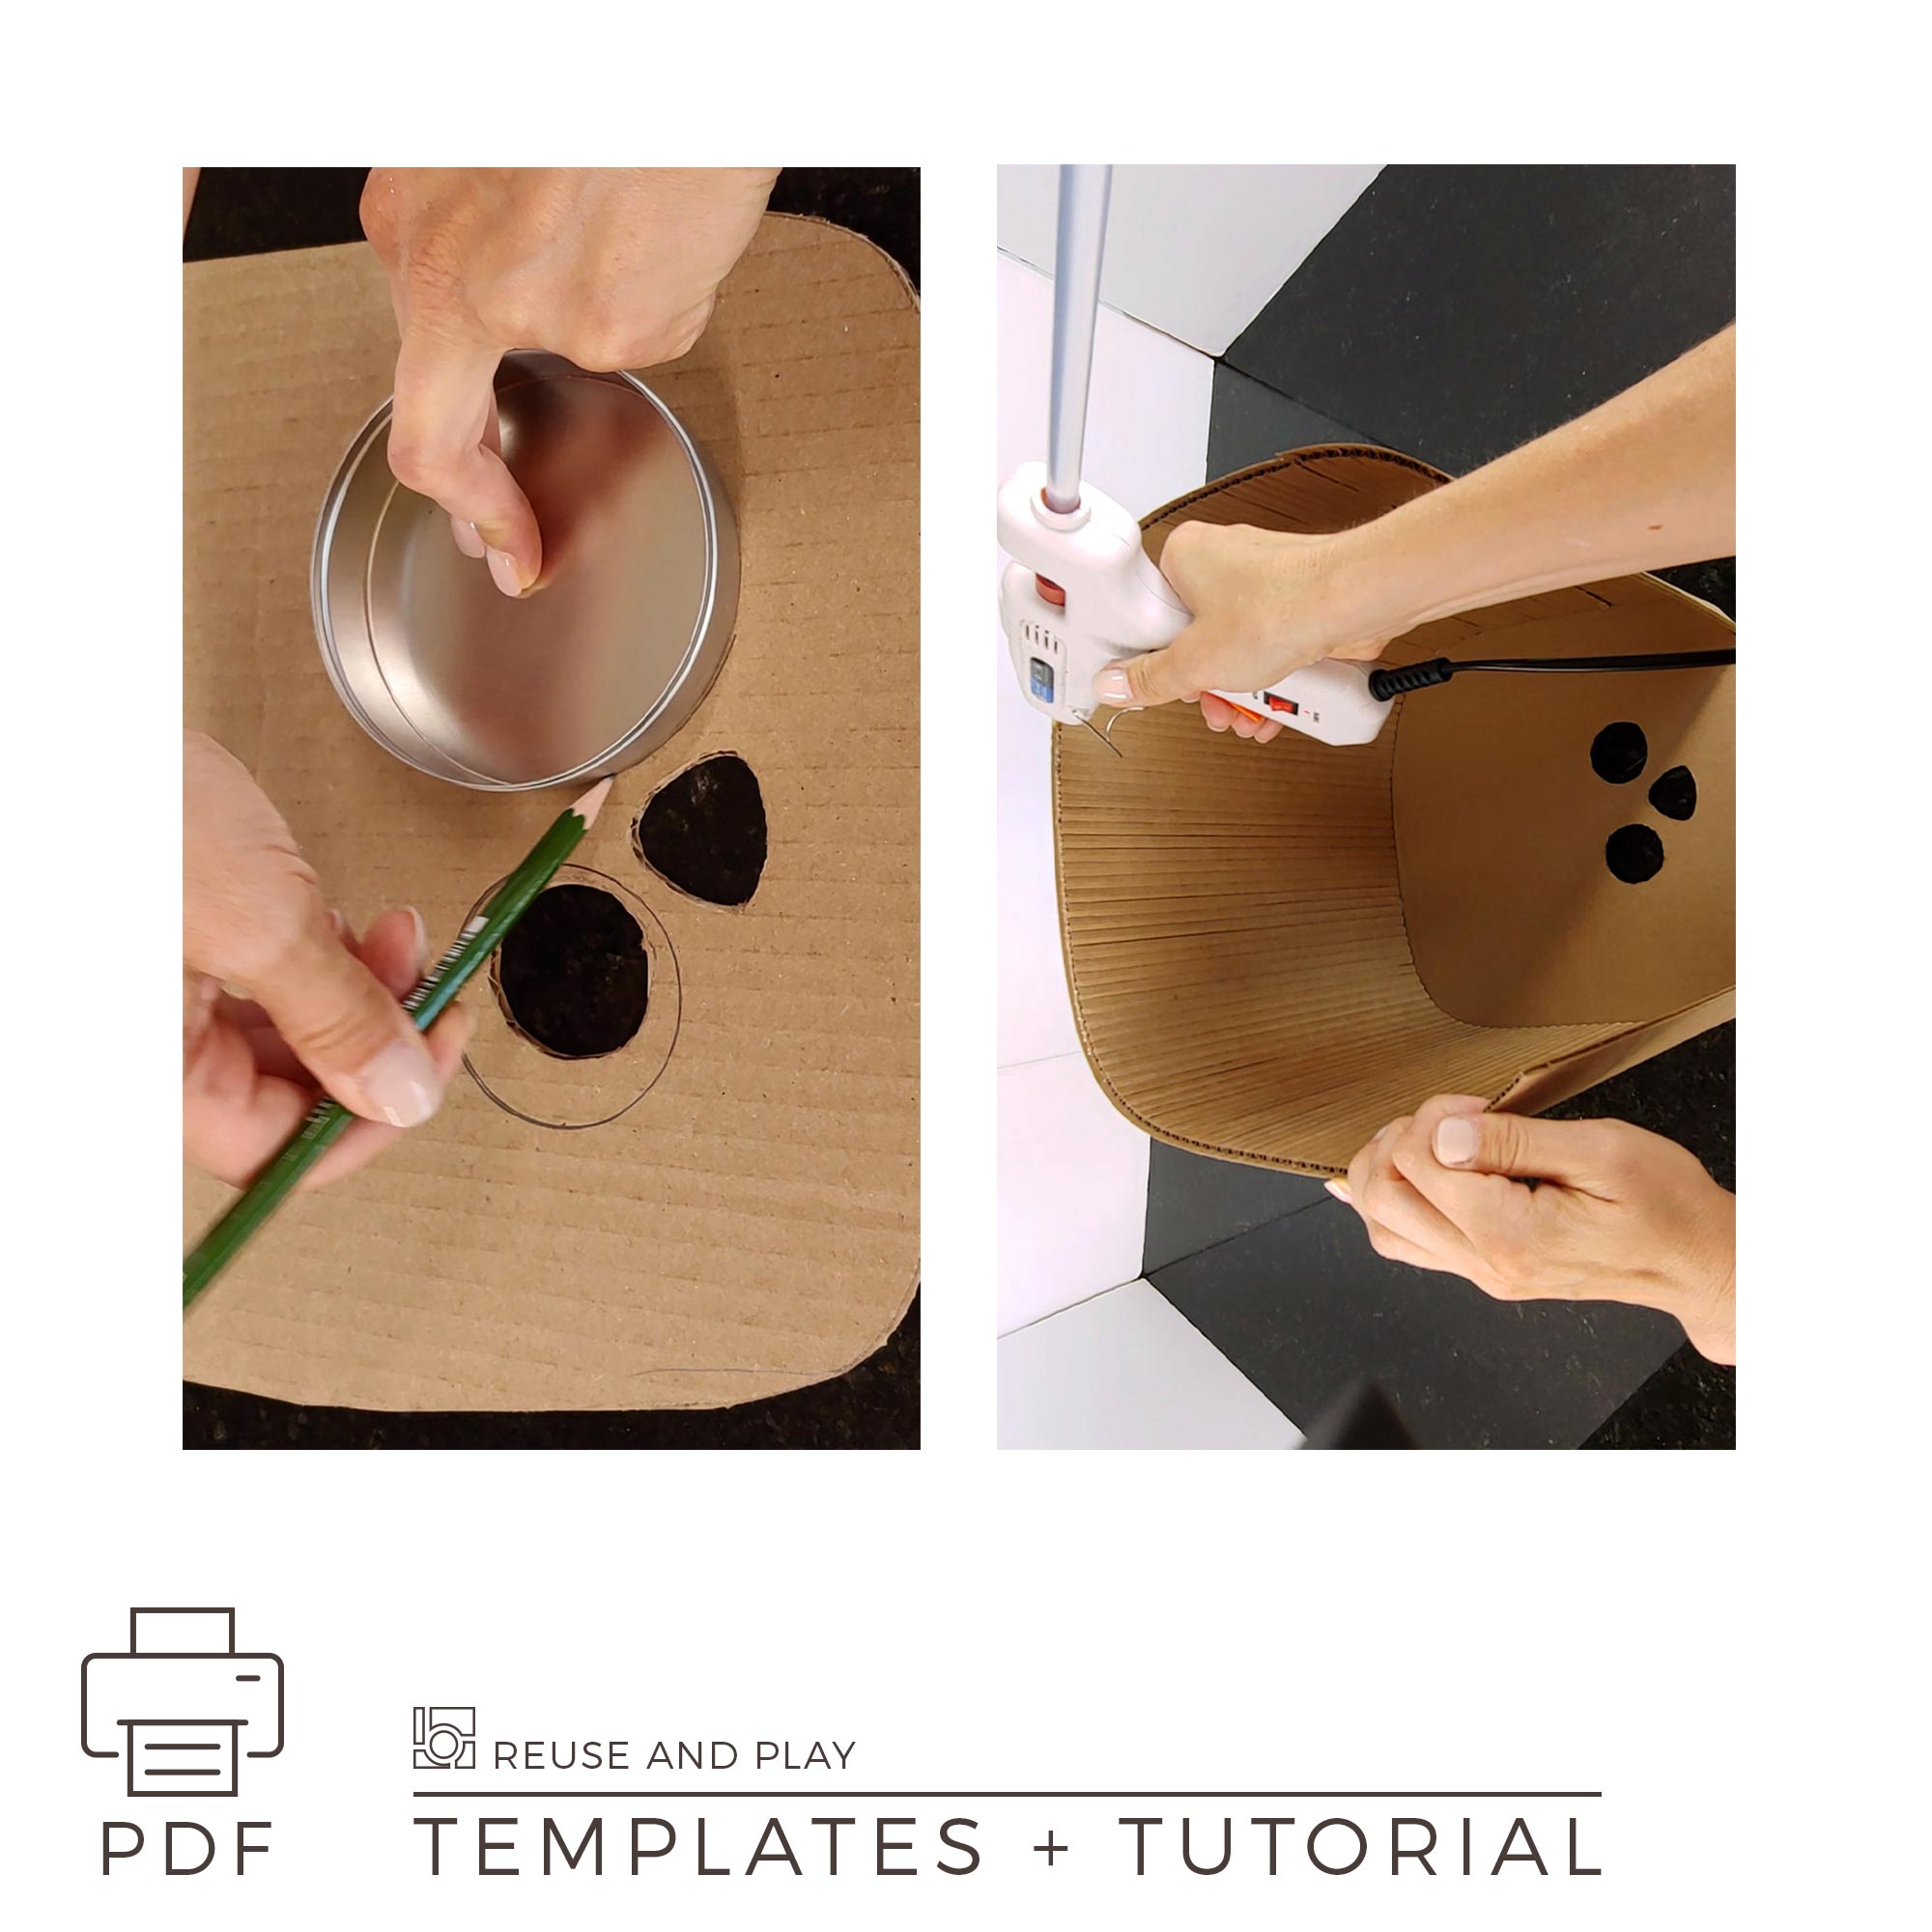
Credit: reuseandplay.com
Creative Play Ideas
Building a cardboard toy skeleton model can be fun. It opens the door to endless play possibilities. Kids can learn while they play with this unique model.
This model is not just a toy. It is a tool for creativity and imagination. Let's explore some creative play ideas with the cardboard skeleton model.
Storytelling With The Skeleton
Storytelling is a great way to use the skeleton model. Kids can create stories about the skeleton's adventures. This helps improve their imagination and speaking skills.
They can name the skeleton and make it a character in their stories. They can build worlds and scenarios for their skeleton friend.
- Create a mystery story with the skeleton as the detective
- Use the skeleton in a spooky Halloween tale
- Make the skeleton a superhero with special powers
Educational Uses
The skeleton model is also a great educational tool. It can teach kids about the human body and bones. This makes learning about anatomy fun and interactive.
Parents and teachers can use the model to explain different bones. They can show how bones connect and move. This hands-on learning aids memory and understanding.
- Label the bones to learn their names
- Discuss the function of each bone
- Compare the skeleton to animal skeletons
Display And Storage Tips
Displaying the skeleton model is a great way to show creativity. It can be a part of a child's room decor. Finding the right spot is important for both display and storage.
When not in use, the model should be stored carefully. This will keep it in good condition for future play. Consider these tips for display and storage.
- Use a shelf to display the skeleton
- Store in a box to protect from damage
- Keep parts together to avoid losing pieces
Troubleshooting Tips
Building a DIY cardboard toy skeleton can be fun and creative. Sometimes, parts may not fit well or get damaged during play.
These troubleshooting tips help fix common problems and keep your model strong and enjoyable.
Fixing Loose Joints
Loose joints make the skeleton floppy and hard to pose. Tightening them keeps the parts stable and fun to move.
Use small amounts of glue or tape at the joints. Let it dry fully before moving the parts again.
- Add a small paper strip inside the joint for extra grip
- Use clear tape to hold loose areas together
- Press the joint firmly after applying glue
Repairing Damaged Parts
Cardboard parts may tear or bend during use. Fixing damage early prevents bigger problems.
Patch tears with extra cardboard or paper glued over the damaged spot. Smooth out creases gently.
- Cut a cardboard patch slightly bigger than the tear
- Apply glue on the patch and place it over the damage
- Hold in place until dry to avoid bumps
- Use a ruler to flatten any folds carefully
Improving Durability
Making your toy skeleton last longer saves time and keeps it looking nice.
Use thicker cardboard or add layers for stronger bones. Seal surfaces with clear tape to protect from moisture.
- Double up cardboard in key areas for strength
- Cover edges with tape to stop fraying
- Store the model away from water and heat
- Handle gently to avoid quick wear
Credit: www.etsy.com
Frequently Asked Questions
What Materials Are Needed For A Cardboard Toy Skeleton?
You need sturdy cardboard, scissors, glue, a pencil, and a template. Optional tools include a craft knife and paint for decoration.
How Do I Assemble The Cardboard Skeleton Model?
Cut out all parts carefully. Fold along the lines and glue tabs to connect pieces. Allow glue to dry fully.
Can Children Safely Make This Cardboard Skeleton?
Yes, with adult supervision for cutting. This project is safe and educational for kids, promoting creativity and fine motor skills.
How Long Does It Take To Build The Model?
Assembly typically takes about 30 to 60 minutes, depending on your skill level and the model’s complexity.
Conclusion
Building a cardboard toy skeleton is fun and creative. It teaches you about bones and how they fit together. You can make it with simple materials at home. This project helps improve your skills and patience. It’s a great activity for kids and adults alike.
Try different shapes and sizes to make it unique. Enjoy the process and learn something new each time. Crafting this model brings both joy and knowledge. Give it a try and see how much fun learning can be!