Are you looking for a fun and creative project that adds charm to your home and keeps your kids entertained? A DIY Toy Barn Wood Project might be exactly what you need.
Imagine building a sturdy, rustic toy barn that not only looks amazing but also becomes your child’s favorite playtime spot. In this guide, you'll discover simple steps and tips to create your own barn wood toy that fits your style and space.
Keep reading to unlock the secrets to making a beautiful, lasting piece that brings joy to your family!
Credit: www.etsy.com
Choosing Barn Wood For Toys
Using barn wood for DIY toys adds a rustic charm. It is important to pick the right wood. Safety and quality must be the top priority.
This guide helps you choose barn wood that is safe and authentic for your toy projects.
Sourcing Authentic Barn Wood
Authentic barn wood comes from old barns or reclaimed wood suppliers. It has unique textures and colors that new wood cannot match.
- Check local salvage yards for genuine barn wood.
- Ask sellers about the wood’s history and origin.
- Look for weathered surfaces and natural wear marks.
- Avoid wood with paint or chemical coatings.
Checking Wood Quality And Safety
Inspect the wood carefully before use. Safety is critical for toys, especially for children.
| Quality Check | What to Look For | Why It Matters |
| Wood Condition | No rot or soft spots | Ensures durability and safety |
| Surface | Smooth, no splinters | Prevents injuries to children |
| Contaminants | No chemicals or old paint | Avoids toxic exposure |
| Wood Type | Hardwoods preferred | Stronger and lasts longer |
Tools And Materials Needed
Building a DIY toy barn wood project is fun and rewarding. You need the right tools and materials to make it safe and sturdy.
This guide will list the essential tools and explain how to choose safe finishes for your toy barn wood project.
Essential Tools List
You will need some basic tools to cut, join, and finish the wood. These tools help you work safely and accurately.
- Measuring tape to get exact wood sizes
- Hand saw or power saw for cutting wood pieces
- Hammer for driving nails
- Screwdriver or drill with bits for screws
- Clamps to hold wood in place while working
- Sandpaper or sanding block to smooth edges
- Wood glue for strong joints
- Safety glasses to protect your eyes
- Work gloves to protect your hands
Selecting Non-toxic Finishes
It is important to use safe finishes on toys. Non-toxic finishes keep children safe from harmful chemicals.
Look for finishes that are water-based and labeled safe for children’s toys or furniture.
- Water-based polyurethane for durability and safety
- Natural oils like linseed or tung oil
- Beeswax finishes for a soft, safe coating
- Non-toxic paint labeled for children’s use
- Avoid finishes with strong odors or chemicals
Designing Rustic Toy Ideas
Creating toys from barn wood gives them a warm, natural look. Rustic toys feel simple and timeless.
These toys are safe and fun for kids. Using barn wood adds character and charm to each piece.
Simple Toy Shapes
Start with basic shapes like squares, circles, and triangles. Simple shapes are easy to cut and safe for children.
Simple shapes also allow kids to use their imagination while playing. They can build and create many things.
- Blocks for stacking and building
- Cars and trucks with rounded edges
- Animals with simple outlines
- Puzzles with large pieces
Incorporating Rustic Elements
Use the natural texture and color of barn wood to add rustic charm. Keep the wood unfinished or lightly sanded for safety.
Include small details like knots, grain patterns, and uneven edges. These features make each toy unique and natural.
- Keep paint minimal or use natural stains
- Use twine or leather strips for decoration
- Carve simple patterns by hand
- Include wood burn designs for extra detail
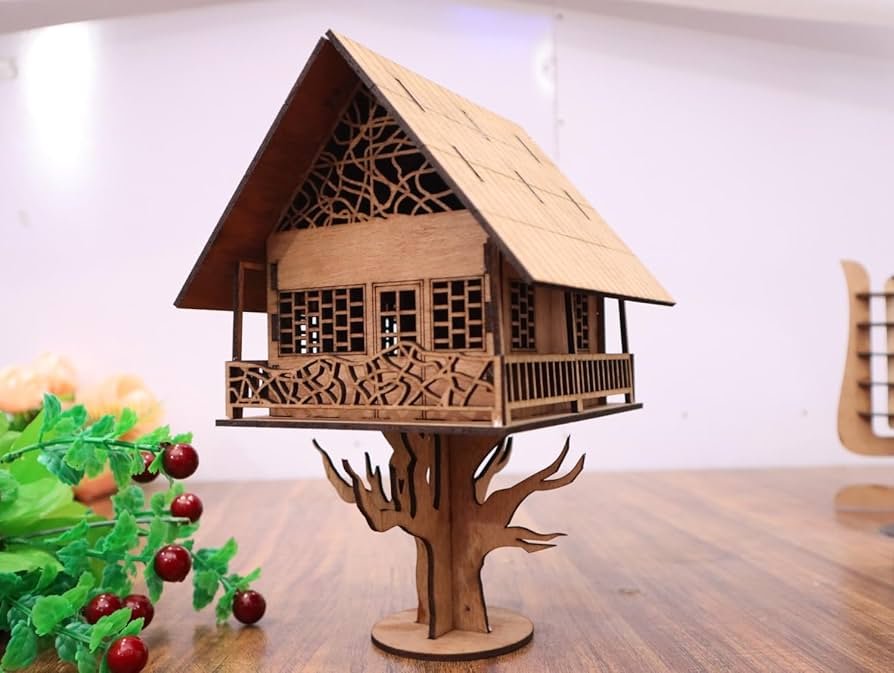
Credit: www.amazon.com
Preparing The Wood
Preparing the wood is an important part of building a DIY toy barn wood project. It helps make the wood smooth and ready for assembly. Good preparation makes the project look better and last longer.
Take your time to clean, sand, and cut the wood correctly. This will make the building process easier and safer.
Cleaning And Sanding
Start by cleaning the wood to remove dirt and dust. Use a dry cloth or a soft brush to wipe the surface. Make sure the wood is dry before sanding.
Sanding smooths the wood and removes rough spots. Use medium-grit sandpaper first, then fine-grit for a smooth finish. Sand along the grain to avoid scratches.
- Wipe wood with a dry cloth
- Sand with medium-grit paper
- Finish with fine-grit sandpaper
- Sand along the wood grain
Cutting To Size
Cut the wood pieces to the sizes needed for your toy barn. Measure twice to make sure the cuts are correct. Use a saw that fits your skill level and safety needs.
Cut slowly and carefully to keep the edges straight. After cutting, check the pieces to see if they fit well together before assembly.
- Measure wood pieces carefully
- Use a suitable saw
- Cut slowly for straight edges
- Check fit before assembly
Assembling The Toys
Building a toy barn wood project is fun and rewarding. Assembling the parts carefully makes a strong toy.
Using the right techniques helps the pieces fit well. It also keeps the toy safe for children.
Basic Joinery Techniques
Joinery means how you connect wood pieces. Good joints keep the toy sturdy and last long.
Simple joints like butt joints, lap joints, and dowel joints work well for toy projects.
- Butt joints join two pieces at the ends with glue or nails.
- Lap joints overlap two pieces for better strength.
- Dowel joints use small wooden pins for extra hold.
Using Safe Adhesives And Fasteners
Choose glue that is non-toxic and safe for children. Wood glue is a good choice for toys.
Use screws or nails that are smooth and small. Avoid sharp edges or points that can hurt kids.
- Use child-safe wood glue for strong bonds.
- Pick screws with rounded heads.
- Sand all edges to remove splinters.
- Check that all fasteners are flush with the wood.
Finishing Touches
Adding the final touches to your DIY toy barn can make it special. These steps help your project look complete and polished.
Careful attention to details can transform your wooden toy barn. Let's explore ways to enhance its look and feel.
Applying Natural Stains
Natural stains enhance the wood's beauty. They bring out the grain and add warmth.
Choose a stain that suits your barn's look. Test it on a small piece first to see the color.
- Light stains keep wood's natural appearance
- Dark stains add depth and richness
- Always use a brush for even application
Adding Decorative Details
Decorative details make your barn more realistic and fun. Small additions can make a big difference.
Consider adding windows, doors, or a weather vane. These details give character to your toy barn.
| Detail | Effect |
| Windows | Adds realism and light |
| Doors | Creates interactive play |
| Weather vane | Enhances barn's charm |
Safety Tips For Diy Toys
Creating DIY toys can be a fun and rewarding project. Ensuring the safety of these toys is crucial for your child's well-being.
In this guide, we will cover essential safety tips to keep in mind while working on your DIY toy barn wood project.
Avoiding Sharp Edges
Sharp edges can pose a risk of cuts and injuries. It is important to ensure all edges are smooth and rounded.
- Use sandpaper to smooth out rough edges.
- Check each piece for splinters and remove them.
- Consider using a router to round off sharp corners.
Ensuring Non-toxic Materials
Choosing non-toxic materials is vital to prevent harmful exposure. Always opt for safe, child-friendly substances.
Here is a simple checklist for selecting materials:
| Material | Safety Check |
| Wood | Ensure it is untreated and free of chemicals |
| Paint | Use water-based, non-toxic paint |
| Glue | Select non-toxic, child-safe glue |

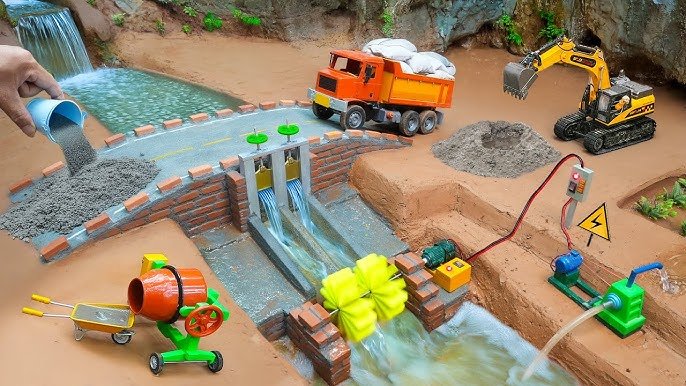
Credit: www.youtube.com
Maintaining Barn Wood Toys
Barn wood toys bring a rustic charm and durability to playtime. Keeping them in good shape makes sure they last long and stay safe for children.
Proper care and small repairs help keep the wood looking great and prevent damage from getting worse.
Cleaning And Care
Cleaning barn wood toys gently removes dirt without harming the wood. Use soft materials and avoid harsh chemicals.
- Use a dry or slightly damp cloth to wipe the surface.
- Apply mild soap with water for sticky spots, then dry quickly.
- Keep toys away from direct sunlight and moisture.
- Use natural oils like linseed or mineral oil to keep wood from drying out.
- Store toys in a cool, dry place when not in use.
Repairing Minor Damage
Small scratches and dents are common but easy to fix. Quick repairs keep toys safe and maintain their beauty.
| Damage Type | Repair Method |
| Small scratches | Sand lightly with fine-grit sandpaper |
| Loose joints | Apply wood glue and clamp until dry |
| Cracks | Fill with wood filler, then sand smooth |
| Worn finish | Reapply natural oil or beeswax finish |
Frequently Asked Questions
What Materials Are Needed For A Diy Toy Barn Wood Project?
You need reclaimed barn wood, nails, wood glue, sandpaper, paint, and basic woodworking tools for this project. Always choose smooth, splinter-free wood for safety.
How Do You Ensure Safety In A Diy Toy Barn Wood Project?
Sand all wood surfaces thoroughly to remove splinters. Use non-toxic paint and finishes. Avoid small parts that could be choking hazards.
What Tools Are Essential For Building A Toy Barn?
Essential tools include a saw, hammer, measuring tape, drill, clamps, and sanding block. These help cut, assemble, and finish the barn accurately.
How Long Does A Diy Toy Barn Wood Project Take?
Typically, it takes 4 to 8 hours, depending on skill level and design complexity. Allow extra drying time for paint and glue.
Conclusion
Building a DIY toy barn wood project brings joy and pride. You create a unique, sturdy toy that lasts long. Using barn wood adds charm and character to your work. The process teaches patience and simple woodworking skills. Kids will love playing with a handmade toy barn.
This project fits well for beginners and experts alike. Try it yourself and enjoy the fun of crafting. Small steps lead to a beautiful, useful wooden toy. Crafting with barn wood feels rewarding and keeps memories alive. Give this project a chance, and see the results.