Imagine giving your child a special place to park their favorite wooden toy cars—a garage they helped create with their own hands. A DIY wooden toy car garage is more than just a storage solution; it sparks creativity, builds fine motor skills, and adds hours of fun to playtime.
If you’ve been searching for a simple project that brings joy and learning together, this guide is made just for you. Keep reading, and you’ll discover how easy and rewarding it is to build a wooden toy car garage that your kids will love.
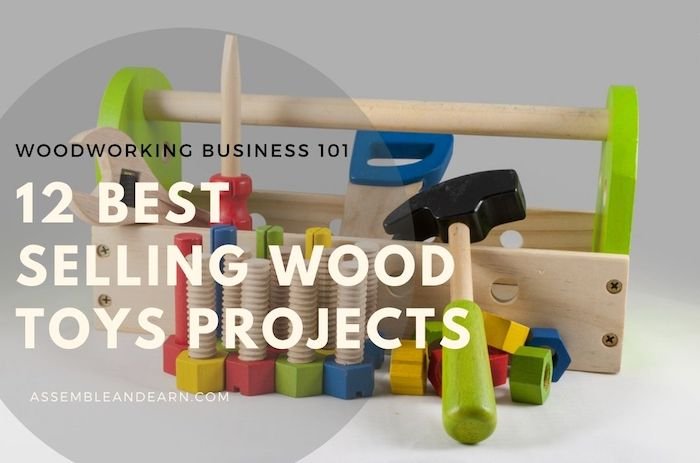
Choosing Materials
Building a wooden toy car garage needs the right materials. Picking the best wood and tools makes your project easier.
Good materials help the garage last longer and look nice. Safety gear keeps you safe while working.
Types Of Wood
Choose wood that is strong but easy to cut. Softwoods like pine are good for beginners. Hardwoods like oak are very strong.
- Pine: affordable and easy to shape
- Birch: smooth surface, good for painting
- Maple: hard and durable
- Oak: very strong but harder to work with
Essential Tools
You need some basic tools to build the garage. These tools help you cut, shape, and join the wood parts.
- Hand saw or jigsaw for cutting wood
- Sanding block to smooth edges
- Wood glue to join pieces
- Hammer and nails or screws
- Measuring tape and pencil for accuracy
Safety Gear
Always wear safety gear while working with wood. It protects you from dust and sharp tools.
- Safety goggles to protect your eyes
- Dust mask to avoid breathing sawdust
- Work gloves to protect your hands
- Ear protection if using loud power tools

Credit: www.amazon.ca
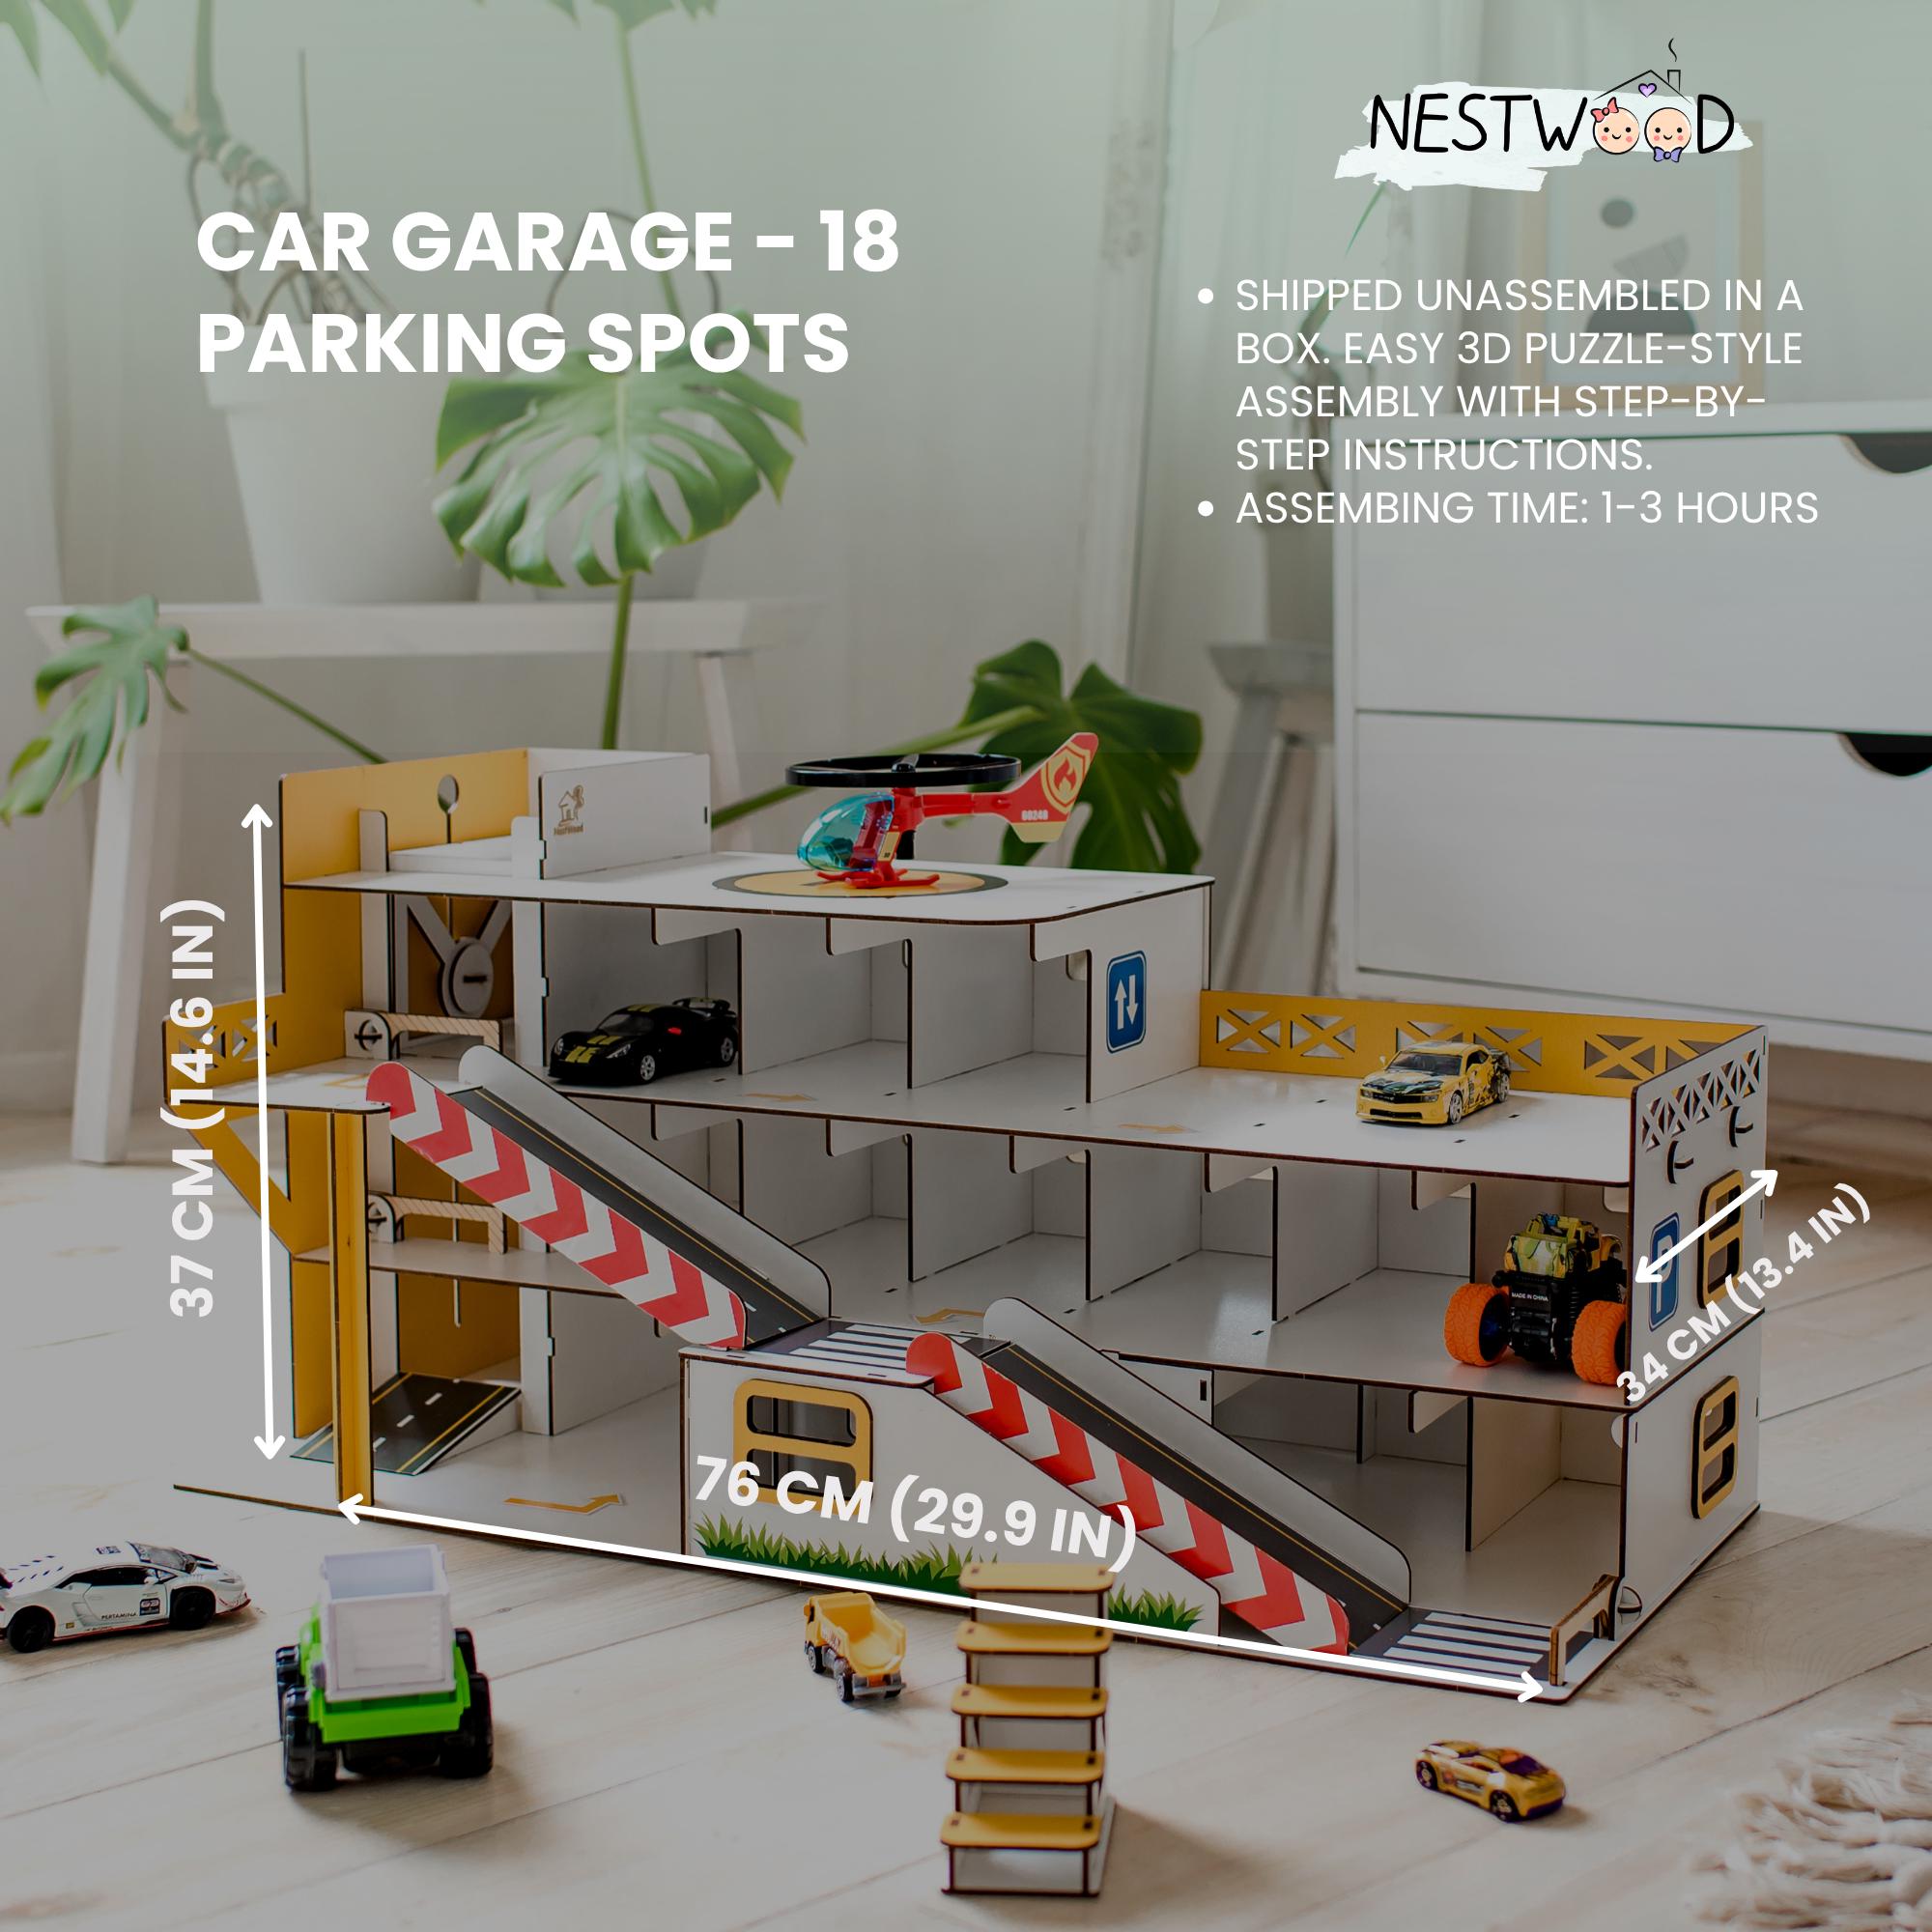
Designing The Garage
Designing a wooden toy car garage starts with a clear plan. A good design helps you build a strong and fun garage.
Think about the size, shape, and style before cutting any wood. This makes building easier and faster.
Simple Sketch Ideas
Begin by drawing a simple sketch of your garage. It does not need to be perfect. Just show the main parts.
Sketching helps you see how the garage will look. It guides you while you build.
- Draw the base shape of the garage
- Add spaces for toy cars
- Include ramps or doors if you want
- Mark where to put walls and roof
Measuring And Planning
Measure your toy cars first. Make sure the garage fits them well. Leave space for easy parking.
Plan each part carefully. Write down the sizes before cutting wood. This helps avoid mistakes.
- Measure length, width, and height of toy cars
- Decide garage size based on car measurements
- Plan thickness of wood pieces
- Check if the garage fits your play area
Customizing Features
Add special features to make the garage unique. Think about ramps, windows, or signs.
Custom touches make the toy garage fun to play with. They also show your style.
- Add ramps for cars to go up and down
- Cut out small windows or doors
- Paint or decorate with stickers
- Create parking spots with lines or numbers
Cutting And Shaping Wood
Cutting and shaping wood are key tasks for building a wooden toy car garage. You need to work carefully to make the pieces fit well. Using the right tools helps you cut the wood cleanly and shape it smoothly.
Good cutting and shaping create a strong and neat garage. This guide covers basic cutting, sanding edges, and making doors and windows.
Basic Cutting Techniques
Start by measuring the wood pieces you need. Use a pencil to mark the lines clearly. Use a handsaw or jigsaw for cutting. Keep your hands steady and cut slowly along the lines.
- Use a ruler and square to mark straight lines
- Clamp the wood to keep it from moving
- Cut outside the line for safety, then trim later
- Use a fine-tooth saw for smooth cuts
- Wear safety glasses to protect your eyes
Sanding For Smooth Edges
After cutting, sanding smooths the edges and surfaces. This prevents splinters and makes the garage look nicer. Use sandpaper with different grits to finish the wood.
| Sanding Step | Sandpaper Grit | Purpose |
| First Sand | 80-100 | Remove rough edges and saw marks |
| Second Sand | 150-180 | Smooth the surface further |
| Final Sand | 220 | Prepare wood for painting or finishing |
Creating Doors And Windows
Doors and windows add detail and fun to your toy garage. Mark their shapes on the wood before cutting. Use a drill to make starter holes for the jigsaw blade. Cut carefully along the lines to avoid splintering.
Try this simple HTML code for door frame designs:
Assembling The Garage
Building your wooden toy car garage is fun and rewarding. Start by preparing all parts carefully.
Follow simple steps to join pieces and make the garage strong and safe for play.
Joining Parts Securely
Make sure each wooden piece fits tightly with the others. Dry fit parts before final joining.
- Check edges for smoothness
- Align parts carefully
- Use clamps to hold pieces together while joining
- Work on a flat surface to keep shapes even
Using Nails And Glue
Combine nails and wood glue for a strong hold. Glue keeps parts stuck, nails add extra support.
| Material | Purpose |
| Wood Glue | Bonds surfaces together tightly |
| Small Nails | Keep parts in place while glue dries |
| Hammer | Drives nails carefully without splitting wood |
Ensuring Stability
Check the garage for wobbling or loose parts after assembly. Fix any weak spots before use.
- Test the garage by gently shaking it.
- Add extra nails or glue if parts feel loose.
- Sand rough edges to prevent cracks.
- Let glue dry fully before playing.
Painting And Decorating
Painting and decorating your DIY wooden toy car garage makes it special. It adds color and personality to the project.
Use safe and fun materials to bring your garage to life. This guide helps you choose paints, add details, and personalize with stickers.
Choosing Safe Paints
Pick paints that are safe for children and the environment. Look for non-toxic, water-based options that dry quickly.
- Use water-based acrylic paints
- Avoid paints with lead or harmful chemicals
- Check for certifications like ASTM D-4236
- Test paint on a small wood piece first
- Let each coat dry fully before adding another
Adding Fun Details
Details make your garage unique and fun. Use bright colors and creative patterns to decorate walls and doors.
| Detail | Tools Needed | Tips |
| Racing Stripes | Painter's tape, small brush | Use tape for clean lines |
| Windows | Fine brush, white paint | Paint frames, then glass panes |
| Garage Door Handles | Small brush, silver paint | Paint handles last for neatness |
Personalizing With Stickers
Stickers add a quick and easy personal touch. Choose themes like cars, stars, or numbers to match the garage style.
Sticker Tips:
- Clean surface before applying
- Press stickers firmly to avoid bubbles
- Place stickers after paint dries
- Use clear sealant spray to protect stickers

Credit: www.amazon.com
Finishing Touches
Adding finishing touches to your DIY wooden toy car garage makes it more durable and fun. These steps will help you enhance the garage for long-lasting playtime.
From sealing the wood to creating storage, each detail counts. Let's explore ways to complete your project.
Sealing For Durability
Sealing the wood helps protect it from wear and tear. It also makes the toy car garage safer for children to use.
- Choose a non-toxic wood sealer for child safety.
- Apply the sealer evenly with a brush.
- Allow it to dry completely before use.
Adding Toy Car Storage
Creating storage for toy cars keeps the garage organized. It also makes clean-up easier after playtime.
| Storage Type | Benefits |
| Shelves | Easy access |
| Drawers | Neat storage |
| Bins | Portable |
Creative Play Ideas
Incorporating creative play ideas enhances the fun factor. It sparks imagination and makes the garage more engaging.
Credit: www.etsy.com
Frequently Asked Questions
What Materials Are Needed For A Diy Wooden Toy Car Garage?
You need wood planks, nails, wood glue, sandpaper, paint, and small hinges. Choose safe, non-toxic materials for kids. Basic woodworking tools like saws and drills are also essential to build and assemble the garage structure efficiently.
How Long Does It Take To Build A Wooden Toy Car Garage?
Building usually takes 3 to 5 hours depending on skill level. Beginners may need extra time for cutting and assembling. Planning and preparation can reduce overall time. Finishing touches like painting may add additional hours.
Is This Wooden Toy Car Garage Safe For Children?
Yes, if made with smooth edges and non-toxic paint. Sand all surfaces to avoid splinters. Ensure small parts are secured tightly to prevent choking hazards. Supervised play is recommended for younger children.
Can The Wooden Garage Fit Multiple Toy Cars?
Yes, most designs accommodate 4 to 6 small wooden or plastic cars. You can customize size based on your collection. Adding multiple levels increases storage without taking more floor space.
Conclusion
Building a wooden toy car garage is fun and rewarding. It teaches kids creativity and basic skills. You can customize it with paint or stickers. This project saves money and gives a unique toy. Kids will enjoy organizing their cars in it.
It also encourages imaginative play every day. Try making one with simple tools and wood. The joy it brings is worth the effort. Start small, and see how much fun it can be. A wooden toy car garage makes playtime special and neat.