Are you looking for a fun and creative way to spend your time? A Wooden Toy Workshop Project might be just what you need.
Imagine turning simple pieces of wood into charming toys with your own hands. Not only will you create something unique, but you’ll also enjoy the satisfaction of crafting with real materials. Whether you’re a beginner or have some experience, this project will guide you step-by-step.
Ready to discover how to bring your wooden toy ideas to life? Keep reading to unlock the secrets of this rewarding craft.
Choosing The Right Wood
Choosing the right wood is key to making safe and durable wooden toys. The wood must be strong, smooth, and easy to shape.
It is important to pick wood that is safe for children and kind to the environment. This helps make better toys.
Types Of Wood For Toys
Some woods work better for toys than others. Hardwoods are popular because they last long and feel nice.
- Maple: Smooth and strong, good for blocks and puzzles
- Beech: Dense and tough, safe for chewing toys
- Birch: Light-colored and easy to work with
- Ash: Flexible and shock-resistant
- Walnut: Dark and durable, adds a natural look
Safety And Non-toxic Options
Wood for toys must not harm children. Avoid woods with sharp splinters or strong smells.
Use finishes and paints that are free from harmful chemicals. Natural oils and waxes are safe choices.
- Choose smooth wood without cracks or knots
- Use non-toxic, water-based paints and sealants
- Avoid treated or chemically preserved wood
- Check for allergies and sensitivities
Sourcing Sustainable Materials
Using sustainable wood helps protect forests and wildlife. It supports a healthy planet for children.
Look for wood certified by groups that promote responsible forestry. Reclaimed wood is another good option.
- Buy wood with FSC or PEFC certification
- Use reclaimed or recycled wood to reduce waste
- Support local wood suppliers to lower carbon footprint
- Choose fast-growing wood species when possible

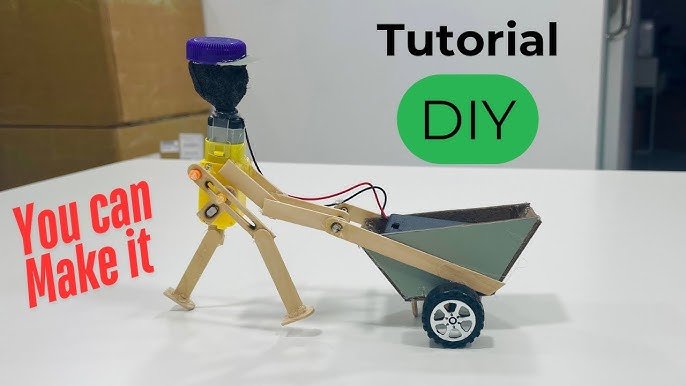
Credit: www.youtube.com
Essential Tools And Supplies
Building wooden toys needs the right tools and materials. These help you work safely and create smooth, lasting toys.
In this guide, we cover basic carpentry tools, finishing materials, and safety gear. Each section shows what you need for your workshop.
Basic Carpentry Tools
These tools help you cut, shape, and join wood parts for your toys. You can start with a few essential items.
- Handsaw or jigsaw for cutting wood pieces
- Hammer for driving nails and assembling parts
- Chisels to carve and shape wood
- Measuring tape or ruler for accurate sizes
- Screwdrivers for fastening screws
- Clamps to hold pieces while gluing or cutting
- Sandpaper or sanding block to smooth surfaces
Finishing Materials
Finishing materials protect toys and make them look better. Choose safe, non-toxic products for children’s items.
| Material | Purpose | Notes |
| Wood glue | Join wood parts | Use child-safe glue |
| Non-toxic paint | Add color | Water-based and safe to touch |
| Natural oil finish | Protect wood surface | Food-safe oils like linseed or walnut |
| Clear varnish | Seal and shine | Choose non-toxic types |
Safety Gear
Safety gear keeps you safe while working with tools and materials. Always wear protection.
- Safety glasses to protect eyes from dust and wood chips
- Work gloves to avoid splinters and cuts
- Dust mask to prevent inhaling sawdust
- Ear protection if you use loud power tools
- Closed-toe shoes to protect feet from falling objects
Designing Simple Toy Models
Creating wooden toys can be fun and easy. Simple designs allow you to focus on shape and function. This guide helps you design basic toy models.
By using classic shapes and adding small moving parts, you can build toys that children enjoy. You can also make each toy unique with personal touches.
Classic Shapes And Styles
Simple shapes like circles, squares, and triangles form the base of many toys. These shapes are easy to cut and safe for kids. Using smooth edges keeps toys child-friendly.
- Use basic geometric shapes for the main parts.
- Keep designs simple and easy to hold.
- Choose shapes that fit together well.
- Sand all edges to avoid splinters.
Incorporating Moving Parts
Moving parts make toys more fun and interactive. Wheels, levers, and spinning pieces add motion. Plan how parts will fit and move smoothly.
| Moving Part | Function | Material Needed |
| Wheels | Roll the toy | Small wooden discs, axles |
| Levers | Lift or move parts | Wooden sticks, pins |
| Spinners | Rotate on center | Round wooden pieces, dowels |
Personalizing Your Creations
Adding personal touches makes each toy special. Paint, engrave, or add small decorations. Personalization lets you make toys for specific children.
- Use child’s name with safe paint.
- Engrave simple designs or shapes.
- Add colorful dots or stripes.
- Attach small fabric pieces for texture.
:max_bytes(150000):strip_icc()/JD_20260203_1831-c7372ef8a31247d2b74d7361ee9d0adf.jpg)
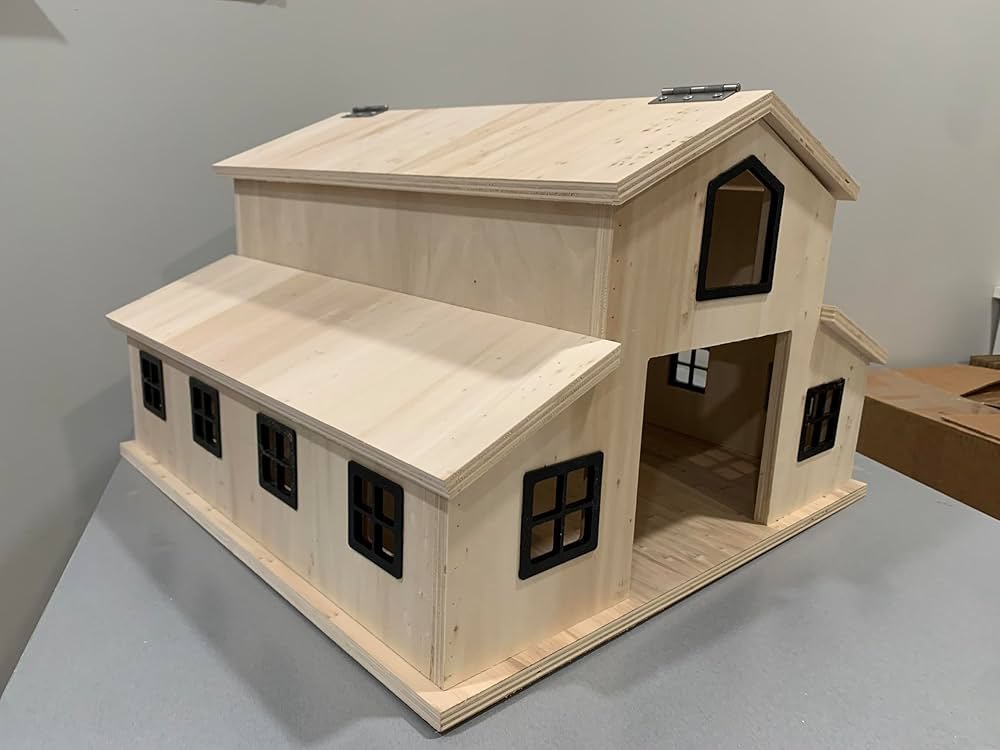
Credit: www.woodmagazine.com
Step-by-step Building Process
Building a wooden toy is a fun and creative project. It teaches basic woodworking skills while making a special item.
This guide explains the main steps: cutting and shaping wood, sanding and smoothing, and assembly techniques.
Cutting And Shaping Wood
Start by selecting the right wood pieces. Use a saw to cut the wood into needed shapes and sizes.
Shape the wood with carving tools or sandpaper to create smooth curves and details.
- Measure twice, cut once to avoid mistakes
- Use clamps to hold wood steady while cutting
- Follow safety rules when using saws and blades
- Shape edges gently to prevent splinters
Sanding And Smoothing
Sanding removes rough spots and makes the wood soft to touch. Start with coarse sandpaper and move to fine grit.
Smooth surfaces help paint or finish stick better and keep children safe from splinters.
- Sand all edges and surfaces evenly
- Use a sanding block for flat areas
- Wear a mask to avoid breathing dust
- Wipe dust off before painting or assembling
Assembly Techniques
Put the wooden parts together using glue, nails, or screws. Choose the best option for strength and safety.
Check that all parts fit well and hold tightly. Let glue dry fully before moving the toy.
- Use wood glue for smooth joints
- Clamp pieces until glue dries
- Drive nails or screws carefully to avoid splitting
- Test stability before finishing
Finishing And Decorating
Finishing and decorating wooden toys is a fun process. It makes the toys look beautiful and safe for kids.
Using the right materials ensures the toys are long-lasting. It also adds a personal touch.
Non-toxic Paints And Stains
Non-toxic paints and stains are safe for children. They do not have harmful chemicals.
Choose water-based options to keep the toys eco-friendly. They come in many colors and finishes.
- Look for labels that say "non-toxic" or "child-safe"
- Test the paint on a small area first
- Ensure even application for best results
Adding Details And Textures
Adding details can make wooden toys more interesting. Textures add a unique feel to the toys.
Use simple tools like sandpaper or a carving knife. Be gentle to avoid damaging the wood.
| Tool | Use |
| Sandpaper | Smooth edges |
| Carving knife | Create patterns |
| Wood burner | Add designs |
Sealing For Durability
Sealing protects the wood from damage. It keeps the toy looking new for longer.
Choose a sealant that is safe for kids. Apply it after painting and decorating.
- Ensure the sealant is dry before handling
- Apply in a well-ventilated area
- Use a brush or cloth for application
Safety Tips For Wooden Toys
Wooden toys are fun and safe with the right precautions. These tips help ensure children's safety during play.
Learn how to avoid hazards and keep toys durable for endless fun.
Avoiding Small Parts Hazards
Small parts can be dangerous for young children. Always check for loose or broken pieces.
Ensure toys are suitable for the child's age. Avoid toys with tiny pieces for toddlers.
- Check for secure attachments
- Ensure parts cannot be swallowed
- Verify age recommendations
Smooth Edges And Surfaces
Rough edges can cause splinters or cuts. Make sure all surfaces are smooth and safe.
Sanding rough areas helps prevent injuries. Regularly check toys for wear and tear.
- Sand edges and surfaces
- Inspect for splinters
- Maintain toys with regular checks
Testing For Durability
Toys should withstand rough play. Test durability to ensure they last and remain safe.
Use high-quality wood and secure joints for strong toys. Ensure they can handle pressure and movement.
- Use sturdy materials
- Secure all joints
- Test for long-lasting use
Inspiring Project Ideas
Wooden toy workshops offer creative ways to build fun toys. These projects help you learn woodworking skills.
Here are some simple ideas for wooden toys you can make. Each project is great for kids and beginners.
Pull Toys And Vehicles
Pull toys and vehicles are easy to build and fun to play with. They help children develop motor skills and coordination.
Start with simple shapes like cars, trucks, or animals with wheels. Add a string so kids can pull them along.
- Wooden cars with rounded edges
- Animal-shaped pull toys with wheels
- Trucks with movable parts
- Simple trains with connected cars
Puzzles And Blocks
Wooden puzzles and blocks encourage problem-solving and creativity. They come in many shapes and sizes.
Create puzzles with simple geometric shapes or letters. Blocks can be smooth or textured for different play styles.
- Shape sorter puzzles
- Alphabet blocks with painted letters
- Stacking blocks in various sizes
- Interlocking blocks for building
Animal Figures And Dolls
Animal figures and dolls are great for imaginative play. They can be simple or detailed depending on skill level.
Try carving small animals or making flat dolls with painted faces. Use safe, smooth finishes for kids.
- Wooden farm animals like cows and horses
- Small birds or woodland creatures
- Flat wooden dolls with movable limbs
- Simple puppet figures
Maintaining And Caring For Toys
Wooden toys last longer when you care for them well. Clean and repair them often. Proper storage also helps keep toys safe.
This guide shows simple ways to keep wooden toys in good shape. Follow these tips to enjoy them for years.
Cleaning Techniques
Use gentle cleaning methods to avoid damage. Avoid soaking wooden toys in water. Use a soft cloth with mild soap and water to wipe them down.
- Wipe toys with a damp cloth
- Use mild soap for stubborn dirt
- Dry toys immediately after cleaning
- Do not use harsh chemicals or bleach
- Clean toys regularly to prevent buildup
Repairing Wear And Tear
Check toys often for cracks or loose parts. Fix small cracks with wood glue. Sand rough edges to keep toys safe. Replace broken parts when possible.
| Problem | Fix |
| Small cracks | Apply wood glue and clamp |
| Rough edges | Sand smooth with fine sandpaper |
| Loose parts | Tighten screws or replace nails |
| Broken pieces | Replace or remove damaged parts |
Storing For Longevity
Store toys in a dry, cool place. Avoid direct sunlight to prevent fading. Keep toys off damp floors to stop warping and mold.
Follow this checklist for good storage:
- Use breathable containers like cloth bags or wooden boxes
- Keep toys separated to avoid scratches
- Store toys flat to prevent bending
- Check stored toys regularly for signs of damage

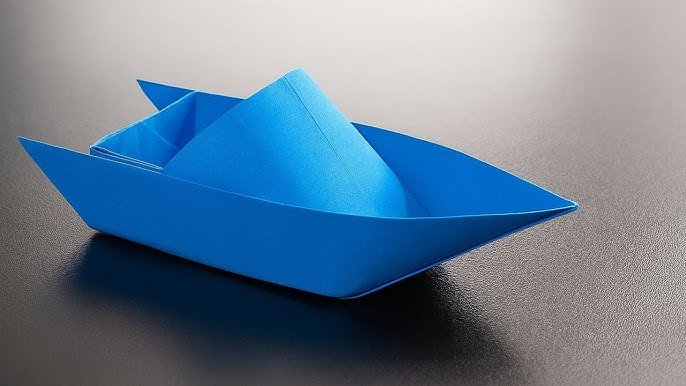
Credit: aschisworkshop.com
Frequently Asked Questions
What Materials Are Best For A Wooden Toy Workshop Project?
Quality hardwoods like maple, birch, and oak are ideal. They are durable, safe, and easy to shape. Avoid softwoods that may splinter. Always choose non-toxic finishes to ensure child safety and long-lasting toys.
How Do I Design Safe Wooden Toys For Kids?
Focus on smooth edges, rounded corners, and non-toxic paints. Avoid small parts that can be choking hazards. Test toys for stability and durability. Safety is paramount to protect children during play.
What Tools Are Essential For A Wooden Toy Workshop?
Basic tools include saws, sanders, drills, and clamps. Precision tools like carving knives help with details. Safety gear such as goggles and gloves is crucial. Proper tools ensure efficient and safe toy-making.
How Can I Make Wooden Toys Environmentally Friendly?
Use sustainably sourced wood and eco-friendly paints. Recycle scrap wood and minimize waste. Choose natural, non-toxic finishes to protect children and the environment. Eco-friendly practices reduce your project’s carbon footprint.
Conclusion
Creating a wooden toy workshop project brings joy and learning together. It teaches skills like measuring, cutting, and assembling. Kids and adults both enjoy making something by hand. The finished toys offer simple, safe fun for everyone. This project encourages creativity and patience in a hands-on way.
Try it at home for a rewarding experience. Building wooden toys connects generations and sparks imagination. A great way to spend quality time and learn new skills. Give it a try and see the smiles it brings.