Are you looking for a fun and creative project that adds a personal touch to your toys? Making handmade toy belts is a simple way to bring extra charm and character to your favorite playthings.
Whether you’re sewing for your child, a friend, or even yourself, this project lets you create unique accessories that stand out. Ready to discover how easy and rewarding it is to craft these little belts? Keep reading, and you’ll find all the tips and tricks to make your sewing project a success.

Credit: thewildcherryfarm.com
Materials Needed
Making handmade toy belts is a fun sewing project. You need the right materials to create strong and pretty belts.
Choosing good fabrics, tools, and decorations will help your project look great and last long.
Fabric Choices
Select fabric that is soft but tough enough for a toy belt. Cotton and felt work well.
Choose fabrics that are safe for children and easy to sew by hand or machine.
- 100% cotton fabric for softness and strength
- Felt for a sturdy and colorful option
- Canvas for a more durable belt
- Scrap fabric for small designs or accents
Sewing Tools
You will need basic sewing tools to cut and sew the fabric pieces accurately.
Having the right tools makes sewing faster and the finished belt looks neat.
- Sewing needles suitable for your fabric
- Thread matching your fabric colors
- Fabric scissors or rotary cutter
- Measuring tape or ruler
- Pins or clips to hold fabric
- Thimble to protect your fingers
- Optional: Sewing machine for faster stitching
Decorative Elements
Add decorations to make your toy belts unique and fun. Choose safe and child-friendly items.
Decorations can be sewn or glued on, depending on the design and use.
- Buttons in fun shapes and colors
- Ribbon or lace trims
- Fabric paint or markers for designs
- Small patches or appliques
- Velcro strips for easy fastening

Credit: scratchandstitch.com
Basic Sewing Techniques
Sewing toy belts by hand is a fun and useful project. It helps you learn simple sewing skills.
These basic techniques will guide you through cutting fabric, stitching, and putting pieces together.
Cutting Fabric
Cut fabric carefully to match your toy belt pattern. Use sharp scissors for clean edges.
Always cut on a flat surface and follow the lines precisely. This makes sewing easier and neater.
- Use fabric scissors only to keep them sharp
- Pin fabric pieces together before cutting
- Cut slowly and follow pattern outlines
Stitch Types
Choose the right stitch for strength and appearance. Simple stitches work well for toy belts.
The running stitch and backstitch are common hand stitches. They hold pieces firmly and look tidy.
- Running stitch: easy and quick, good for seams
- Backstitch: strong and neat, ideal for edges
- Whipstitch: good for joining edges or finishing
Assembling Pieces
Put your cut and stitched pieces together to form the belt. Align edges before sewing.
Pin pieces securely to avoid shifting. Sew slowly and check your work as you go.
- Match fabric edges evenly before stitching
- Use pins or clips to hold pieces in place
- Sew with consistent stitches for durability
Step-by-step Belt Making
Making a handmade toy belt is a fun and creative project. You can sew a belt that fits perfectly for your toy or doll.
This guide shows you how to measure, cut, sew, and add closures to create a strong and pretty belt.
Measuring And Cutting
First, measure the waist size of your toy or doll. Add a little extra length for overlap and sewing.
Use a ruler and fabric chalk to mark the belt shape on your fabric. Cut carefully along the marks.
- Measure waist plus 2 inches for sewing
- Mark a long rectangle shape on fabric
- Cut fabric with sharp scissors
- Cut a matching strip of interfacing for stiffness
Sewing The Belt Base
Place the fabric and interfacing together. Pin them to keep in place while sewing.
Sew around the edges with a straight stitch. Leave a small opening to turn the belt right side out.
- Pin fabric and interfacing together
- Sew edges with ¼ inch seam allowance
- Leave 2-inch gap for turning
- Turn belt right side out through gap
- Iron belt flat and sew the gap closed
Adding Closures
Choose a closure type for your belt. Common choices are snaps, buttons, or hook and loop tape.
Sew the closure pieces on each end of the belt. Make sure they align well when closed.
- Place one closure piece at one belt end
- Sew securely using matching thread
- Attach the matching closure on the opposite end
- Test closure to ensure a snug fit
Creative Decoration Ideas
Handmade toy belts can be beautiful and fun. Adding decorations makes them special. Here are some ideas to try.
Using Buttons And Beads
Buttons and beads add charm to toy belts. They come in many shapes and colors. Choose ones that match your belt theme.
- Sew buttons in a line for a neat look
- Add beads between buttons for extra sparkle
- Mix sizes for a playful pattern
Fabric Paint Designs
Fabric paint lets you draw directly on the belts. Use stencils for clean shapes. Bright colors make designs stand out.
Try painting stars, hearts, or simple flowers. Let the paint dry fully before using the belt.
Attaching Patches
Patches can tell a story on your toy belt. They are easy to sew or iron on. Choose patches that reflect a child's interests.
Place them evenly across the belt. Mix different shapes for a fun collage.
Safety Tips For Kids
Making toy belts is a fun way to learn sewing. It is important to stay safe during the project.
Here are some tips to ensure your kids can enjoy sewing safely and have fun.
Handling Needles
Needles can be sharp, so it is important to handle them carefully. Teach kids to respect and safely use them.
- Store needles in a safe container when not in use.
- Always keep the needle pointed away from the body.
- Use a thimble to protect fingers while sewing.
Supervision Guidelines
Supervision is key to a safe sewing experience. Adults should be present to help and guide the children.
- Set up a well-lit workspace for the project.
- Ensure all tools are within safe reach.
- Guide kids on using sewing machines if applicable.
Safe Materials
Choosing safe materials is essential in making toy belts. It ensures the finished product is safe for play.
| Material | Safety Feature |
| Felt | Soft and easy to sew |
| Cotton | Non-toxic and breathable |
| Elastic bands | Flexible and safe for kids |
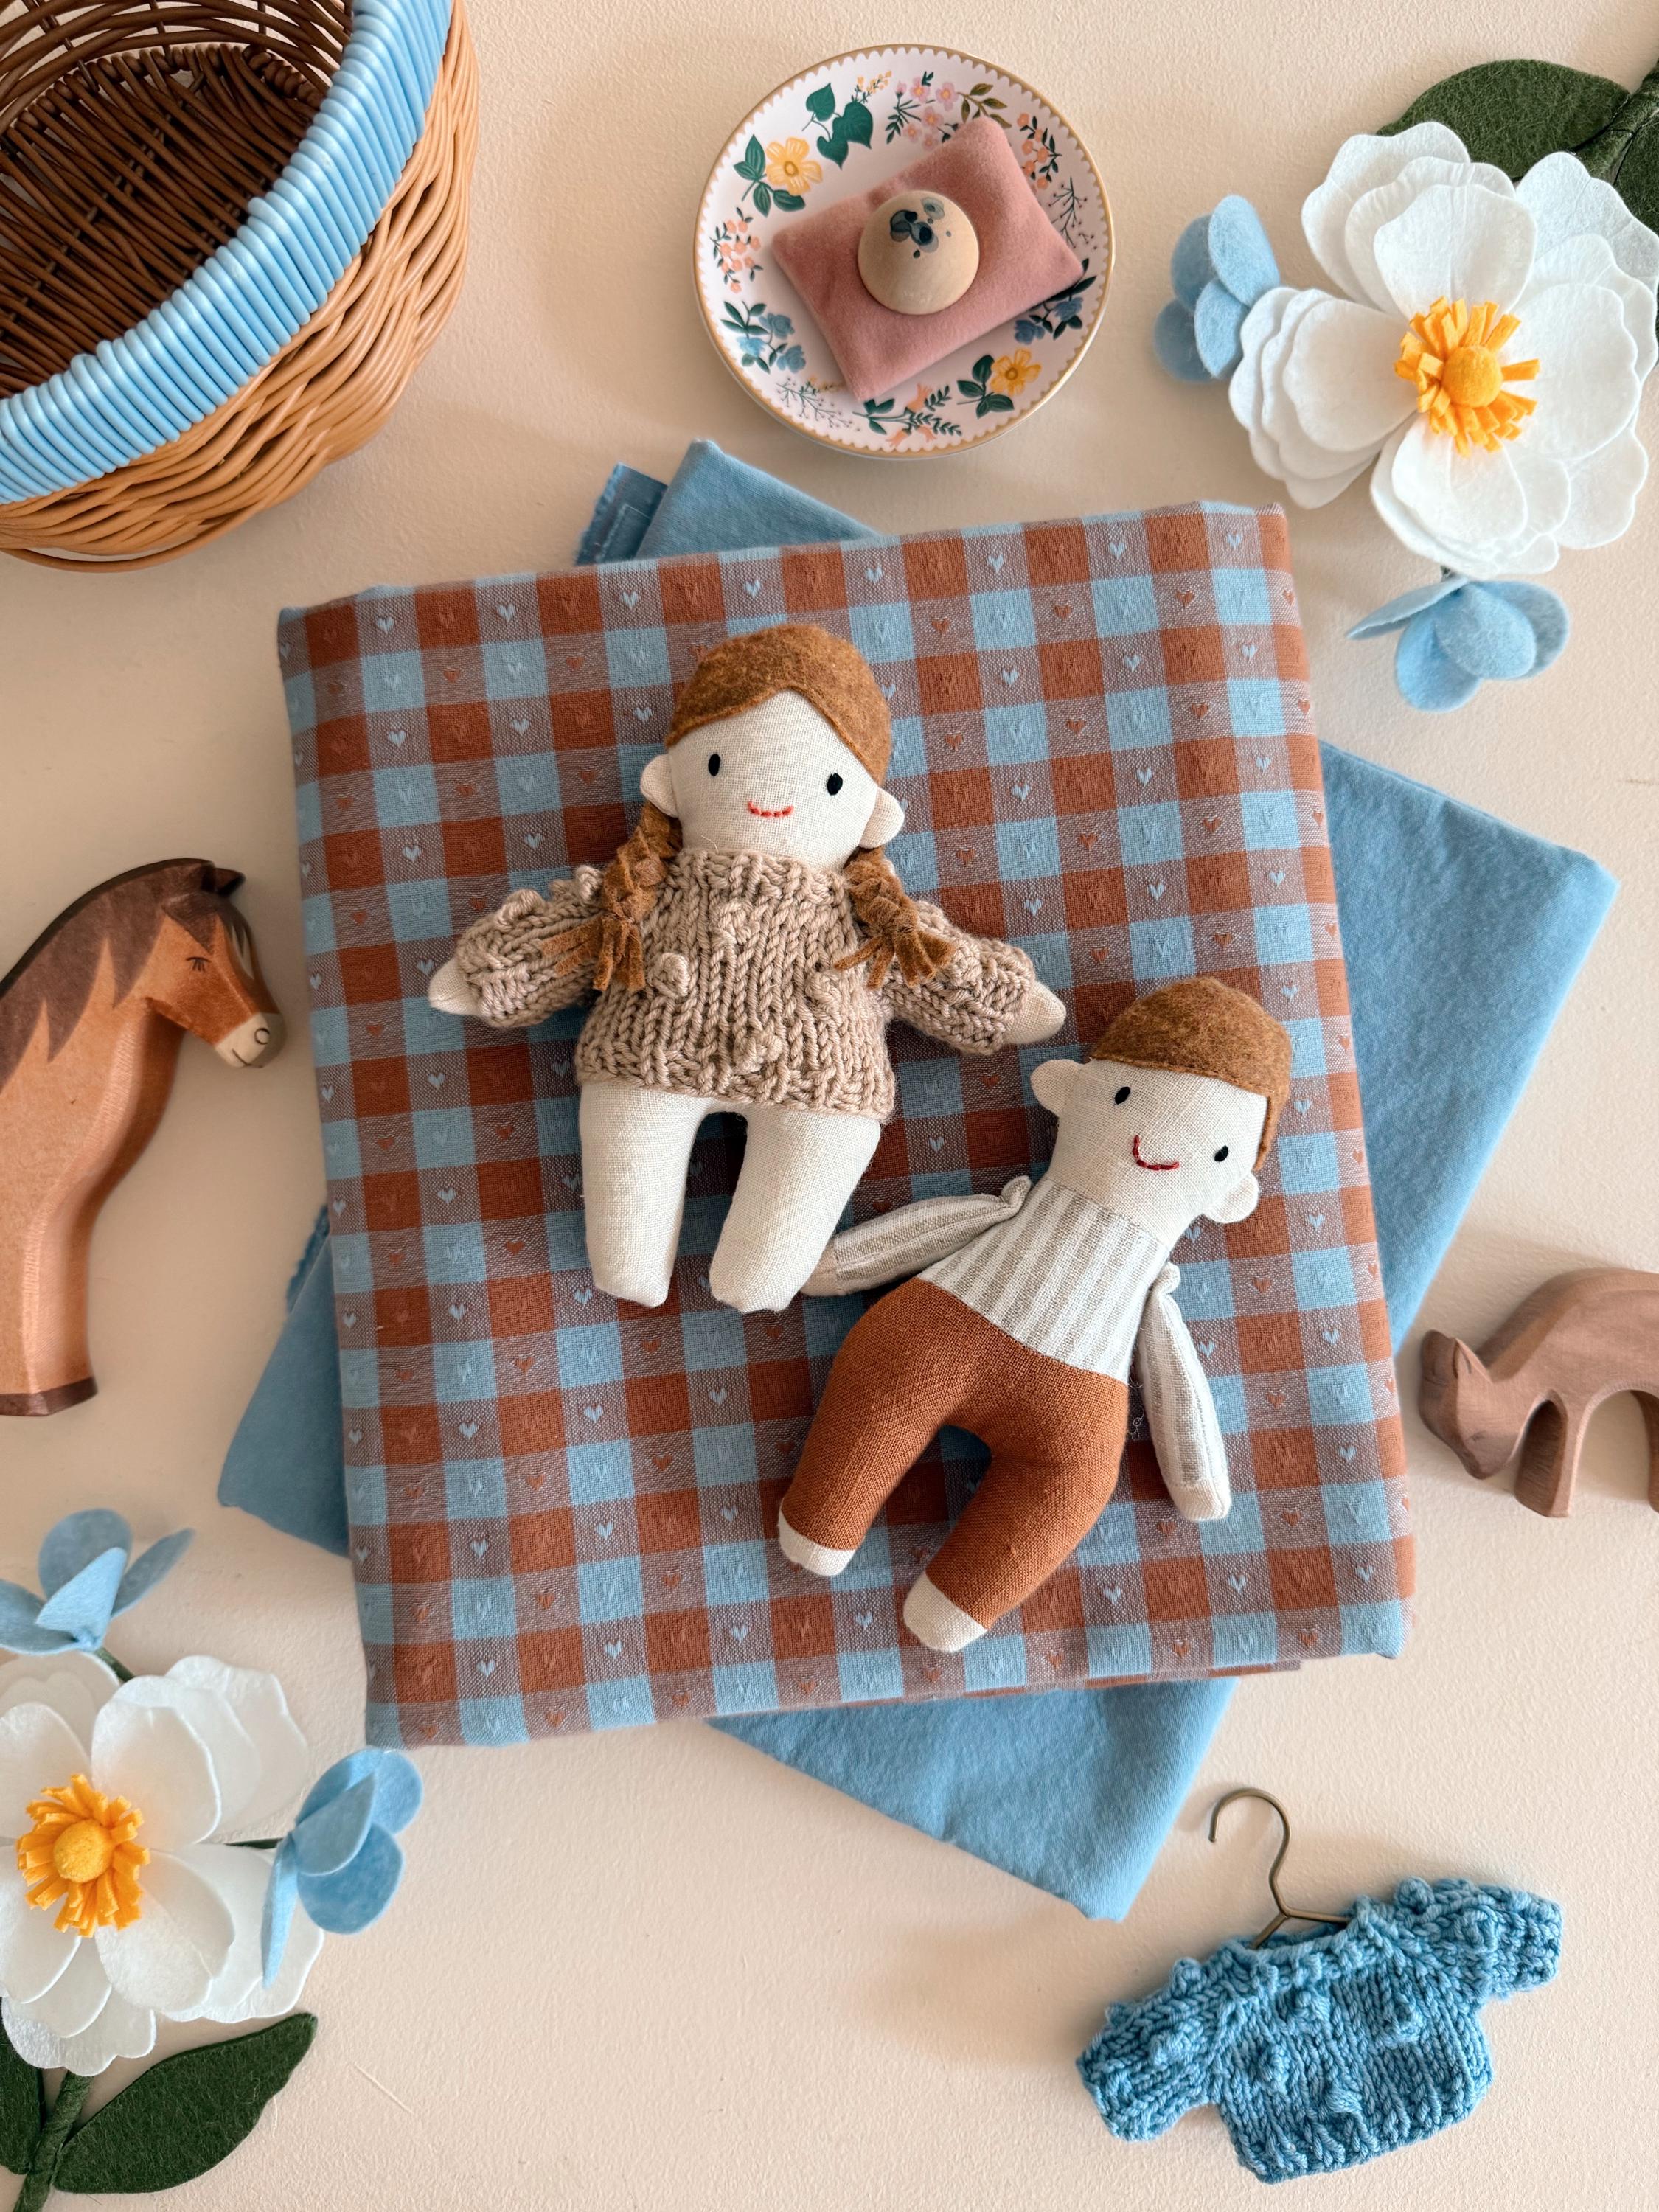
Credit: www.etsy.com
Encouraging Imagination
Handmade toy belts are more than just accessories. They help children create stories and explore new ideas. Making these belts invites kids to use their imagination and express themselves.
Sewing toy belts is a fun project that encourages creativity. Each belt can be unique and special. This allows kids to dream up new characters and adventures.
Customizing Belts
Customizing toy belts lets children add their personal touch. They can choose colors, shapes, and decorations. This makes each belt a reflection of their ideas and style.
- Select bright or soft fabric colors
- Add buttons, beads, or patches
- Use different stitching patterns
- Attach small pockets or loops
- Mix materials like felt and cotton
Incorporating Themes
Themes help guide the design of toy belts. They give children a clear idea to build on. Themes can be simple or elaborate, and they spark new stories.
| Theme | Design Ideas |
| Space | Stars, rockets, planets |
| Jungle | Leaves, animals, vines |
| Fairy Tale | Castles, crowns, magic wands |
| Underwater | Fish, shells, waves |
Storytelling Through Design
Each handmade belt can tell a story. The decorations and colors show parts of that story. Children can use their belts to act out adventures or create new worlds.
Try these ideas to build stories with toy belts:
- Pick a hero or character
- Choose symbols that match their journey
- Add details that hint at the setting
- Include elements for challenges or magic
- Use colors to show feelings or changes
Expanding The Project
Once you finish a handmade toy belt, you can add more fun by expanding the project. Making new pieces lets you explore creativity and skills. It also makes the project more exciting and useful.
Expanding the project helps you learn sewing and design. You can try new ideas and create matching items. This way, you build a full set of handmade toys and accessories.
Making Matching Accessories
After making a toy belt, try sewing matching accessories. These can include small bags, hats, or wristbands. Matching sets look nice and add play value.
Choose fabrics and colors that match your toy belt. Use simple shapes and patterns to keep sewing easy. Accessories can be used for play or decoration.
- Mini bags for carrying small toys
- Hats with matching fabric and buttons
- Wristbands or bracelets for pretend play
- Simple scarves or ties with the same pattern
Group Craft Activities
Making toy belts in groups is fun and helps teamwork. Everyone can share ideas and help each other sew. Group activities make the project social and creative.
Plan sessions where each person makes one part of the belt or accessory. This way, the project grows fast and everyone feels involved. You can also exchange tips and tricks.
- Assign different sewing tasks to group members
- Work together to choose colors and designs
- Share tools and materials to save cost
- Show completed pieces and give positive feedback
Gift Ideas
Handmade toy belts and accessories make thoughtful gifts. You can give them to friends, family, or classmates. Gifts show care and effort because they are made by hand.
Wrap your handmade items nicely to make gifts special. Add a small note to explain how you made them. Handmade gifts are unique and loved by many.
- Make a set of toy belt with matching accessories
- Create personalized items with names or favorite colors
- Give gifts for birthdays, holidays, or special occasions
- Include a small bag to carry the handmade items
Frequently Asked Questions
What Materials Are Best For Handmade Toy Belts?
Cotton fabric, felt, and soft leather work best for toy belts. Choose durable, non-toxic materials safe for children’s use. Lightweight fabrics make belts comfortable and easy to sew. Avoid stiff or heavy fabrics that may be difficult to handle or wear.
How Do I Sew A Handmade Toy Belt Step-by-step?
Start by measuring the child's waist for accurate length. Cut fabric strips and sew edges neatly. Attach a buckle or Velcro for closure. Add decorative stitching or embellishments for style. Finish by reinforcing all seams to ensure durability.
Can Handmade Toy Belts Be Customized Easily?
Yes, handmade toy belts can be customized with colors, patterns, and decorations. Use ribbons, buttons, or fabric paint for unique designs. Customization allows matching belts with toys or children’s outfits. Personal touches make the belts special and engaging for kids.
Are Handmade Toy Belts Safe For Children?
Handmade toy belts are safe when using non-toxic, child-friendly materials. Avoid small parts that could become choking hazards. Ensure all attachments like buckles are securely sewn. Regularly inspect belts for wear and tear to maintain safety.
Conclusion
Handmade toy belts bring fun and creativity to playtime. Sewing them is simple and rewarding. You can choose colors and materials you like. Each belt becomes a special, unique gift. Kids enjoy wearing and showing their new belts. This project helps improve sewing skills step by step.
Give it a try and see the joy it brings. Making toy belts is a great way to spend time. Enjoy crafting and sharing your handmade creations today.