Have you ever wanted to create something special with your own hands? Building a wooden toy plane is a fun and rewarding project that you can enjoy, whether you're a beginner or have some woodworking experience.
Imagine holding a smooth, handcrafted plane that you made yourself—it's not just a toy, but a memory in the making. In this guide, you'll discover easy steps and helpful tips to turn simple pieces of wood into a charming toy plane.
Ready to bring your creativity to life? Let’s get started!
Materials And Tools Needed
Building a wooden toy plane is a fun and rewarding project. You need the right materials and tools to make it safe and strong.
This guide covers the wood choices, essential tools, and safety gear for the project.
Choosing The Right Wood
Pick wood that is light and easy to shape. Softwoods like pine or basswood work well. They are smooth and safe for kids.
Hardwoods are stronger but harder to cut. Avoid woods with knots or cracks. Sand the wood to remove splinters.
- Pine: light and easy to cut
- Basswood: soft and smooth
- Poplar: fine grain and stable
- Avoid hardwoods like oak for beginners
Essential Tools
Use simple tools to cut and shape the wood. Good tools make the job easier and cleaner.
You need saws, sandpaper, and glue. A small hammer and clamps help too.
- Hand saw or coping saw
- Sandpaper (various grits)
- Wood glue
- Clamps to hold pieces
- Small hammer
- Ruler and pencil for measurements
- Drill with small bits (optional)
Safety Equipment
Wear safety gear to protect yourself. Wood dust and sharp tools can cause injury.
Safety glasses and gloves are important. Work in a well-ventilated area to avoid breathing dust.
- Safety glasses to protect eyes
- Gloves to protect hands
- Dust mask to avoid inhaling dust
- First aid kit nearby
Credit: www.liltulips.com
Designing Your Toy Plane
Designing a wooden toy plane is a fun and creative process. It helps you plan how your plane will look and work.
Good design makes building easier and the toy safer to play with. Start by thinking about the shape and size.
Sketching The Blueprint
Draw a simple sketch of your toy plane on paper. Use basic shapes like rectangles and circles.
This sketch shows where each part will go. It helps you see the plane’s design before cutting wood.
Selecting Dimensions
Choose the size of your toy plane carefully. It should be big enough to hold, but not too heavy for kids.
Think about the wingspan, body length, and height. Write down these measurements on your blueprint.
- Body length: about 8 to 12 inches
- Wingspan: 10 to 14 inches
- Height: 3 to 5 inches
Planning Moving Parts
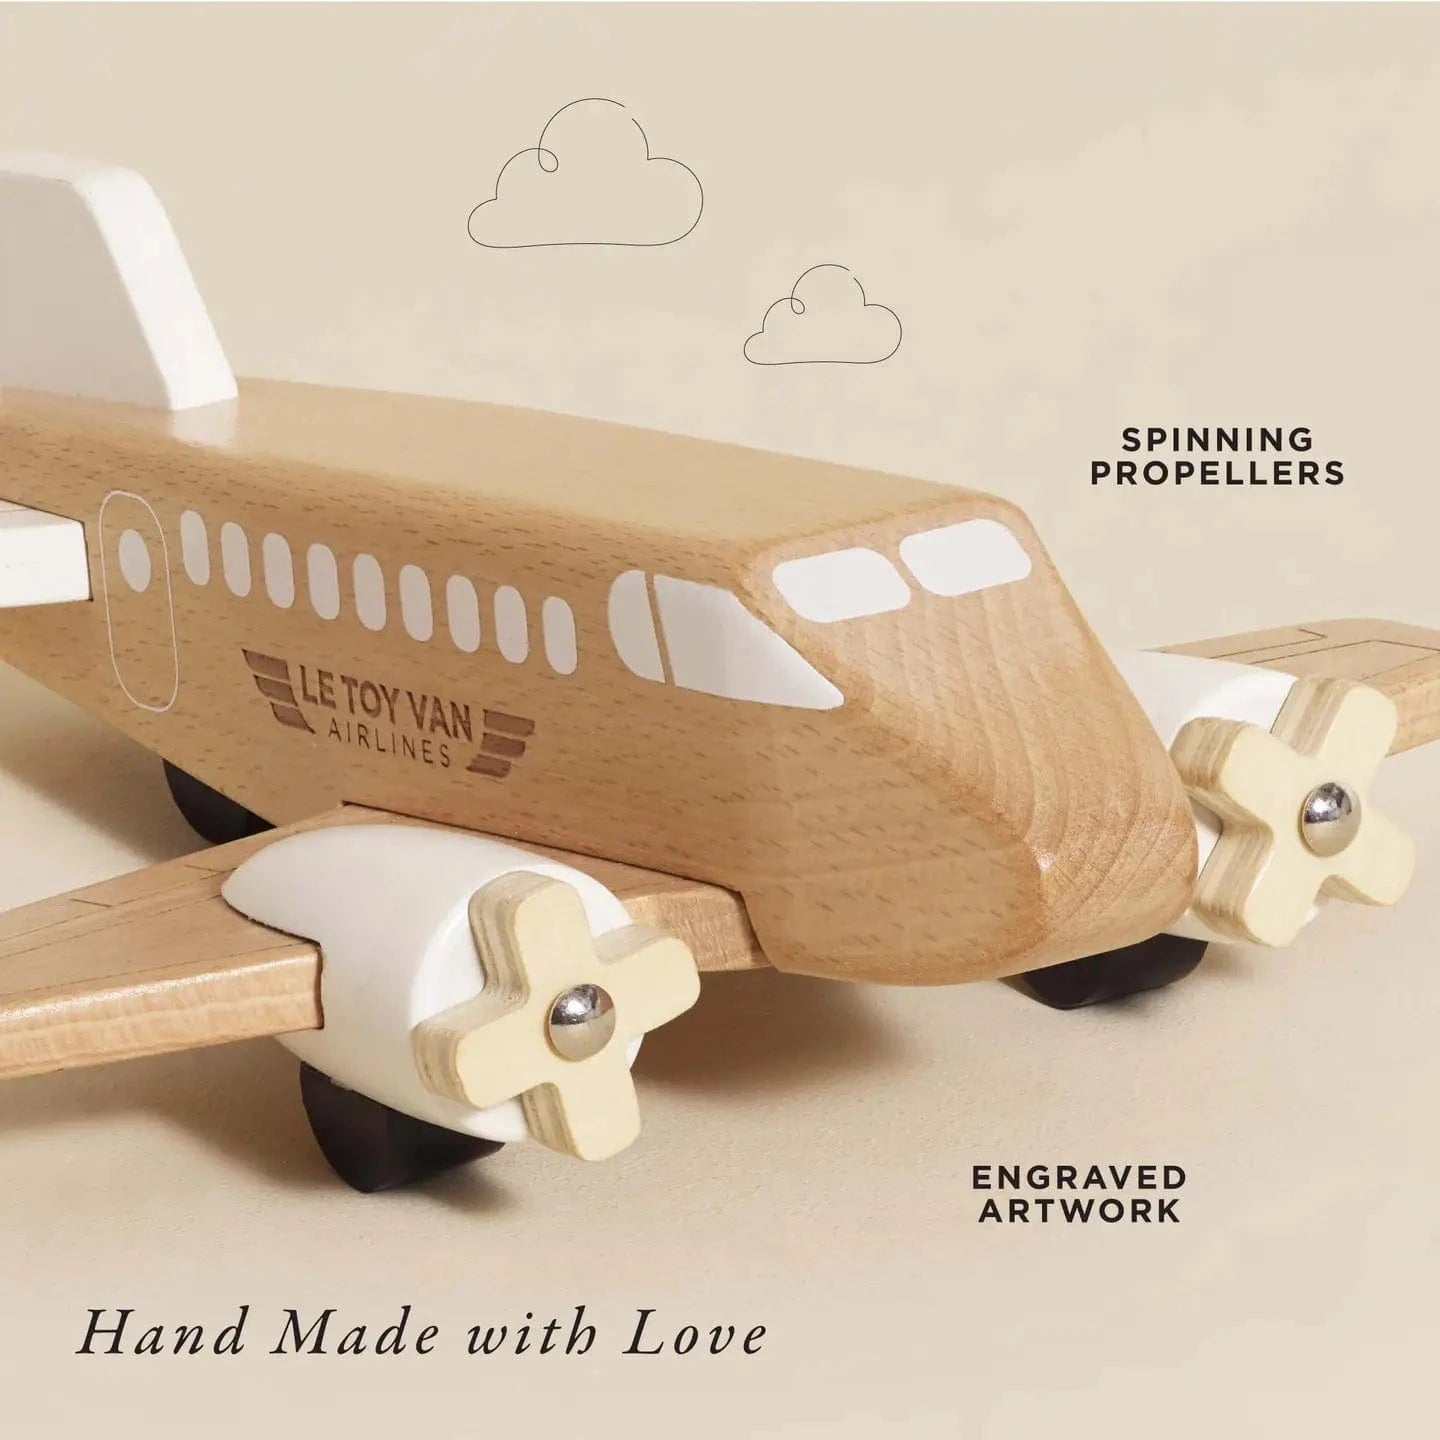
Decide if your toy plane will have moving parts like propellers or wheels. Plan how these parts will fit.
Make sure moving parts can turn easily but stay attached. Mark their locations on your blueprint.
- Propeller at the front, able to spin freely
- Wheels under the body for rolling
- Wing flaps that can move up and down
Cutting The Wood Pieces
Cutting wood pieces is an important step in building a wooden toy plane. You need to be careful and accurate to get the right shapes.
Good cutting helps the parts fit together well and makes the toy look nice and strong.
Marking The Wood
Start by marking the wood where you want to cut. Use a pencil and a ruler to draw straight lines.
Mark all parts clearly so you do not get confused during cutting.
- Use a sharp pencil for clear lines
- Double-check measurements before marking
- Mark both sides if needed for accuracy
Using The Saw Safely
Always handle the saw with care to avoid accidents. Wear safety glasses to protect your eyes.
Cut slowly and follow the marked lines to keep the pieces clean and straight.
- Hold the wood firmly while cutting
- Keep your fingers away from the blade
- Use a saw suitable for small wood pieces
Shaping The Parts
After cutting, shape the wood parts to smooth rough edges. Use sandpaper or a file for this step.
Shaping helps the parts fit better and makes the toy safer for children to play with.
- Sand edges until smooth to touch
- Check each piece for splinters
- Make sure all parts match the design
Credit: www.liltulips.com
Sanding And Smoothing
Sanding is key to making your wooden toy plane smooth and safe. It removes rough edges and splinters.
Sanding well prepares the wood for painting or finishing. It helps the glue stick better during assembly.
Choosing The Right Sandpaper
Pick sandpaper grit based on the wood’s condition and the stage of sanding. Coarse grit removes big bumps. Fine grit smooths the surface.
- Coarse grit (60-80): Removes rough wood and shapes edges.
- Medium grit (100-150): Smooths surfaces after coarse sanding.
- Fine grit (180-220): Prepares wood for finishing or painting.
Sanding Techniques
Use gentle, even strokes when sanding. Sand along the wood grain to avoid scratches.
Start with coarse grit for shaping. Move to medium and fine grit for a smooth finish. Clean dust between grit changes.
| Technique | Purpose |
| Long strokes along grain | Prevents scratches |
| Light pressure | Controls sanding depth |
| Clean between grits | Removes dust for better sanding |
| Use sanding block | Keeps surface even |
Preparing For Assembly
After sanding, wipe the wood with a damp cloth to remove dust. Check for rough spots and sand again if needed.
Make sure all parts fit well before gluing. Smooth edges help pieces join tightly. Test fit each part carefully.
Assembling The Plane
Building a wooden toy plane is fun and rewarding. This guide helps you join parts carefully for a strong model.
Follow the steps to assemble the fuselage, wings, tail, and moving parts with care and patience.
Joining The Fuselage
Start by connecting the main body pieces of the plane. Use wood glue for a secure hold.
- Apply glue along the edges of the fuselage parts.
- Press the pieces together firmly.
- Clamp the fuselage and let it dry for at least one hour.
- Check for gaps and fill them with wood filler if needed.
Attaching Wings And Tail
Attach the wings and tail after the fuselage dries. Align parts carefully to keep the plane balanced.
| Part | Attachment Method | Drying Time |
|---|---|---|
| Wings | Glue and small nails | 1 hour |
| Tail | Glue only | 30 minutes |
Securing Moving Components
Make sure the propeller and wheels move smoothly. Use small screws or pins to fix them.
Tips for securing moving parts:
- Use washers to reduce friction around screws.
- Test movement before final tightening.
- Apply a drop of oil if parts stick.

Credit: www.youtube.com
Painting And Finishing Touches
After building your wooden toy plane, it's time to add color and flair. Painting and finishing touches can make your toy plane look fantastic and last longer.
This guide will help you select the right paint, apply it properly, and add decorative details. Let's make your toy plane shine!
Selecting Paint Types
Choosing the right paint is important for your wooden toy plane. Some paints are safe and durable, while others may not last.
Look for non-toxic, child-safe paints. Acrylic and water-based paints are good choices for toys.
- Acrylic paints are vibrant and dry quickly
- Water-based paints are easy to clean
- Ensure the paint is safe for children
Applying Primer And Paint
Before painting, apply a primer to the wooden surface. Primer helps paint stick better and makes colors pop.
After priming, use a brush or spray to apply the paint. Start with light coats and let each layer dry before adding more.
- Use a primer for better paint adhesion
- Apply paint in thin, even coats
- Allow each layer to dry completely
Adding Decorative Details
Decorative details make your toy plane unique. Use small brushes for fine lines and intricate patterns.
Add decals or stickers for extra flair. Make sure the surface is dry before applying any decorations.
- Use fine brushes for detail work
- Add decals or stickers for fun designs
- Ensure all paint is dry before decorating
Testing And Adjustments
After building your wooden toy plane, it's important to test it. Testing ensures that the plane is stable and safe for play.
These tests help identify areas that need adjustments. This step is crucial for a well-functioning toy plane.
Ensuring Stability
Check that the toy plane sits evenly on a flat surface. Stability prevents the plane from tipping over during play.
If the plane wobbles, adjust the wings or landing gear. Make sure all parts are securely attached.
- Test on a flat table
- Reattach loose parts
- Balance the wings
Fine-tuning Moving Parts
Check the moving parts like propellers and wheels. They should move smoothly without any resistance.
Adjust the parts if they are too tight or too loose. A smooth operation ensures a fun playing experience.
- Spin the propellers
- Roll the wheels
- Tighten or loosen screws
Final Safety Check
Ensure there are no sharp edges on the toy plane. Sand down any rough spots to prevent injuries.
Check for small, detachable parts. These can be a choking hazard for young children.
- Inspect edges for smoothness
- Secure all small parts
- Ensure paint is non-toxic
Frequently Asked Questions
What Materials Do I Need For A Wooden Toy Plane?
You need quality wood like pine or balsa, sandpaper, wood glue, non-toxic paint, and small nails or screws. These materials ensure durability and safety for the toy plane.
How Do I Safely Cut Wooden Pieces For The Toy Plane?
Use a fine-toothed saw and clamp the wood firmly. Always wear safety goggles and cut slowly to maintain control and accuracy during cutting.
What Is The Best Wood Type For Toy Planes?
Balsa wood is lightweight and easy to shape, making it ideal. Pine is also good for sturdiness but is heavier. Both are safe and widely available.
How Can I Make The Wooden Plane Durable?
Use strong wood glue and reinforce joints with small nails. Sand all edges smoothly to prevent splinters and apply a protective coat of non-toxic paint or varnish.
Conclusion
Building a wooden toy plane can be fun and rewarding. You get to create something with your own hands. The steps are simple and clear. Each part you assemble brings you closer to finishing the plane. This project also helps improve your focus and patience.
Plus, the finished toy can be a great gift or decoration. Keep practicing, and your skills will grow. Enjoy the process and the joy it brings. Start your wooden plane project today and see how it flies!