Have you ever wanted to create something unique with your own hands? Carving a wooden toy map is a fun and rewarding project that lets you bring a playful piece of art to life.
Whether you're a beginner or have some carving experience, this guide will walk you through each step clearly and simply. Imagine the pride you'll feel holding a handmade wooden map, crafted by you. Ready to turn a simple block of wood into a charming toy?
Let’s dive in and make your carving skills shine!
Choosing The Right Wood
Carving a wooden toy map needs the right wood choice. The wood must be easy to carve and safe to use.
Picking the best wood helps your project look good and last a long time.
Softwood Vs Hardwood
Softwoods are easier to carve because they are less dense. They are good for beginners and quick projects.
Hardwoods are stronger and last longer. They need sharper tools and more skill to carve well.
- Softwoods: pine, cedar, fir
- Hardwoods: maple, oak, cherry
- Softwoods carve faster but can dent easily
- Hardwoods give a smooth finish and durability
Wood Grain And Texture
Wood grain affects how the carving looks and feels. Straight grain is easier to carve smoothly.
Rough or knotty wood can cause problems. It may split or make the carving uneven.
- Look for straight, even grain for best results
- Avoid wood with many knots or cracks
- Fine texture wood gives a smooth surface
- Coarse texture wood may need extra sanding
Sourcing Safe Materials
Choose wood that is safe for children. Avoid toxic finishes and treated wood.
Use natural, untreated wood to keep the toy safe and eco-friendly.
- Pick wood labeled non-toxic or food safe
- Stay away from pressure-treated or painted wood
- Check for splinters and smooth the surface well
- Buy wood from trusted suppliers or lumberyards
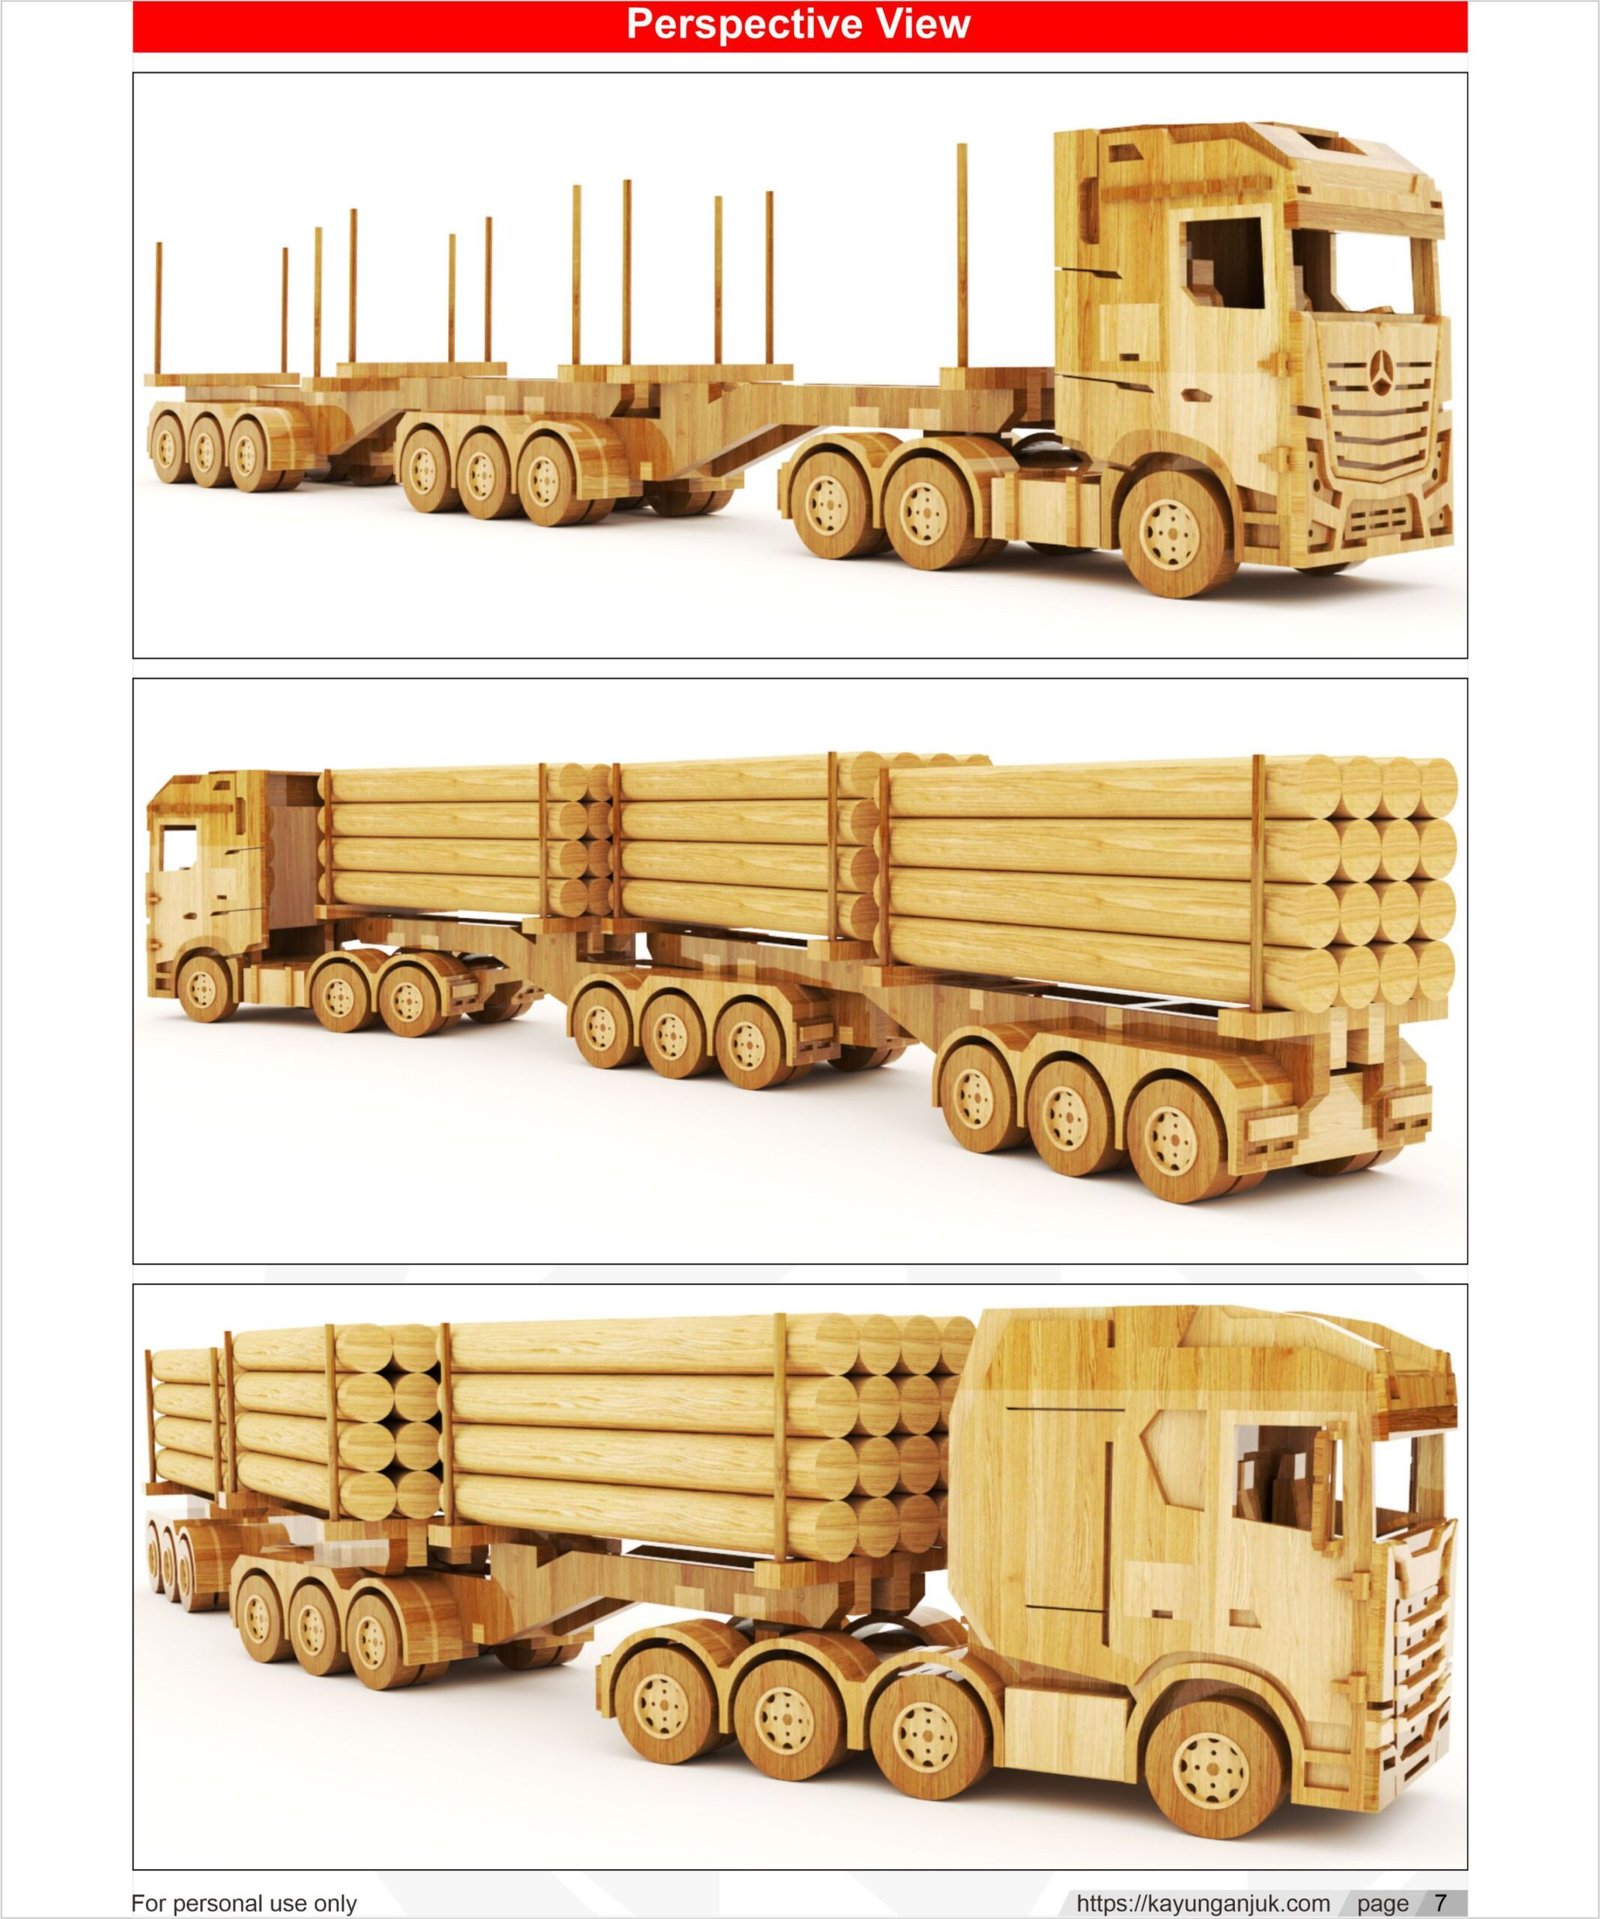
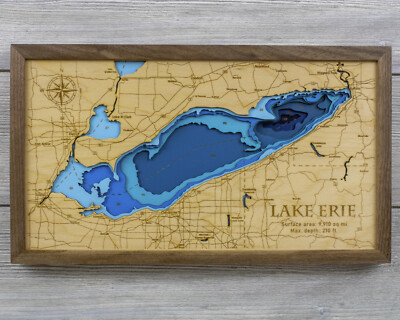
Credit: www.ebay.com
Essential Tools And Supplies
Carving a wooden toy map requires the right tools and supplies. Using proper equipment makes the work easier and safer.
This guide explains the basic tools, safety gear, and extra materials needed for carving your wooden toy map.
Basic Carving Tools
You need sharp and comfortable carving tools to shape the wood well. Each tool helps with different parts of the carving process.
- Carving knives for detailed cuts
- Gouges for scooping wood
- V-tools for making fine lines
- Sharpening stones to keep blades sharp
- Mallet to gently tap tools if needed
Safety Equipment
Safety is very important during carving. Wear protective gear to avoid injuries and work safely with sharp tools.
- Safety gloves to protect hands
- Eye protection like safety glasses
- Dust mask to avoid breathing wood dust
- Apron to keep clothes clean and safe
Additional Materials
Besides tools and safety gear, some extra materials help complete your wooden toy map project nicely.
- Wood blocks or planks as the base material
- Sandpaper to smooth the carved surfaces
- Wood finish or paint to protect and decorate
- Pencil and ruler for drawing the map design
Preparing The Wood Block
Creating a wooden toy map starts with a well-prepared wood block. This process ensures your final product is smooth and easy to work with.
Follow these steps to measure, cut, and sand the wood block accurately.
Measuring And Marking
Accurate measurements are crucial for carving a wooden toy map. Use a ruler and pencil to mark the dimensions on the wood block.
- Measure the length and width needed for your toy map.
- Mark straight lines with a ruler for precision.
- Double-check measurements to ensure accuracy.
Cutting To Size
Once marked, cutting the wood block to the right size is essential. Use a saw suitable for your wood type.
Sanding The Surface
Sanding the wood block smooths out any rough edges and prepares the surface for carving.
| Grit | Purpose |
| 80-grit | Initial rough sanding |
| 120-grit | Smoothing the surface |
| 220-grit | Finishing touches |
Designing The Toy Map
Creating a wooden toy map starts with a clear design plan. This helps shape the final look and ensures the carving is simple yet fun.
Good design saves time and avoids mistakes during carving. Focus on how the map fits the toy and what details to include.
Sketching Your Layout
Begin by drawing a rough outline of the toy map on paper. Use simple shapes to mark land, water, and important spots.
Keep the sketch clear. Avoid too many lines or tiny details that might be hard to carve.
Simplifying Complex Details
Maps often have many small features. Choose which details to keep and which to leave out. This makes carving easier.
- Pick major landmarks only
- Use basic shapes for mountains and trees
- Show big rivers instead of small streams
- Leave out tiny labels or decorations
Transferring The Design
After finalizing your sketch, move the design onto the wood. Use one of these methods:
| Method | Description |
| Carbon Paper | Place under sketch and trace to transfer lines |
| Stencil | Cut out shapes and trace around them on wood |
| Direct Drawing | Draw the design freehand on wood with pencil |
Carving Techniques
Carving a wooden toy map is a fun and creative activity. It involves shaping wood into a map using basic and advanced carving techniques.
With practice, you can create detailed and artistic wooden maps. This guide will help you understand the carving techniques needed for this craft.
Basic Cuts And Strokes
Start with basic cuts to outline your map. Use straight and curved strokes for best results.
These cuts help form the initial shape of your wooden map. Practice on scrap wood before working on your map.
- Straight cuts for edges
- Curved strokes for lines
- V-cuts for detail work
Shaping The Contours
Contours give your wooden map a realistic look. Carefully carve to represent hills and valleys.
Use gentle slopes for gradual terrain changes. Sharper cuts create more distinct features.
- Use gouges for slopes
- V-tools for sharp lines
- Gradual cuts for smooth transitions
Adding Depth And Texture
Depth adds a three-dimensional feel to your map. Texture makes it more interesting to touch and see.
Experiment with different tools to create varied textures. This makes your map unique and lifelike.
- Use chisels for deep cuts
- Rasps for rough textures
- Sandpaper for smooth finishes
Credit: www.ebay.com
Finishing Touches
Finishing your wooden toy map makes it safe and attractive. This step improves its feel and look. Proper finishing protects the wood from damage.
We will cover sanding, painting, and sealing. Each step adds value to your toy map.
Sanding For Smoothness
Sanding removes rough spots and splinters. It makes the surface smooth and safe for children to touch. Use fine-grit sandpaper for the best results.
- Start with medium-grit sandpaper to remove large bumps.
- Use fine-grit sandpaper to smooth the surface.
- Sand edges and corners carefully.
- Wipe dust off with a clean cloth after sanding.
Painting And Coloring
Painting adds color and fun to your toy map. Use non-toxic, child-safe paints. Choose bright colors to make the map interesting.
| Type of Paint | Best Use | Drying Time |
| Water-based acrylic | Easy to clean, bright colors | 1-2 hours |
| Milk paint | Natural look, eco-friendly | 30-60 minutes |
| Tempera paint | Good for young children’s projects | 10-20 minutes |
Sealing And Protecting
Sealing protects the paint and wood from wear and moisture. Use a clear, non-toxic sealant that is safe for toys. Apply thin coats and let each dry fully.
- Choose a water-based polyurethane or varnish.
- Apply with a soft brush in thin, even layers.
- Let the sealant dry completely between coats.
- Lightly sand between coats for extra smoothness.
- Apply at least two coats for good protection.
Troubleshooting Common Issues
Carving a wooden toy map is fun but can cause some problems. Knowing how to fix these helps you keep making great toys.
Below are ways to solve common problems like splits, mistakes, and dull tools.
Fixing Splits And Cracks
Splits and cracks can appear while carving. They weaken the wood and can ruin your toy.
- Fill small cracks with wood glue or sawdust mixed with glue.
- Clamp the wood until glue dries to keep cracks closed.
- Sand the area smooth after the glue dries.
- For big splits, cut out the damaged part and replace it with a new piece.
Correcting Mistakes
Making mistakes is normal. You can fix them with simple steps to keep your work clean.
| Mistake | Fix |
| Wrong shape carved | Use wood filler and sand to reshape |
| Too deep cut | Fill with wood putty, then sand smooth |
| Uneven surface | Sand carefully with fine grit sandpaper |
| Broken small parts | Glue pieces back or carve replacement parts |
Maintaining Tool Sharpness
Dull tools make carving hard and unsafe. Keep your tools sharp for best results.
Tips for sharpening your carving tools:
- Use a sharpening stone or fine grit sandpaper.
- Keep the original angle of the blade while sharpening.
- Wipe tools clean after each use to prevent rust.
- Store tools in a dry place to protect edges.

Credit: www.amazon.com
Safety Tips For Beginners
Carving a wooden toy map is fun but needs care. Safety helps you avoid injuries and enjoy the craft.
Knowing how to work safely makes your carving time better. Follow these tips for a safe start.
Proper Handling Of Tools
Use carving tools with care. Hold them firmly and cut away from your body to stop accidents.
Keep your tools sharp. Dull tools need more force and can slip more easily.
- Always carve in a safe direction
- Use a carving glove to protect your hand
- Store tools properly after use
- Check tools for damage before starting
Workspace Setup
Set up a clean and bright workspace. Good lighting helps you see details and avoid mistakes.
Keep your work area tidy. Remove clutter to prevent slips or accidents while carving.
- Use a sturdy table or bench
- Have a non-slip mat under your wood piece
- Keep tools and materials within reach
- Work in a well-ventilated space
First Aid Basics
Accidents can happen even when careful. Know basic first aid for cuts and splinters.
Keep a first aid kit near your workspace. It helps you treat small injuries quickly.
- Clean cuts with water and mild soap
- Use sterile bandages to cover wounds
- Remove splinters gently with tweezers
- Seek medical help for deep or bleeding wounds
Frequently Asked Questions
What Tools Are Needed To Carve A Wooden Toy Map?
You need carving knives, gouges, a mallet, sandpaper, and safety gloves. A pencil and woodblock are essential for design and shaping. Quality tools ensure precision and safety in your carving process.
How Do You Choose The Right Wood For Toy Maps?
Select softwoods like basswood or pine for easy carving. These woods have fine grains and minimal knots. They are safe for children and hold detail well for toy maps.
What Safety Tips Should I Follow While Carving Wood?
Always wear gloves and eye protection. Work in a well-lit, ventilated area. Keep tools sharp and use controlled, steady strokes to avoid accidents.
How Do I Add Details To A Wooden Toy Map?
Use fine carving tools to engrave details gently. Sand edges smooth for safety. Consider painting or staining to highlight map features clearly.
Conclusion
Carving a wooden toy map can be fun and rewarding. Start with simple shapes and take your time. Use safe tools and follow each step carefully. Practice helps improve your skills and confidence. Enjoy the process and be proud of your work.
Sharing your creation brings joy to others too. Keep carving and exploring new designs often. Your wooden toy map will become a special treasure.