Have you ever wondered how those charming wind-up toys come to life with just a simple twist? Imagine creating your very own toy that springs into action right from your hands.
In this guide, you’ll discover easy steps to make a wind-up toy that moves and delights. Whether you want a fun project or a unique gift, you’ll find everything you need here. Ready to bring a little magic and motion to your day?
Let’s get started!
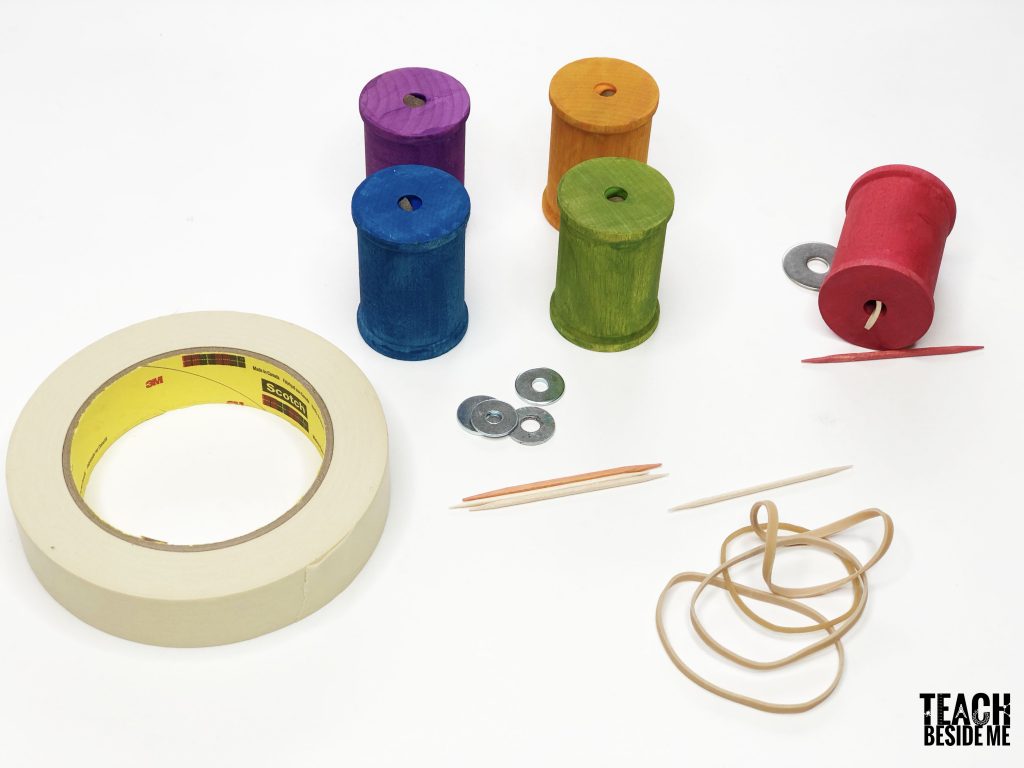
Materials Needed
Gathering the right materials is the first step to making a wind-up toy. The parts you choose will affect how well the toy works and how fun it is to build. Prepare a clean workspace and organize your supplies before starting. This helps keep the project smooth and enjoyable.
Basic Supplies
Start with essential items like a small motor or spring mechanism. Use lightweight materials such as cardboard, plastic, or thin wood for the body. Small wheels or gears help the toy move. You will also need glue or tape to hold parts together. Simple tools like scissors and a screwdriver are helpful too.
Optional Tools
Extra tools can make building easier but are not required. A small drill can create precise holes. Pliers help bend wires or hold tiny parts. A craft knife allows for detailed cutting. A ruler and pencil assist in measuring and marking. These tools improve accuracy and speed.
Choosing The Right Components
Select parts that fit your toy’s size and design. Use a spring or wind-up motor that matches the toy’s weight. Choose wheels with smooth surfaces for better movement. Pick lightweight materials for faster speed. Test parts before assembling to ensure they work well together.

Credit: www.youtube.com
Designing Your Toy
Designing your wind-up toy is an exciting step. This part shapes how your toy looks and moves. A clear design helps build a fun and working toy. Focus on simple ideas first. This makes the process easier and more enjoyable.
Simple Shapes And Mechanisms
Use basic shapes like circles, squares, and rectangles. These shapes are easy to cut and assemble. Simple mechanisms like gears, levers, and springs work best. They create smooth movement without too much trouble. Keep the design easy to make and fix.
Sketching Your Idea
Draw your toy on paper before building it. Sketch the main parts and how they connect. Use light lines for changes and corrections. This helps see the toy’s size and shape clearly. A good sketch guides your building steps well.
Planning Movement
Think about how your toy will move. Will it walk, spin, or bounce? Plan the parts that make the motion happen. Check that the wind-up mechanism fits with these parts. Movement should be smooth and fun to watch. Test your ideas with small models first.
Building The Wind-up Mechanism
Building the wind-up mechanism is the heart of your toy. It makes the toy move and come alive. This part needs careful work and attention. Each piece must fit perfectly to work smoothly. Follow these steps to create a strong and reliable mechanism for your wind-up toy.
Creating The Spring
The spring stores energy to power the toy. Use a thin strip of metal or strong plastic. Roll it tightly around a small rod to form a coil. Make sure the coil is even and not too loose. The spring should be able to unwind slowly and smoothly. Attach one end to a fixed point. The other end connects to the gear system.
Assembling Gears
Gears transfer energy from the spring to the toy’s parts. Choose gears that fit well together. Place the largest gear near the spring. Connect smaller gears in a line or cluster. Each gear should turn easily without sticking. Use small rods or axles to hold the gears in place. Check the gear teeth for smooth movement.
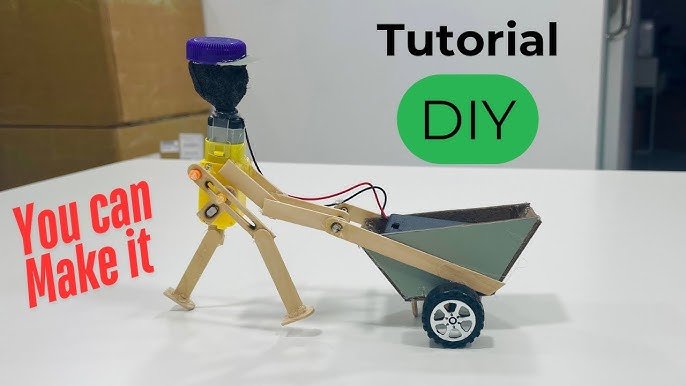
Testing The Mechanism
Test the mechanism before final assembly. Wind the spring gently and watch the gears move. The gears should turn smoothly and drive the toy’s parts. Listen for any grinding or sticking sounds. If the mechanism jams, adjust the gears or spring. Repeat testing until the movement is smooth and steady.
Credit: teachbesideme.com
Constructing The Toy Body
Constructing the toy body is a key step in making a wind-up toy. This is where your toy starts to take shape. A strong and well-built body helps the toy move smoothly. Focus on making the parts fit well together. The body should be light but sturdy. Use materials that are easy to cut and shape. Keep the design simple for better results.
Cutting And Shaping Materials
Start by selecting the right materials. Cardboard, thin wood, or plastic sheets work well. Use scissors or a craft knife to cut out the shapes. Measure twice and cut once. Smooth the edges with sandpaper or a file. Shape the pieces to match your design. Keep the pieces small and light for easy movement.
Attaching Moving Parts
Attach wheels, gears, and axles carefully. Use glue or small screws for strong joints. Make sure the parts move freely. Test the movement often while building. Adjust parts that stick or jam. Proper alignment helps the toy wind up and move better. Secure all parts firmly to avoid breaks.
Decorating Your Toy
Decorate the toy body to make it fun. Use paint, markers, or stickers. Keep decorations light to avoid extra weight. Add eyes, patterns, or simple designs. Let the paint dry before handling. Decoration adds character and makes the toy unique. Keep it simple for a clean look.
Final Assembly
The final assembly is the most exciting step in making your wind-up toy. This stage brings all parts together, turning pieces into a working toy. Careful assembly ensures the toy winds and moves smoothly. Let’s walk through the key parts of this process.
Combining Mechanism And Body
Start by fitting the wind-up mechanism inside the toy body. Align the gears and winding key carefully. Make sure the mechanism fits snugly without forcing it. Check that the winding key sticks out for easy access. The body should hold the mechanism firmly in place.
Securing Components
Use small screws or glue to fix parts securely. Avoid using too much glue to keep moving parts free. Tighten screws gently to prevent cracks in the body. Double-check that all parts stay connected during movement. Proper securing stops parts from falling off while playing.
Troubleshooting Common Issues
If the toy does not wind or move, check gear alignment. Look for stuck or loose parts inside the mechanism. Clean any dirt or dust blocking gear movement. Make sure the winding key turns fully without resistance. Adjust parts slightly until the toy runs smoothly.
Tips For Customization
Customizing your wind-up toy makes it unique and fun. Personal touches bring character and charm. Small changes can make a big difference in the toy’s look and feel.
Explore different ways to add color, sound, and movement. These tips help you create a toy that stands out and feels special.
Adding Colors And Patterns
Choose bright, bold colors to catch the eye. Paint the body with simple shapes like stripes or dots. Use markers or stickers for easy decoration. Try mixing colors for a playful effect. Let the paint dry fully before winding the toy.
Incorporating Sound Effects
Add small bells or whistles inside the toy’s body. Use tiny music boxes for soft tunes. Attach a clicking mechanism for rhythmic sounds. Test sounds to ensure they match the toy’s movement. Keep the sounds gentle for a pleasant playtime.
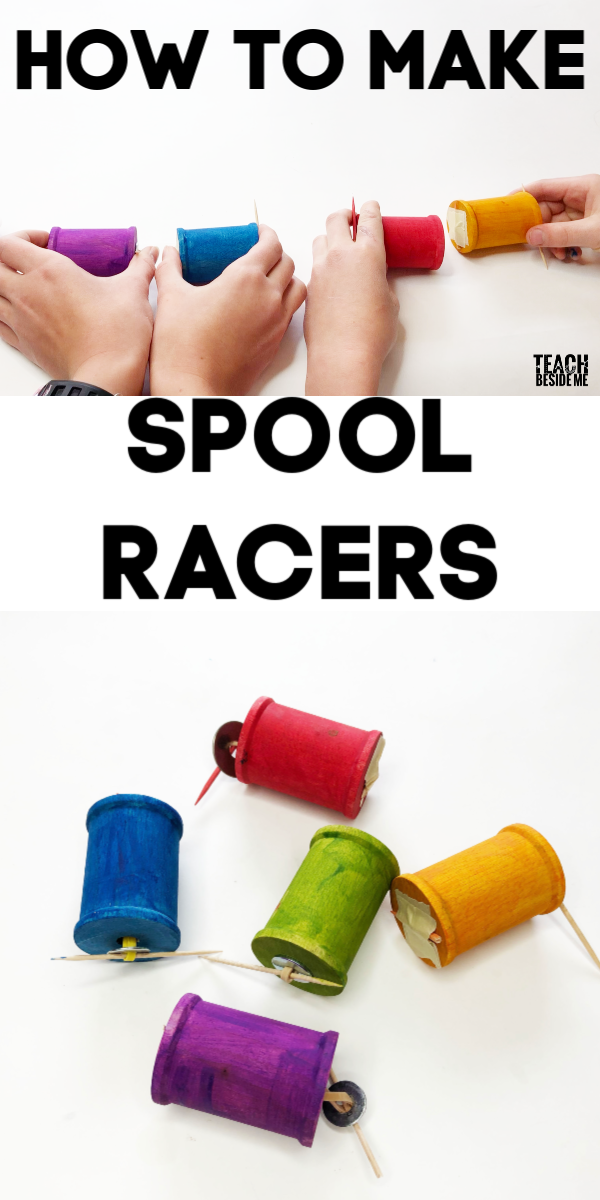
Experimenting With Different Movements
Change the wheels or gears for varied speeds. Add arms or legs that move differently. Try making the toy spin, jump, or walk. Adjust the spring tension for longer or shorter motion. Watch how each change affects the toy’s action.
Credit: teachbesideme.com
Frequently Asked Questions
What Materials Are Needed To Make A Wind-up Toy?
To make a wind-up toy, you need simple materials like a spring motor, cardboard, glue, and small wheels. These items help create the toy's movement mechanism and structure efficiently.
How Does The Wind-up Mechanism Work In Toys?
The wind-up mechanism stores energy in a coiled spring when turned. As it unwinds, it releases energy that powers the toy's movement smoothly.
Can Beginners Easily Make Wind-up Toys At Home?
Yes, beginners can make wind-up toys with basic tools and materials. Following step-by-step instructions ensures a fun and educational DIY project.
How Long Does A Homemade Wind-up Toy Usually Run?
A homemade wind-up toy typically runs for 20 to 40 seconds, depending on the spring size and winding strength.
Conclusion
Making a wind-up toy is a fun and creative project. It helps you learn about simple machines and how they work. You can use different materials to build your toy. Testing and adjusting your design makes it better. Enjoy the process and try new ideas.
This project teaches patience and problem-solving skills too. Keep experimenting and have fun with your wind-up toy.