Are you looking for a fun and creative project that brings joy to both you and your kids? Building a wooden toy stable can be the perfect way to spend quality time while crafting something special.
Imagine watching your child’s eyes light up as they play with a sturdy, handmade stable that you built yourself. You’ll discover easy-to-follow wooden toy stable building plans that anyone can use, even if you’re new to woodworking. Ready to turn simple materials into a lasting treasure?
Keep reading to unlock the secrets to creating your very own wooden toy stable.

Credit: www.freepik.com
Materials And Tools Needed
Building a wooden toy stable needs the right materials and tools. This guide covers the basics to help you get started safely and effectively.
Choosing quality wood and the correct tools will make your project easier and the final product stronger. Safety should always come first.
Choosing The Right Wood
Select wood that is easy to work with and safe for children. Softwoods like pine or cedar are good choices. Avoid woods with splinters or strong odors.
- Pine - affordable and easy to cut
- Cedar - naturally resistant to decay
- Poplar - smooth and easy to sand
- Avoid treated or painted wood
Essential Tools For Building
Use the right tools to measure, cut, and assemble your wooden toy stable. Keeping tools sharp and clean helps make the work safe and precise.
| Tool | Purpose |
|---|---|
| Measuring tape | To measure wood pieces accurately |
| Hand saw or jigsaw | To cut wood pieces |
| Hammer and nails | To join wood parts |
| Screwdriver and screws | For stronger joints |
| Sandpaper | To smooth wood surfaces |
Safety Equipment
Protect yourself with safety gear to avoid injuries. Always wear equipment that suits the tools you use and the tasks you do.
- Safety goggles to protect eyes from dust and splinters
- Work gloves to protect hands from cuts and splinters
- Dust mask to avoid inhaling sawdust
- Ear protection if using loud power tools
- Closed-toe shoes to protect feet
Designing Your Toy Stable
Building a wooden toy stable is a fun project. It lets you create a special place for toy horses and animals.
Good design helps the stable look nice and work well for playtime. Think about the shape, size, and details before building.
Simple Stable Layouts
Start with a basic shape for the stable. Simple layouts are easier to build and use fewer materials.
Common designs include a rectangle with a pitched roof or a square with open sides for easy access.
- Rectangular base with a sloped roof
- Square layout with side openings
- Open front for easy play
- Separate stalls inside for toy animals
Customizing For Kids’ Preferences
Ask children what they like in a toy stable. Custom features make the stable more fun and personal.
Add windows, doors, or a feeding trough. Use colors or decorations that kids enjoy.
- Add sliding or swinging doors
- Include small windows for light
- Paint in favorite colors
- Attach hooks for toy accessories
Size And Scale Considerations
Make sure the stable fits the toy animals. Size should match the toys for easy play.
Think about where the stable will sit. It should be big enough to hold toys but small enough to store.
- Measure toy animals before building
- Keep stable height at least twice toy height
- Allow room inside for movement
- Check space where stable will be placed
Step-by-step Building Process
Building a wooden toy stable is fun and rewarding. This guide breaks down the process into easy steps. Follow along to create a sturdy and charming toy stable.
Each step focuses on simple tasks. You will prepare the wood, assemble the frame, add doors and roof, and finish the details.
Preparing The Wood Pieces
Start by selecting good quality wood. Cut the pieces to the correct sizes. Sand all edges smooth to avoid splinters. Check for cracks or knots that may weaken the wood.
- Measure and mark all wood pieces carefully
- Use a saw to cut pieces accurately
- Sand edges and surfaces for smoothness
- Sort pieces by size and shape for easy access
Assembling The Frame
Lay out the base and side pieces. Use wood glue and nails to join the parts. Make sure the frame is square and level. Clamp the pieces to hold them while drying.
| Part | Length (inches) | Number Needed |
| Base | 18 | 1 |
| Sides | 12 | 2 |
| Back | 18 | 1 |
| Front Frame | 18 | 1 |
Adding Doors And Roof
Cut door panels and attach them with small hinges. For the roof, join two angled pieces to form a peak. Secure the roof to the frame with nails and glue.
- Measure door openings carefully
- Attach hinges on one side of doors
- Assemble roof pieces at a 45-degree angle
- Fix roof firmly to the top of the frame
Finishing Touches
Sand the entire stable again to smooth rough spots. Apply a child-safe paint or finish. Add small details like handles or decorations. Let the paint dry before use.
- Use non-toxic paint and finishes
- Check all nails and screws are flush
- Ensure no sharp edges remain

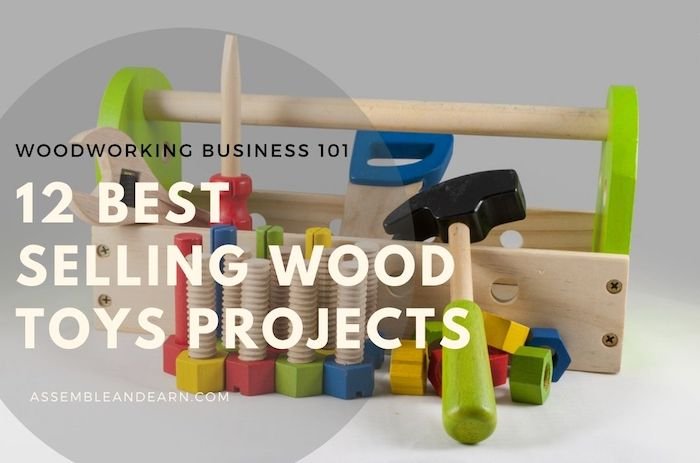
Credit: www.freepik.com
Painting And Decorating
Painting and decorating your wooden toy stable adds charm and personality. The right finish also protects the wood and keeps it safe for children.
Use safe materials and creative ideas to make your stable look great and last longer.
Choosing Safe Paints
Pick paints that are non-toxic and safe for kids. Look for water-based paints that do not have harmful chemicals.
- Use paints labeled as child-safe or non-toxic
- Choose water-based or acrylic paints
- Avoid paints with lead or strong fumes
- Test paint on a small wood piece before full use
- Let the paint dry completely before use
Creative Decoration Ideas
Decorate the stable with bright colors and fun patterns. Use simple shapes and designs that children enjoy.
| Design | Tips |
| Stripes | Use painter’s tape for straight lines |
| Polka Dots | Use a round sponge or stencil |
| Animal Shapes | Paint small animals on walls or doors |
| Windows and Doors | Outline with a darker color for detail |
Protecting The Wood
Seal the wood to keep it safe from water and wear. Use a clear, child-safe finish that keeps colors bright.
Try this simple finish:
- Apply a thin coat of non-toxic polyurethane
- Let it dry for 24 hours
- Lightly sand with fine grit sandpaper
- Apply a second coat for extra protection
Tips For Kid-friendly Play
Wooden toy stable building plans can create fun and safe play areas for children. Designing with kids in mind helps ensure long-lasting use and enjoyment.
These tips focus on durability, interactive features, and smart storage ideas. Each part supports safe and engaging play.
Ensuring Durability
Use strong wood types like pine or oak for building the stable. Sand all edges to prevent splinters and rough spots. Apply non-toxic paint or sealant to protect the wood from spills and wear.
- Choose sturdy screws and nails for assembly
- Check joints regularly for looseness
- Keep the stable dry to avoid wood damage
- Replace broken parts immediately
Interactive Features
Add doors and windows that open and close easily. Include hooks for hanging toy brushes or saddles. Consider adding a small chalkboard for kids to write stable notes.
| Feature | Purpose |
| Opening doors | Encourage imaginative play |
| Hooks | Organize small toys and accessories |
| Chalkboard | Promote creativity and learning |
Storage Solutions
Good storage keeps the play area tidy and safe. Use built-in shelves or bins to hold small toys and parts. Label storage areas to help kids find items easily.
- Use stackable boxes for easy access
- Include a low shelf for books or manuals
- Keep soft toys in fabric baskets
- Place storage near the stable for quick cleanup
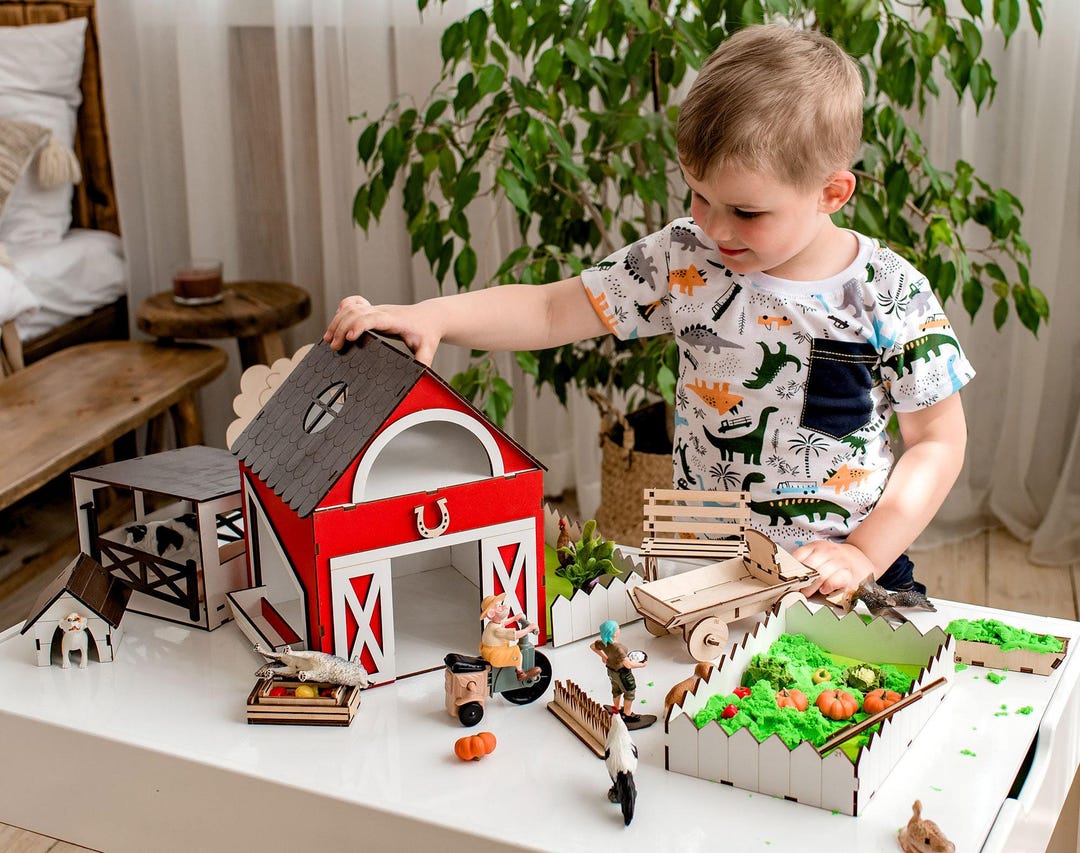
Credit: www.etsy.com
Troubleshooting Common Issues
Building a wooden toy stable can be fun, but challenges may arise. Here are solutions to common problems.
Addressing these issues ensures your toy stable is durable and safe for play.
Fixing Loose Joints
Loose joints can make the toy unstable. Check joints regularly for tightness.
Use wood glue to secure loose joints. Ensure glue is dry before using the stable.
- Apply glue to all joint edges
- Press firmly and hold until set
- Check for any remaining gaps
Dealing With Splinters
Splinters can be hazardous for children. Sand the wood surface to remove rough spots.
After sanding, use a damp cloth to wipe away dust. This helps keep the surface smooth.
- Use fine-grit sandpaper
- Sand along the wood grain
- Inspect frequently for new splinters
Adjusting Design For Stability
Design adjustments can improve stability. Ensure the base is wide enough to support the structure.
If the stable wobbles, add more support beams. This strengthens the frame.
- Widen the base if needed
- Add cross beams for extra support
- Test stability after each adjustment
Frequently Asked Questions
What Materials Are Needed For Wooden Toy Stable Plans?
You need quality wood, nails, wood glue, sandpaper, and paint. Choose non-toxic finishes for child safety. Basic woodworking tools like a saw, hammer, and drill are essential.
How Long Does It Take To Build A Wooden Toy Stable?
Building time varies by skill level but typically takes 4 to 8 hours. Simple designs are quicker, while detailed plans may require more time.
Are The Wooden Toy Stable Plans Suitable For Beginners?
Yes, many plans are designed for beginners with clear instructions. Step-by-step guides help ensure a smooth building process for all skill levels.
Can Wooden Toy Stables Be Customized Easily?
Absolutely. Plans allow modifications in size, color, and features. Customizing enhances creativity and makes the toy more personal and unique.
Conclusion
Building a wooden toy stable is a fun and rewarding project. These plans guide you step-by-step to create a sturdy, charming stable. You will enjoy crafting each piece with care and patience. Kids will love playing with a handmade wooden stable.
It also helps develop woodworking skills and creativity. Keep your tools ready and follow the plans closely. Start building today and create lasting memories with this wooden toy stable. Simple, fun, and satisfying.