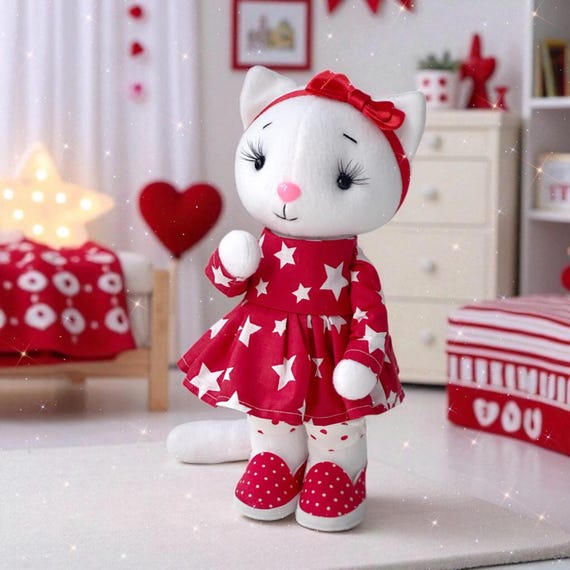
Are you looking for a fun and creative project that brings a smile to your face? Making your own stuffed toy cat is easier than you think, especially with the right sewing pattern.
Imagine holding a soft, cuddly cat you made yourself—perfect for gifts or decorating your space. This DIY stuffed toy cat sewing pattern will guide you step-by-step, even if you’re new to sewing. Ready to create something adorable and uniquely yours?
Keep reading, and you’ll discover how simple and rewarding this craft can be.

Credit: dailydoll.shop
Materials Needed
Gathering the right materials is key to making a lovely stuffed toy cat. This guide covers what fabrics, tools, and stuffing you will need.
Each section helps you pick the best supplies for your sewing project. Read carefully to prepare well.
Fabric Choices
Choose soft fabrics that are easy to sew and safe for children. Cotton and fleece work well for a cuddly toy cat.
- Plain cotton fabric for the main body
- Felt for ears and nose details
- Flannel for a soft touch
- Printed fabrics for a fun pattern
- Fabric scraps for small accents
Essential Sewing Tools
Having the right tools makes sewing easier and more precise. Keep these items handy while you work on your toy cat.
| Tool | Purpose |
| Sewing needles | Hand stitching and finishing touches |
| Sewing machine | Quick and even seams |
| Fabric scissors | Cutting fabric cleanly |
| Pins | Holding fabric pieces together |
| Measuring tape | Checking fabric dimensions |
| Chalk or fabric marker | Marking cutting lines |
Stuffing Options
Stuffing fills the toy cat to make it soft and fluffy. Choose a stuffing that is safe and fits your project.
- Polyester fiberfill for a light, soft feel
- Cotton stuffing for natural filling
- Wool roving for a firm shape
- Fabric scraps as eco-friendly stuffing
- Beans or pellets for weighted parts
Preparing The Pattern
Before sewing your stuffed toy cat, you need to prepare the pattern correctly. This helps to make the sewing process smooth and the toy look neat.
Follow these simple steps to print, cut, and transfer the pattern to fabric with care and accuracy.
Printing And Cutting
Print the sewing pattern on regular A4 or letter-sized paper. Make sure your printer settings are set to 100% scale or actual size.
- Check the pattern’s reference square to confirm correct size.
- Cut along the solid lines carefully with scissors or a craft knife.
- Use a ruler for straight edges and curves for smooth cutting.
- Keep all pattern pieces organized and labeled for easy use.
Transferring To Fabric
Lay the fabric flat and place the paper pattern pieces on top. Pin the pattern to the fabric to hold it steady.
| Tool | Use |
| Fabric Marker | Mark outlines and sewing lines |
| Tailor’s Chalk | Make temporary marks on fabric |
| Tracing Wheel & Carbon Paper | Transfer pattern marks to fabric |
| Scissors | Cut fabric carefully along marks |
Cut the fabric pieces just outside the lines to leave seam allowance. Remove pins and keep pieces ready for sewing.
Sewing The Pieces
Sewing the pieces together is the key part of making your stuffed toy cat. Take your time with each step to keep the seams neat and strong.
Use matching thread and a sharp needle. Follow the pattern carefully to join all parts correctly.
Stitching The Body
Start by sewing the front and back body pieces together. Use a straight stitch about 1/4 inch from the edge.
- Pin the pieces with right sides facing each other
- Sew around the edges, leaving the bottom open
- Clip the curves to help the body shape smoothly
- Turn the body right side out through the open bottom
Stuff the body with soft filling until it feels firm but still cuddly.
Attaching The Ears And Tail
Sew the ears and tail to the body before closing the bottom seam. This keeps the pieces secure and well placed.
| Piece | Placement | Stitch Type |
|---|---|---|
| Ears | Top corners of the head | Backstitch for strength |
| Tail | Center back, near bottom opening | Whipstitch for flexibility |
After attaching, sew the bottom opening closed with a ladder stitch for a clean finish.
Stuffing And Shaping
Stuffing and shaping are key to making your stuffed toy cat look great. The right filling gives the toy softness and form. Careful shaping helps it keep a cute and cuddly look.
Using the correct techniques will make your toy cat last longer and feel nice to hold. Below are tips on how to fill and shape your toy properly.
Filling The Toy
Choose soft polyester fiberfill for stuffing. Avoid using too much stuffing or the seams may stretch. Fill the toy in small amounts to control the shape.
- Start by stuffing the head firmly for good shape.
- Add less stuffing in limbs to keep them flexible.
- Fill the body firmly but leave some softness.
- Use a pencil or chopstick to push stuffing into small parts.
- Check the toy’s shape as you stuff to avoid lumps.
Achieving The Desired Shape
Shaping the toy helps it look like a cat. Smooth out the stuffing and pinch seams to define parts. Adjust the stuffing if the shape looks uneven.
| Part | Shaping Tips |
| Head | Round and firm with smooth surface |
| Ears | Pinch edges for pointy tips |
| Body | Soft but firm to hold shape |
| Legs | Flexible with slight firmness |
| Tail | Slim and slightly stuffed for movement |
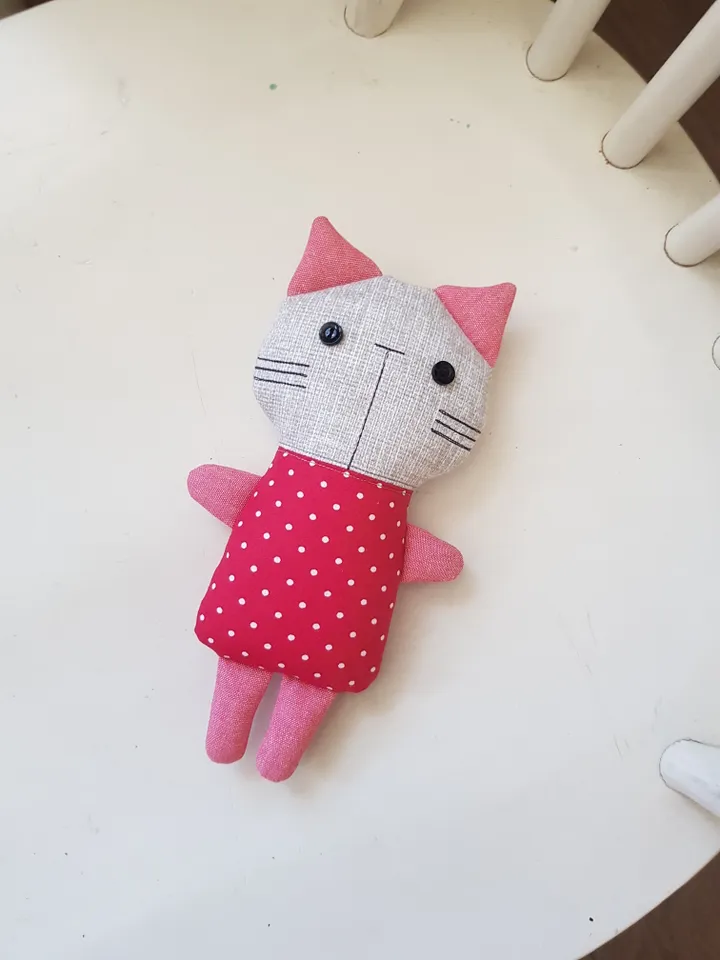
Adding Details
Creating a stuffed toy cat is fun and rewarding. Adding details brings your creation to life.
Focus on sewing the face and adding decorative touches for a unique look.
Sewing The Face
The face gives your toy its personality. Use simple stitches for the eyes and nose.
- Start with the eyes using black thread.
- Stitch the nose below the eyes.
- Add a little mouth with a smile.
Decorative Touches
Decorative touches make your toy special. Consider adding unique features.
Use buttons or fabric for eyes to add texture.
| Feature | Material |
| Bow | Ribbon |
| Scarf | Felt |
| Patch | Patterned Fabric |
Credit: www.etsy.com
Tips For Beginners
Sewing a stuffed toy cat is a fun project for beginners. It helps you practice basic sewing skills.
Start with simple patterns and follow the instructions carefully. Take your time to enjoy the process.
Common Mistakes To Avoid
Many beginners sew with too much speed. This causes uneven stitches and mistakes in the toy shape.
Another common mistake is cutting fabric without pinning the pattern. This can lead to wrong sizes.
- Do not rush sewing the pieces together
- Pin the pattern to fabric before cutting
- Use the right needle and thread for your fabric
- Check your seams before stuffing the toy
Time-saving Hacks
Cut all fabric pieces at once to save time. Use sharp scissors for clean cuts.
Mark sewing lines with fabric chalk. This helps you sew straight and fast.
- Organize all materials before starting
- Use pins or clips to hold fabric securely
- Sew with a consistent stitch length
- Stuff the toy evenly to avoid lumps
Credit: ballwool.com
Frequently Asked Questions
What Materials Are Needed For The Stuffed Toy Cat Sewing Pattern?
You need fabric, sewing thread, stuffing, scissors, pins, and a sewing needle. Optional items include buttons for eyes and embroidery thread for details.
How Long Does It Take To Sew The Toy Cat?
On average, it takes about 2 to 3 hours. This depends on your sewing skills and pattern complexity.
Can Beginners Use This Sewing Pattern Easily?
Yes, the pattern is beginner-friendly. Clear instructions and simple shapes make it ideal for new sewers.
Is The Pattern Suitable For Making Gifts?
Absolutely. Handmade stuffed toy cats make thoughtful, personalized gifts for kids and cat lovers alike.
Conclusion
Creating your own stuffed toy cat brings joy and pride. This sewing pattern makes the process simple and fun. You can choose colors and fabrics that you love. Each stitch adds personality to your toy cat. It’s a great project for beginners and experts alike.
Enjoy crafting a cute companion with your own hands. Handmade toys carry special meaning and memories. Start sewing today and watch your toy cat come to life. A small project with big heart and charm.