Are you tired of toys scattered all over your home? Imagine having a sturdy, stylish toy box that not only keeps things tidy but also adds charm to your room.
Building your own DIY toy box with a lid might sound challenging, but it’s easier than you think. This woodworking project is perfect for you if you want a custom storage solution that fits your space and style. Keep reading, and you’ll discover simple steps and tips that make creating your very own toy box both fun and rewarding.
Your kids—and your home—will thank you!

Credit: sallieplumleystudio.com
Materials And Tools
Building a DIY toy box with a lid requires the right materials and tools. Choosing quality wood and having the proper equipment helps create a strong and safe toy box.
This guide covers the wood selection, essential tools, and safety gear you need for this woodworking project.
Wood Selection
Select wood that is sturdy and safe for children. Pine, cedar, and plywood are common choices. Avoid wood with sharp splinters or chemicals.
- Pine: Affordable and easy to work with
- Cedar: Naturally resistant to insects and rot
- Plywood: Strong and stable for the box panels
- Avoid treated wood to keep the toy box safe
Essential Tools
| Tool | Purpose |
| Measuring Tape | Measure wood pieces accurately |
| Hand Saw or Circular Saw | Cut wood to size |
| Drill | Make holes and drive screws |
| Screwdriver | Tighten screws |
| Clamps | Hold pieces together while gluing |
| Sander or Sandpaper | Smooth wood surfaces |
| Wood Glue | Secure joints |
Safety Gear
Protect yourself by wearing proper safety gear during the project. It reduces the risk of injury and keeps you comfortable.
- Safety glasses to protect your eyes
- Ear protection to reduce noise
- Dust mask to avoid inhaling sawdust
- Work gloves to protect your hands
- Closed-toe shoes for foot safety
Designing The Toy Box
Designing a wooden toy box with a lid is a fun woodworking project. Good design makes the box useful and safe for kids.
Think about size, shape, and style before you start building. Careful planning helps you create a great toy box.
Choosing Dimensions
Decide how big the toy box should be. It should fit the space where you plan to keep it.
Make sure the box is large enough for toys but not too heavy for kids to open or move.
- Measure the room or play area first
- Choose a height easy for kids to reach inside
- Allow enough width and depth for many toys
- Keep the box size balanced to avoid tipping
Planning The Lid
The lid protects toys and keeps the box tidy. Plan how it will open and close safely.
Consider adding hinges that stop the lid from slamming shut. A soft close or stay-open lid is safer.
- Choose flat or curved lid styles
- Use strong hinges for durability
- Add safety hinges or lid supports
- Think about handles for easy lifting
Adding Decorative Elements
Decorations make the toy box more fun and personal. Use simple designs that kids will like.
Paint, wood carvings, or stickers can add style. Make sure decorations are safe and smooth to touch.
- Choose non-toxic paint or stain
- Carve shapes or letters on the box
- Add decals or child-friendly stickers
- Use rounded edges for safety
Cutting The Wood Pieces
Cutting the wood pieces is an important step in making your DIY toy box with a lid. It shapes all parts to fit perfectly. Taking time to cut well helps the box look good and last long.
Each piece must be measured and cut with care. This section explains how to measure, saw, and smooth the wood edges correctly.
Measuring And Marking
Start by measuring the wood pieces using a tape measure or ruler. Mark the cut lines clearly with a pencil. Double-check all measurements before cutting.
Mark straight lines using a square tool. Make sure the lines are visible and precise to guide your saw. Accurate marks prevent mistakes and wasted wood.
- Measure twice for accuracy
- Use a sharp pencil for clear marks
- Use a square for straight lines
Sawing Techniques
Use a saw that suits the type of cut you need. A handsaw works for straight cuts, while a jigsaw helps with curves. Cut slowly to keep control.
Keep the saw blade aligned with your marked lines. Use steady, even strokes to avoid splintering the wood. Secure the wood firmly to prevent movement.
- Choose the right saw for the cut
- Align blade with the marked line
- Cut slowly and steadily
- Clamp wood for safety and stability
Sanding Edges
After cutting, sand the edges to remove rough spots and splinters. Use medium-grit sandpaper first, then fine-grit for a smooth finish. Sand along the wood grain.
Sanding makes the wood safe for children and improves the toy box look. Check all edges and corners to avoid sharp points or rough areas.
- Start with medium-grit sandpaper
- Finish with fine-grit for smoothness
- Sand along the wood grain
- Check for and remove splinters
Assembling The Box
Building a toy box with a lid is a rewarding woodworking project. Assembling the box correctly ensures it will be sturdy and safe for children.
This section explains how to join the sides, secure the base, and reinforce the corners for a strong toy box.
Joining The Sides
Start by aligning the four side panels of the box. Make sure the edges fit tightly and the corners form right angles. Use wood glue on the edges for extra hold.
- Apply wood glue along the edges of the panels.
- Press two side panels together at a corner.
- Secure the joint with clamps until the glue dries.
- Repeat for all sides to form a rectangular frame.
Securing The Base
Attach the base panel to the bottom of the joined sides. This part supports the toys inside and adds strength to the box.
| Tool | Purpose | Tip |
|---|---|---|
| Wood screws | Fasten base to sides | Use screws long enough to hold firmly but not poke through |
| Drill | Make pilot holes | Pre-drill holes to avoid wood splitting |
| Clamps | Hold pieces in place | Keep the base flush with sides while screwing |
Place the base inside the frame, then drill pilot holes through the sides into the base. Insert screws to secure it firmly.
Reinforcing Corners
Strong corners keep the box stable and safe. Use small wood blocks or corner braces inside each corner.
Follow these tips to reinforce corners:
- Cut wood blocks about 3 inches square and 1 inch thick.
- Glue and screw each block inside the corner joint.
- Alternatively, attach metal corner braces with screws.
- Check that all corners are square after reinforcement.
Constructing The Lid
Building a sturdy lid is key for a DIY toy box. It keeps toys safe and dust-free. This guide covers cutting, attaching hinges, and fitting the lid.
Cutting Lid Panels
Start by measuring the top of your toy box carefully. Cut wooden panels to match these dimensions. Use smooth, straight cuts for a clean fit.
- Measure the box width and depth
- Mark the wood panel with a pencil
- Use a saw to cut along the marks
- Sand edges to avoid splinters
Attaching Hinges
Hinges connect the lid to the box and allow it to open smoothly. Choose hinges that fit your box size and wood thickness. Position hinges evenly on one side of the lid.
| Hinge Type | Recommended Use | Notes |
| Butt Hinge | Standard lids | Easy to install |
| Piano Hinge | Long lids | Provides full-length support |
| Concealed Hinge | Modern look | Hidden when closed |
Fitting The Lid
Place the lid on the box to check the fit. The lid should sit flush and open without catching. Adjust hinge screws if the lid is too tight or loose.
- Align the lid with the box edges
- Open and close the lid gently
- Tighten or loosen hinge screws as needed
- Test several times for smooth movement
Finishing Touches
Finishing your DIY toy box with lid is exciting. It brings your hard work to life and adds durability.
These final steps will make your toy box look great. Let's explore some finishing techniques.
Painting And Staining
Painting or staining gives your toy box personality. Choose a color or stain that matches your room.
Always use non-toxic finishes for safety. Apply two coats for a smooth finish.
- Use a brush for painting edges
- Roller helps cover large areas
- Let the first coat dry fully before the second
Adding Handles
Handles make the toy box easy to move. Pick sturdy handles that fit little hands.
Position handles on the sides of the lid. Ensure they are securely attached to avoid accidents.
- Metal handles are durable
- Wooden handles blend with the box
- Measure handle placement carefully
Applying Protective Coating
Protective coating keeps the toy box looking new. It shields the wood from scratches and stains.
Choose a clear coat that is child-safe. Apply it evenly and let it dry completely.
- Polyurethane offers strong protection
- Wax gives a soft finish
- Reapply the coating every year for maintenance
Tips For Durability
Building a durable toy box with a lid requires careful planning. Follow these tips to ensure your project withstands the test of time.
Durability is key when creating a toy box that will last. Consider materials and maintenance as you build.
Choosing Weather-resistant Materials
Selecting the right materials is crucial for outdoor use. This helps prevent damage from weather elements.
- Use treated wood to resist moisture and insects.
- Consider marine plywood for added durability.
- Apply weatherproof paint or sealant to protect surfaces.
Proper Maintenance
Regular maintenance keeps your toy box in top condition. A little care goes a long way.
- Inspect for loose screws or hinges.
- Reapply sealant every few years.
- Keep the box clean and dry.
Safety Considerations
Safety is important when children use the toy box. Ensure it is safe and secure.
| Feature | Safety Tip |
| Lid | Install a soft-close hinge |
| Edges | Round off sharp corners |
| Base | Ensure stability |

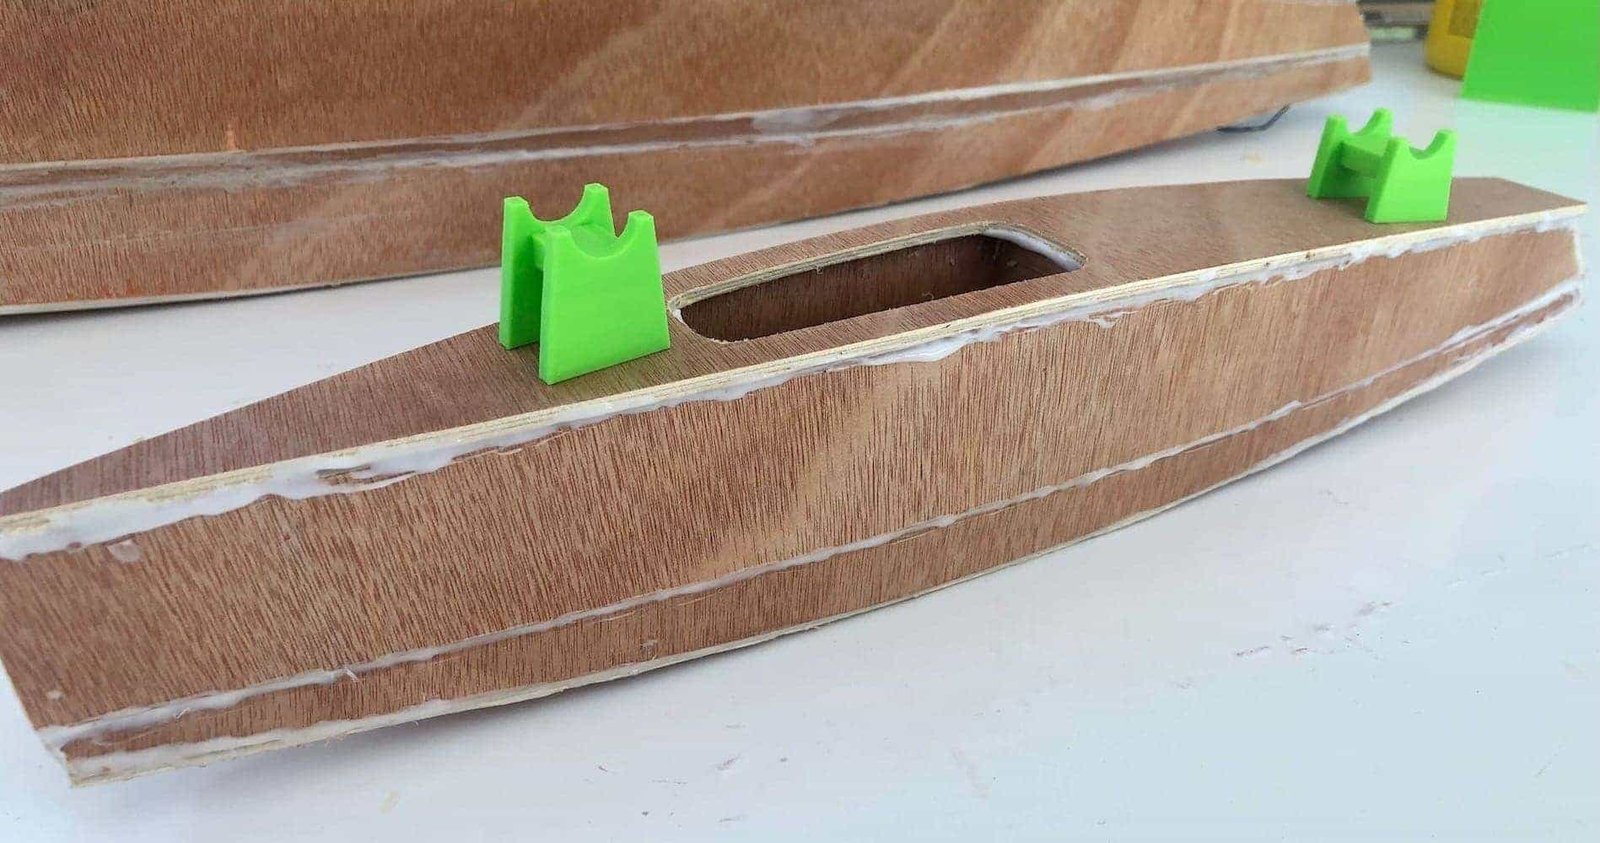
Credit: www.ana-white.com
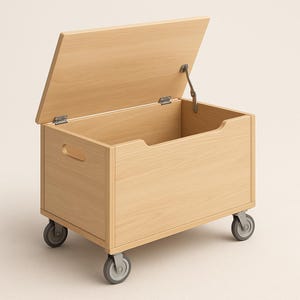
Credit: www.etsy.com
Frequently Asked Questions
What Wood Is Best For A Diy Toy Box With Lid?
Pine and plywood are ideal for DIY toy boxes. They are affordable, sturdy, and easy to work with. Choose smooth wood to avoid splinters and ensure a safe, durable toy box for children.
How Do I Build A Safe Lid For A Toy Box?
Use hinges with a slow-close feature to prevent lid slamming. Add safety supports inside to avoid accidental lid drops. Sand edges smooth to protect little fingers during play and storage.
What Tools Are Needed For A Wooden Toy Box Project?
Essential tools include a saw, drill, screwdriver, measuring tape, and sander. These tools help you cut, assemble, and finish the toy box efficiently and safely.
How Can I Customize My Wooden Toy Box Design?
Paint, stain, or add decals to personalize the toy box. You can also carve names or designs into the wood for a unique touch.
Conclusion
Building a DIY toy box with a lid brings many benefits. It helps keep toys tidy and easy to find. Making it yourself saves money and lets you choose the size and design. Wood is strong and lasts a long time.
You can enjoy the project and feel proud of your work. This simple woodworking task suits beginners and experts alike. Start your toy box today and add a useful piece to your home. Simple, practical, and fun to build.