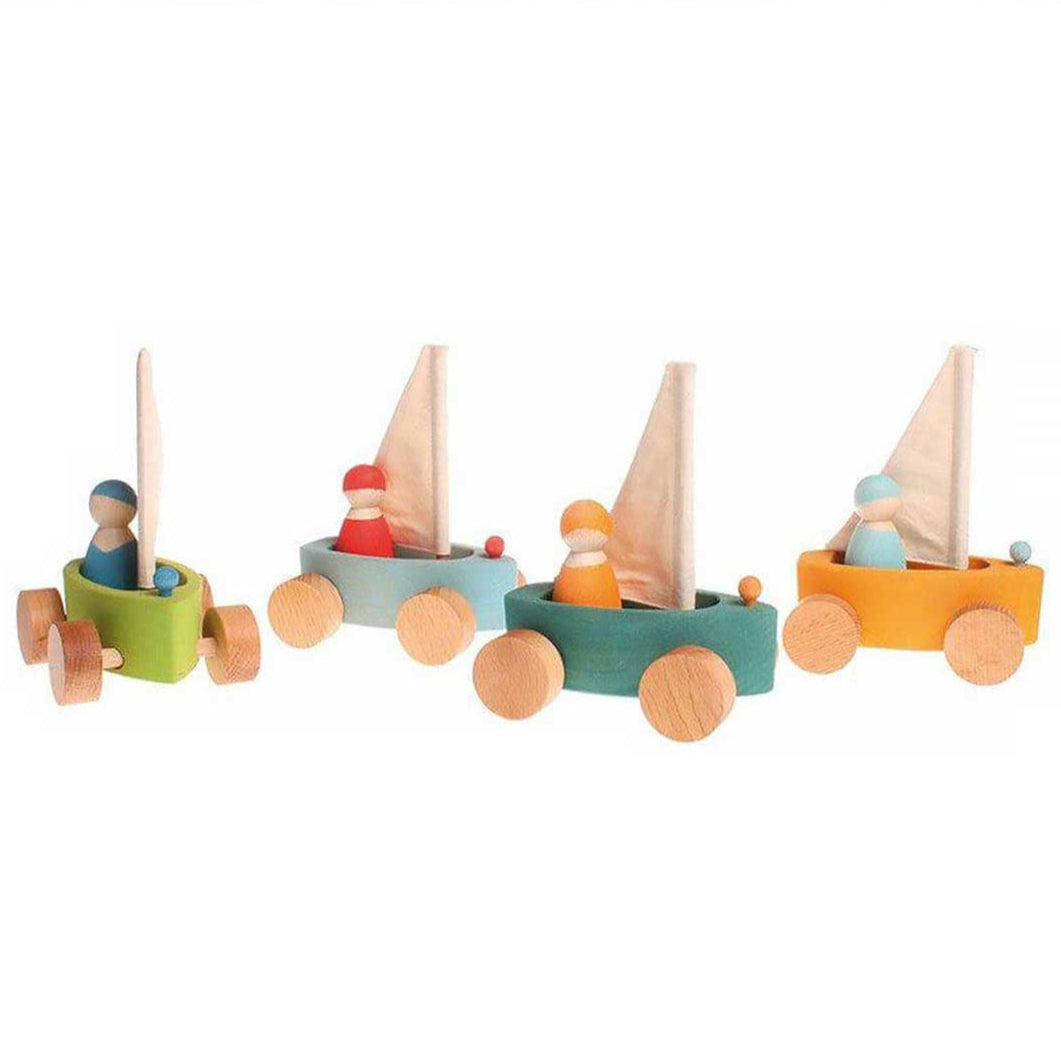
Have you ever wanted to create something fun and timeless with your own hands? Building wooden toy boats is a simple and rewarding project that anyone can enjoy.
Imagine holding a small, handcrafted boat that you made yourself—something perfect for play or display. You’ll discover easy steps and tips to turn basic wood into charming toy boats. Whether you’re a beginner or just looking for a relaxing hobby, this guide will help you bring your ideas to life.
Ready to start building your own wooden toy boats? Let’s dive in!
Materials Needed
Building wooden toy boats is a fun and creative project. You need the right materials to make strong and safe boats.
This guide covers the wood types, tools, and extra supplies you will need for your toy boats.
Choosing The Right Wood
Select wood that is safe, light, and easy to work with. Avoid woods with sharp splinters or strong smells.
Softwoods and some hardwoods are good choices for toy boats because they carve well and float easily.
- Basswood: Soft, smooth, and easy to carve
- Pine: Lightweight and affordable
- Cedar: Resists water and smells nice
- Balsa: Very light and floats well
Essential Tools
You need basic tools to cut and shape the wood. These tools help you work safely and precisely.
- Small saw or coping saw for cutting shapes
- Sandpaper or sanding block to smooth edges
- Wood carving knife for detailed work
- Clamps to hold wood steady while working
- Pencil for marking measurements
Additional Supplies
Extra supplies help to finish and protect your toy boats. They add color and strength.
- Non-toxic wood glue for attaching parts
- Waterproof paint or wood sealer
- Small brushes for painting
- Fine drill or awl for making holes
- Wood filler to fix small gaps or cracks
Designing Your Toy Boat
Designing a wooden toy boat starts with a clear idea. A good design helps you build a boat that looks nice and floats well.
Focus on simple shapes and easy drawings to guide your building process. This makes the work fun and less confusing.
Simple Boat Shapes
Choose from basic shapes like rectangles, triangles, and ovals. These shapes are easy to cut and join together.
- Rectangle for the main body
- Triangle for the bow (front)
- Oval or circle for the cabin
- Flat base to keep the boat steady in water
Drawing Your Blueprint
A blueprint is a simple drawing that shows all parts of your boat. It helps you see the size and shape before cutting wood.
| Part | Shape | Size (inches) |
| Body | Rectangle | 10 x 4 |
| Bow | Triangle | 4 x 4 |
| Cabin | Oval | 3 x 2 |
| Base | Flat | 10 x 5 |
Cutting The Wood
Cutting wood is the first important step in making wooden toy boats. You need to be careful and precise. This helps the boat parts fit well together.
Use the right tools and take your time. Good cutting makes the building process easier and safer.
Safe Cutting Techniques
Safety is the top priority when cutting wood. Always wear safety glasses and gloves. Keep your fingers away from the blade and work on a stable surface.
- Use a sharp saw for clean cuts
- Clamp the wood firmly before cutting
- Cut slowly to avoid mistakes
- Keep your work area clean and free of clutter
- Unplug power tools when not in use
Shaping The Hull
After cutting, shape the hull to give the boat its form. Sand the edges smooth to avoid splinters. Check for any rough spots that need more work.
| Tool | Purpose |
| Sandpaper | Smooth edges and surfaces |
| File | Shape curves on the hull |
| Block plane | Trim small areas for fit |
Assembling The Parts
Building wooden toy boats involves joining several pieces carefully. You need to make sure all parts fit well before gluing or nailing them. This helps the boat stay strong and last long.
In this section, we focus on how to join the parts and secure them properly. These steps will guide you to assemble your wooden toy boat correctly.
Joining Techniques
There are several ways to join wooden pieces for your toy boat. You can use glue, nails, or small wooden dowels. Each method has its own strength and use.
- Wood Glue:Use a strong wood glue for smooth joints. It dries clear and holds well.
- Wooden Dowels:These help align the parts and add extra strength.
- Small Nails or Brads:Use tiny nails to hold parts while glue dries.
- Clamping:Use clamps to keep parts tight until glue sets.
Securing The Pieces
After joining, securing the pieces is important to keep the boat stable. You can use nails, screws, or clamps depending on the parts and size.
| Method | Use | Tips |
| Wood Glue | For smooth, invisible joints | Apply thin layer, clamp tightly |
| Small Nails | Hold parts during glue drying | Use hammer gently to avoid splits |
| Wood Screws | For strong, lasting holds | Pre-drill holes to prevent cracks |
| Clamps | Keep parts tight while drying | Check alignment before tightening |
Sanding And Smoothing
Sanding is an important step to make wooden toy boats look great and feel smooth. It removes rough edges and prepares the surface for finishing.
Smooth surfaces make the toy safe for children to play with. Careful sanding also helps paint and varnish stick better.
Tools For Sanding
Use the right tools to get good results when sanding your wooden toy boat. Different tools help with different parts of the boat.
- Sandpaper in various grits (coarse to fine)
- Sanding block for flat surfaces
- Small sanding sponges for curves and corners
- Electric sander for large areas (optional)
- Dust mask to protect your lungs
Achieving A Smooth Finish
Follow these steps to get a smooth finish on your wooden boat:
- Start with coarse sandpaper (80-100 grit) to remove rough spots.
- Use medium grit (150-180) to smooth out scratches from coarse sanding.
- Finish with fine grit (220-320) for a very smooth surface.
- Sand along the wood grain to avoid scratches.
- Wipe the surface clean after sanding to remove dust.
| Sandpaper Grit | Use For |
| 80-100 | Removing rough spots |
| 150-180 | Smoothing scratches |
| 220-320 | Final smooth finish |

Credit: www.youtube.com
Painting And Decorating
Painting and decorating wooden toy boats adds charm and character. This process also makes them more attractive to children.
Using safe paints and adding details are key steps to ensure the toy boats are both beautiful and safe for play.
Choosing Safe Paints
Choosing safe paints is crucial for children's toys. Not all paints are safe, especially for young children who might put toys in their mouths.
- Look for non-toxic labels on paint containers.
- Use water-based paints as they are safer and have fewer fumes.
- Avoid paints with lead or other harmful chemicals.
Adding Details
Adding details to wooden toy boats can enhance their appeal. Small touches can make a big difference in how the boats look.
Consider using stencils for precise shapes and patterns. You can also use thin brushes for intricate designs.
| Detail Type | Tool Required |
| Stripes | Tape and brush |
| Dots | Q-tip or dotting tool |
| Names | Fine-tip brush |
Waterproofing The Boat
Building a wooden toy boat is fun. But making it waterproof is important. Water can damage the wood. Sealants protect it from water.
Learn about types of sealants and how to apply them. This will help keep your wooden boat safe and dry.
Types Of Sealants
There are several sealants you can use on wooden boats. Each type has its own benefits. Choose the right one for your project.
- Polyurethane Sealant:Durable and flexible. Good for long-lasting protection.
- Epoxy Sealant:Strong bond. Often used for large boats.
- Silicone Sealant:Easy to apply. Works well for small projects.
Application Tips
Applying sealant correctly is crucial. This ensures your boat is fully waterproof. Here are some helpful tips.
- Clean the Surface:Make sure the wood is clean and dry before you start.
- Use a Brush:Apply the sealant evenly with a brush for the best coverage.
- Allow to Dry:Let the sealant dry completely. This might take a few hours.
- Apply Multiple Coats:Two or more coats offer better protection.
Credit: www.bellalunatoys.com
Testing Your Boat
Testing your wooden toy boat is important to see if it works well on water. You can find out if your boat floats and stays steady.
This step helps you fix problems before using or giving your boat to others. Careful testing makes your boat better and safer.
Floatation Tests
Put your boat gently in water to check if it floats. See if it stays on the surface without sinking.
Check the boat for leaks or water getting inside. Make sure it does not tip over easily.
- Use a small tub or sink filled with water
- Place the boat softly on the water surface
- Watch if it floats without leaning or sinking
- Look for water inside the boat after some time
- Fix any holes or heavy parts that cause sinking
Balancing The Design
Balance means the boat stays straight and does not fall to one side. This keeps it steady on water.
Check if the weight is spread evenly. You can add small weights or move parts to improve balance.
- Place the boat on a flat surface to see if it leans
- Adjust heavy parts or add weight under the boat
- Test the boat in water to check for tilting
- Make small changes and test again for best balance

Credit: thedailyjaws.com
Frequently Asked Questions
What Materials Do I Need To Build Wooden Toy Boats?
You need wood, sandpaper, wood glue, waterproof paint, and basic tools like a saw and brush. Quality wood ensures durability and smooth finishes. Using non-toxic paint makes the toy safe for children. These materials keep the project simple and effective.
How Long Does It Take To Make A Wooden Toy Boat?
Building a wooden toy boat typically takes 2 to 4 hours. Time varies with design complexity and skill level. Beginners might spend more time sanding and assembling. Planning and patience help create a better finished product.
Can Children Safely Build Wooden Toy Boats?
Yes, with adult supervision, children can safely build wooden toy boats. Simple kits reduce risks and teach basic skills. Always use child-friendly tools and non-toxic materials. This activity promotes creativity and hand-eye coordination.
How Do I Waterproof A Wooden Toy Boat?
Apply multiple coats of waterproof paint or sealant after sanding the wood. Let each coat dry fully before applying the next. This protects the boat from water damage and extends its lifespan. Proper sealing is essential for floating toys.
Conclusion
Building wooden toy boats can be fun and rewarding. You only need simple tools and materials. Follow the steps carefully to create your own boat. Each boat you make will teach you new skills. Enjoy the process and be patient.
Wooden boats can float and sail on water. Share your creations with friends and family. Keep trying and improving with each boat. Crafting wooden toy boats brings joy and learning together. Give it a try and see how much fun it can be.