Imagine creating something special with your own hands—something both fun and useful. Handmade toy gloves are not just cute; they bring joy and creativity into your life.
Whether you want a unique gift or a new hobby, this sewing project is perfect for you. Ready to discover how simple and rewarding it can be? Keep reading, and you’ll find step-by-step guidance to make your very own toy gloves that everyone will love.
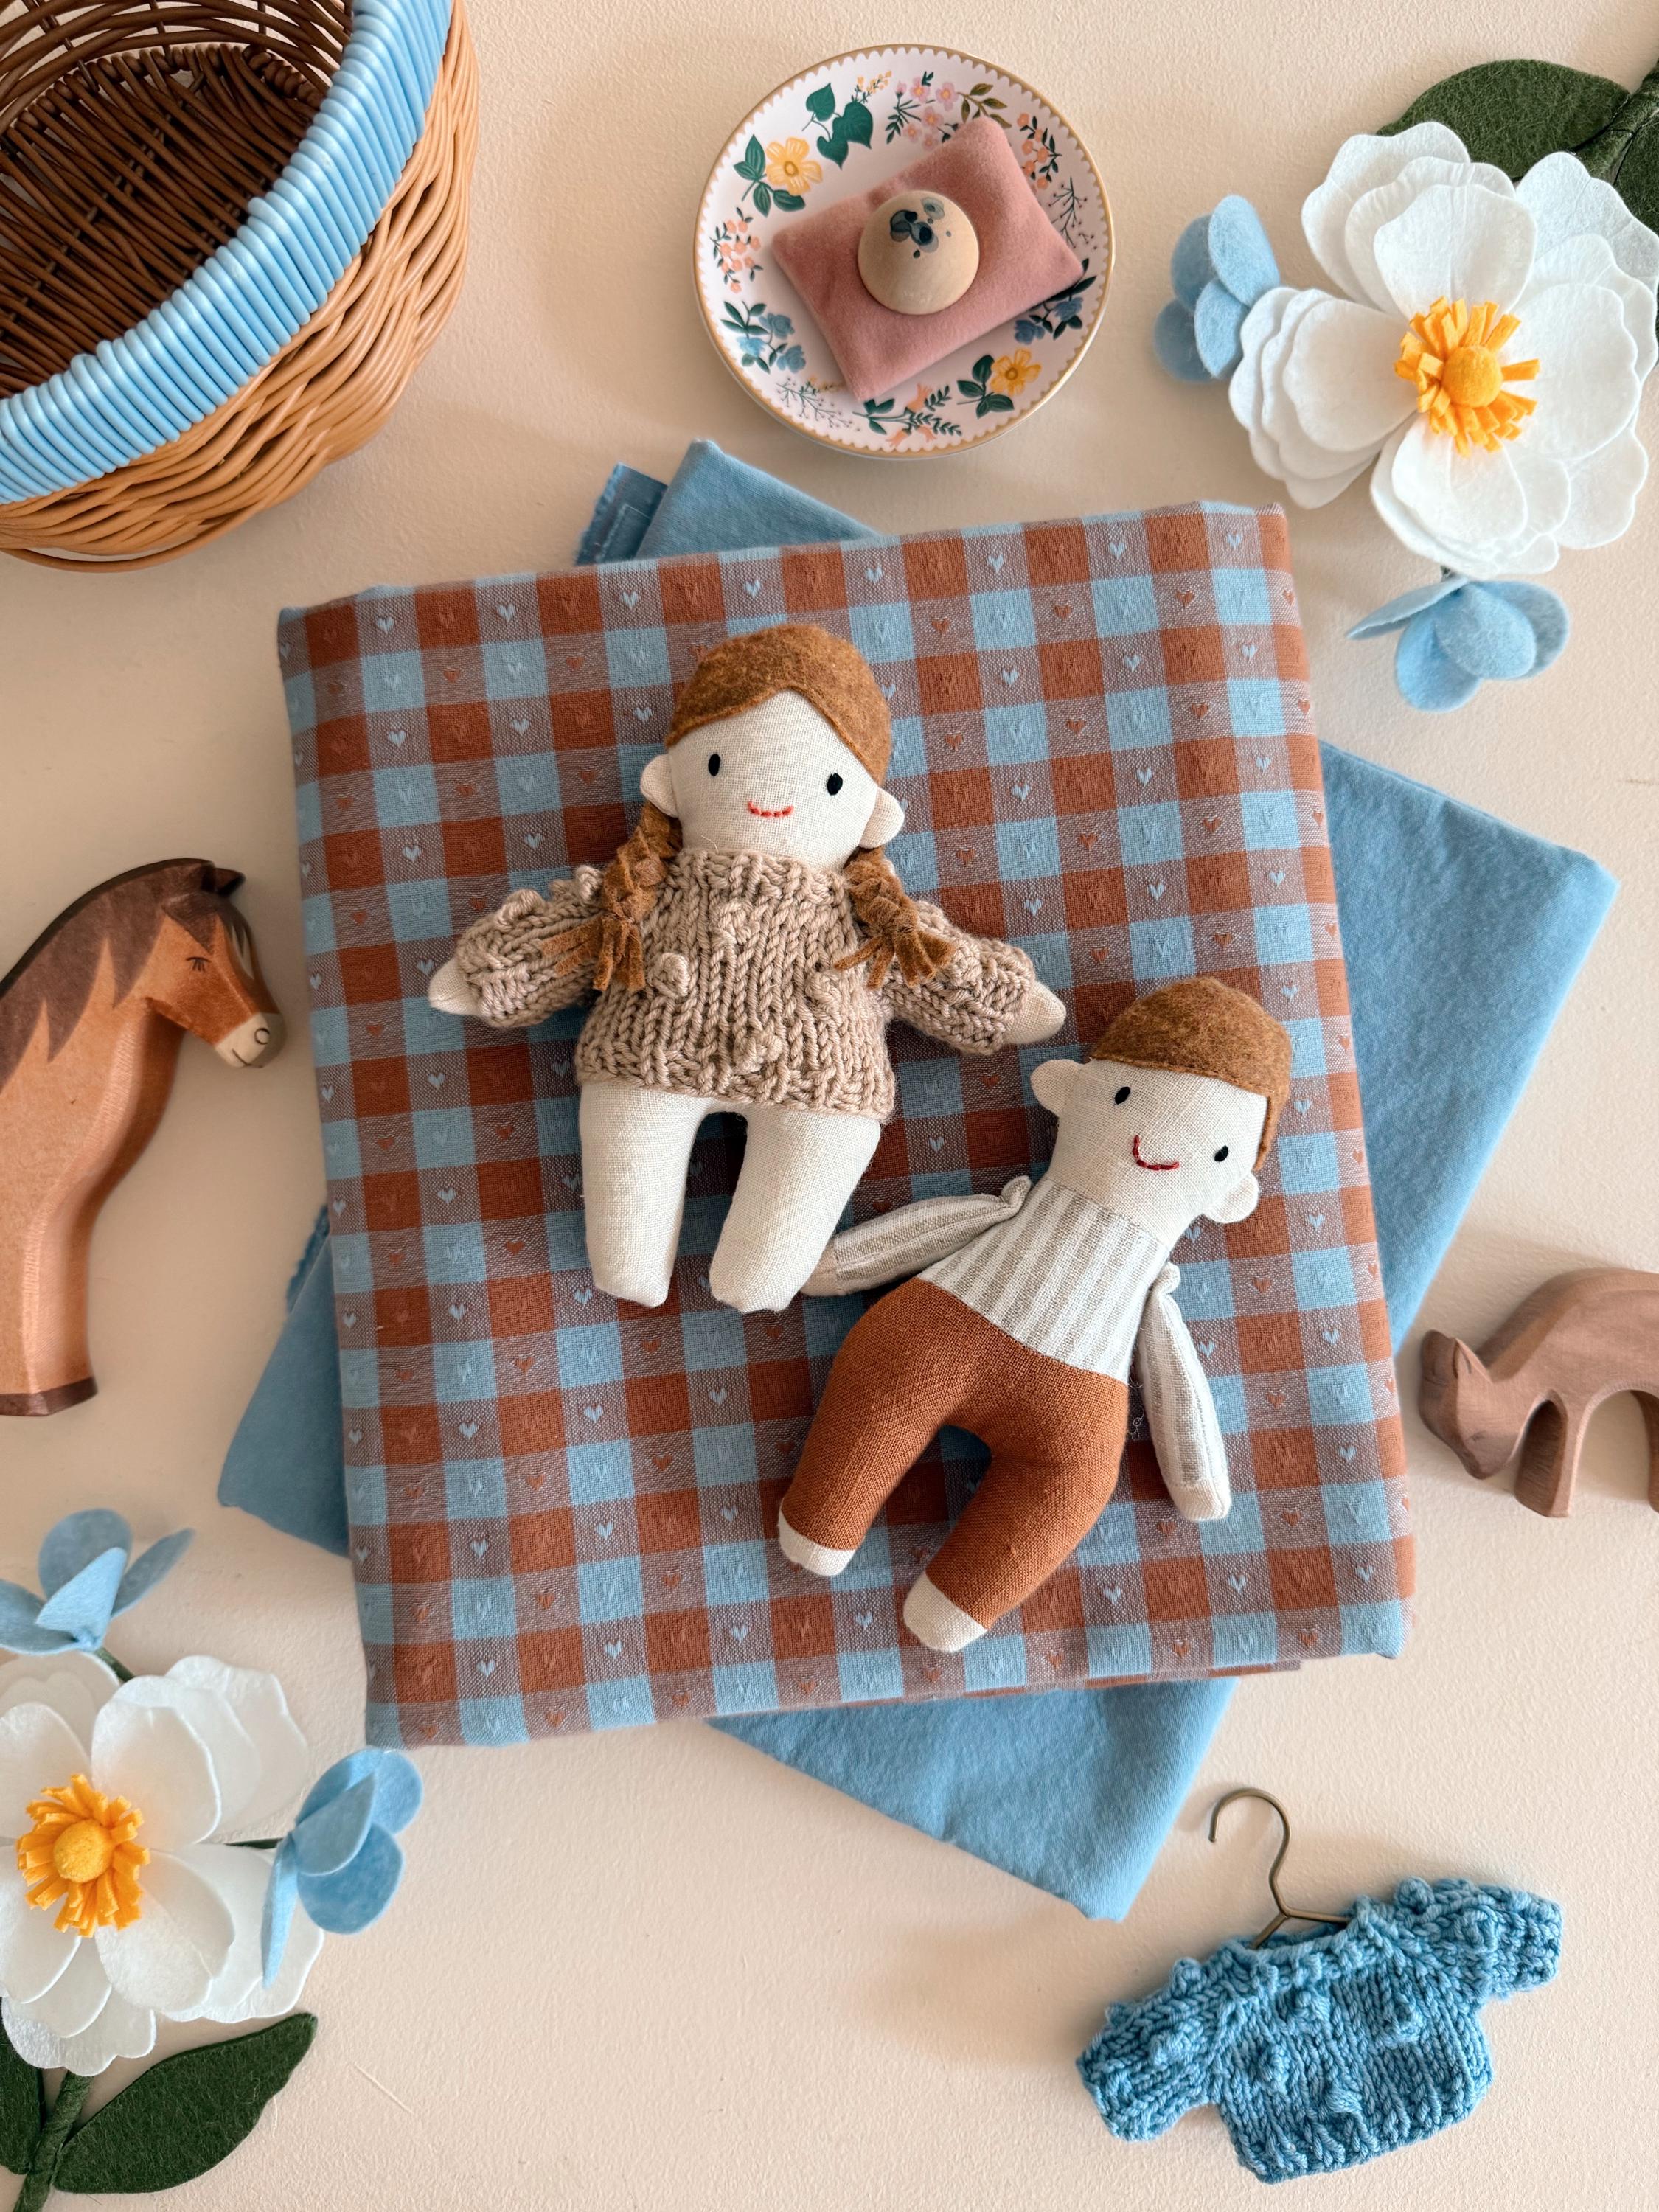
Credit: www.etsy.com
Materials And Tools
Making handmade toy gloves requires the right materials and tools. Choosing the right supplies helps create a neat and durable toy.
This guide covers fabrics, sewing supplies, and optional decorations for your sewing project.
Choosing Fabrics
Pick soft and safe fabrics for toy gloves. Cotton and fleece work well. Avoid rough or itchy materials.
- 100% cotton for comfort and breathability
- Fleece for warmth and softness
- Felt for easy cutting and shaping
- Avoid fabrics with harmful dyes or chemicals
Essential Sewing Supplies
| Supply | Purpose |
|---|---|
| Sewing needles | Hand stitching seams and details |
| Thread | Strong thread matching fabric color |
| Fabric scissors | Cut fabric shapes cleanly |
| Measuring tape | Measure fabric pieces accurately |
| Pins | Hold fabric layers in place |
| Stuffing | Fill gloves for soft shape |
Optional Embellishments
Decorate your toy gloves with fun additions. These embellishments make the gloves more attractive and unique.
- Buttons for eyes or decoration
- Embroidery thread for patterns or names
- Fabric paint for colorful designs
- Ribbons or lace for trim
Credit: www.etsy.com
Design And Pattern
Creating handmade toy gloves requires careful planning of design and pattern. The shape, size, and template influence the final look and fit.
This guide covers how to select a toy glove shape, customize sizes, and create a template for sewing.
Selecting A Toy Glove Shape
Choosing the right glove shape is the first step. Decide if you want simple mittens or gloves with separate fingers.
- Mittens: Easy to sew and soft for little hands.
- Five-finger gloves: More detailed and realistic.
- Animal-shaped gloves: Fun and creative designs.
Customizing Sizes
Adjusting the size ensures the toy gloves fit well. Measure the hand or the toy’s paw carefully.
| Size | Length (cm) | Width (cm) |
| Small | 8 | 5 |
| Medium | 10 | 6 |
| Large | 12 | 7 |
Creating A Template
Templates help cut fabric accurately. Draw the glove shape on paper with seam allowances.
Use these tips for making a template:
- Trace the glove shape on sturdy paper.
- Add 0.5 cm seam allowance around edges.
- Cut out the template carefully with scissors.
- Mark finger sections if needed for five-finger gloves.
Cutting And Preparing Fabric
Cutting and preparing fabric is a key step in making handmade toy gloves. It helps ensure the pieces fit well and look neat. Taking time here makes sewing easier later.
Using the right tools and methods will keep your fabric clean and ready. Follow simple steps to mark, cut, and prepare edges carefully.
Marking The Pattern
Start by placing your pattern on the fabric. Use pins or weights to hold it steady. Mark around the edges with a fabric pencil or chalk.
- Trace all pattern lines, including seam allowances
- Mark important points like finger notches or curves
- Double-check marks before cutting
Cutting Techniques
Cut fabric pieces smoothly using sharp scissors or a rotary cutter. Cut on a flat surface to keep edges straight. Avoid lifting the fabric while cutting.
- Cut slowly following the marked lines
- Keep scissors perpendicular to fabric
- Trim small curves carefully for better fit
- Cut all pieces before moving on
Prepping Fabric Edges
Prepare edges to prevent fraying. You can use different methods based on your fabric type and tools available.
| Method | How to Do It | Best For |
| Pinked Edges | Use pinking shears to cut fabric edges | Woven fabrics |
| Zigzag Stitch | Sew a zigzag stitch along raw edges | Most fabrics |
| Bias Tape | Cover edges with bias tape and sew | Soft or stretchy fabrics |
| Fray Check | Apply liquid fray preventer on edges | Delicate fabrics |
Sewing Steps
Making handmade toy gloves is a fun and creative project. You will need to sew pieces together carefully. Follow these steps to make your own toy gloves.
Start by gathering your fabric, thread, and sewing tools. Make sure you have all the materials ready before you begin sewing.
Pinning Pieces Together
First, lay out your fabric pieces. Match the pieces so the right sides face each other. Use pins to hold them in place.
Pin the edges carefully. Make sure the pieces align. This will help you sew straight lines.
- Use enough pins to secure the fabric
- Check the alignment before sewing
- Pin at regular intervals
Stitching Methods
Now, it’s time to sew the pieces together. You can use a sewing machine or sew by hand. Choose a simple stitch for beginners.
Sew along the edges where you pinned. Keep your stitches even. This will make the gloves strong and durable.
- Use a straight stitch for strong seams
- Backstitch at the start and end
- Remove pins as you sew
Turning And Stuffing
After stitching, turn the glove inside out. Use a pencil or stick to push out corners gently. This will give the glove its shape.
Now, stuff the glove with soft filling. Use cotton or polyester stuffing. This will make the glove soft and huggable.
Adding Decorative Details
Handmade toy gloves can be more fun with decorative details. Adding unique touches makes each pair special.
Using simple techniques, you can transform plain gloves into colorful creations. Let's explore some creative ideas.
Embroidering Features
Embroidery adds charm to toy gloves. Simple stitches can create beautiful designs.
Choose thread colors that contrast with the glove fabric. This makes your designs stand out.
- Use backstitch for outlines
- Add French knots for dots
- Create flowers with lazy daisy stitch
Attaching Buttons And Patches
Buttons and patches add texture. They bring personality to toy gloves.
Sew buttons securely to avoid them falling off. Use patches to cover larger areas.
- Select buttons in fun shapes
- Choose colorful patches
- Mix and match for a playful look
Using Fabric Paint
Fabric paint is easy and fun. It adds bright colors to gloves.
Use fabric paint to create patterns or images. Let your imagination guide you.
- Apply paint with brushes or sponges
- Use stencils for neat designs
- Let the paint dry completely
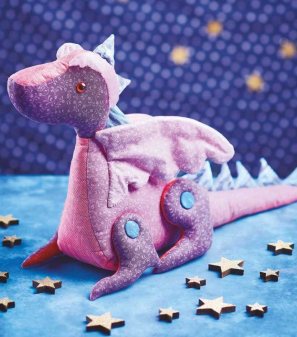
Credit: www.sewmag.co.uk
Finishing Touches
Finishing touches give your handmade toy gloves a polished look. They also make the gloves last longer.
Careful attention to detail in the final steps ensures a neat and durable product.
Sealing Seams
Sealing seams prevents the fabric from fraying or coming apart. Use a tight stitch to close all edges.
You can also add fabric glue or use a zigzag stitch for extra strength.
- Use small, even stitches along the seams
- Apply fabric glue for added durability
- Press seams flat with an iron if fabric allows
Final Shaping
Final shaping makes the toy gloves look natural and fit well. Adjust stuffing inside to fill all parts evenly.
Smooth out wrinkles and shape fingers carefully. This step helps the gloves keep their form.
- Distribute stuffing evenly inside the gloves
- Shape each finger to look round and full
- Smooth out fabric to remove lumps and wrinkles
Quality Check
Check the toy gloves for any loose threads or weak spots. Make sure seams are secure and stuffing is firm.
Test the gloves by gently stretching and squeezing. Fix any problems before finishing.
- Look for loose or uneven stitching
- Ensure no holes or gaps in seams
- Confirm stuffing is firm and stable
- Check overall shape and feel
Gift Presentation Ideas
Handmade toy gloves are special gifts that deserve thoughtful presentation. Wrapping and adding personal touches make your gift stand out.
Use simple ideas to create a charming package for your sewn toy gloves. Small details can create a lasting impression.
Creative Packaging
Choose natural materials like kraft paper or fabric bags for wrapping. These options add a warm, homemade feel to your gift.
- Tie a ribbon or twine around the package
- Add dried flowers or leaves for decoration
- Use small wooden boxes for a rustic look
- Wrap gloves in soft tissue paper for protection
Personalized Tags
Attach a personalized tag to your gift for a special touch. Write the recipient’s name or a short message.
- Handwritten name on recycled paper
- Stamped initials on colored cardstock
- Small photo of the gloves or maker
- Short poem or quote about friendship
Care Instructions
Include simple care instructions to help keep the gloves in good shape. Clear directions make the gift more useful.
| Cleaning | Hand wash gently with cold water |
| Drying | Lay flat to dry away from sunlight |
| Storage | Keep in a cool, dry place |
| Handling | Avoid rough play to maintain shape |
Frequently Asked Questions
What Materials Are Needed For Handmade Toy Gloves?
You need soft fabric, sewing thread, scissors, needles, and stuffing. Choose hypoallergenic materials for safety. Optional decorations include buttons or embroidery.
How Long Does The Sewing Project Take?
The project usually takes 2 to 3 hours. Time varies with skill level and glove complexity. Beginners may need extra time for practice.
Can Beginners Easily Sew Handmade Toy Gloves?
Yes, beginners can sew them with basic skills. Simple patterns and step-by-step instructions make the process easy. Practice improves results over time.
What Are The Benefits Of Making Toy Gloves By Hand?
Handmade toy gloves enhance creativity and fine motor skills. They offer personalized gifts and promote sustainable crafting. Sewing also provides a relaxing hobby.
Conclusion
Making handmade toy gloves is a fun and simple project. It lets you create something special with your own hands. You can choose colors and fabrics that you like best. This project also helps improve your sewing skills step by step.
Kids will enjoy playing with these soft gloves. Try making them for gifts or for your own use. Sewing toy gloves brings joy and creativity together. Give it a try and enjoy the process!