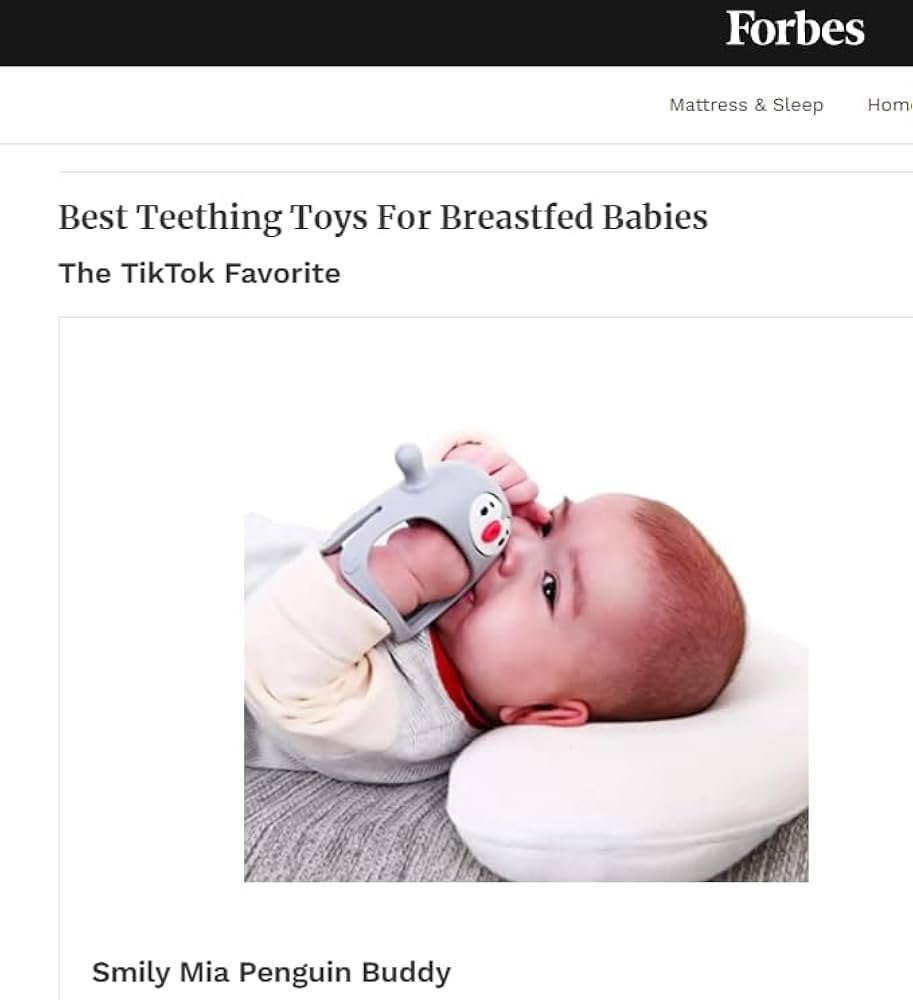
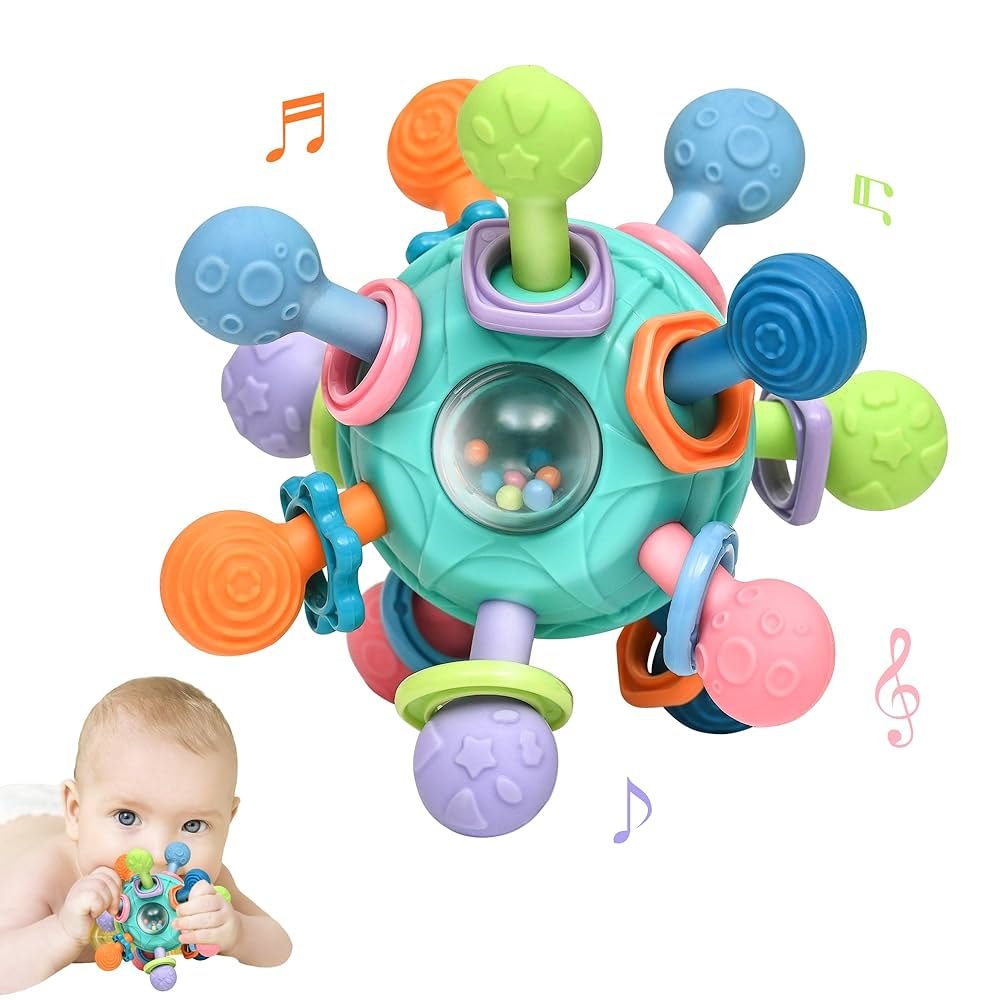
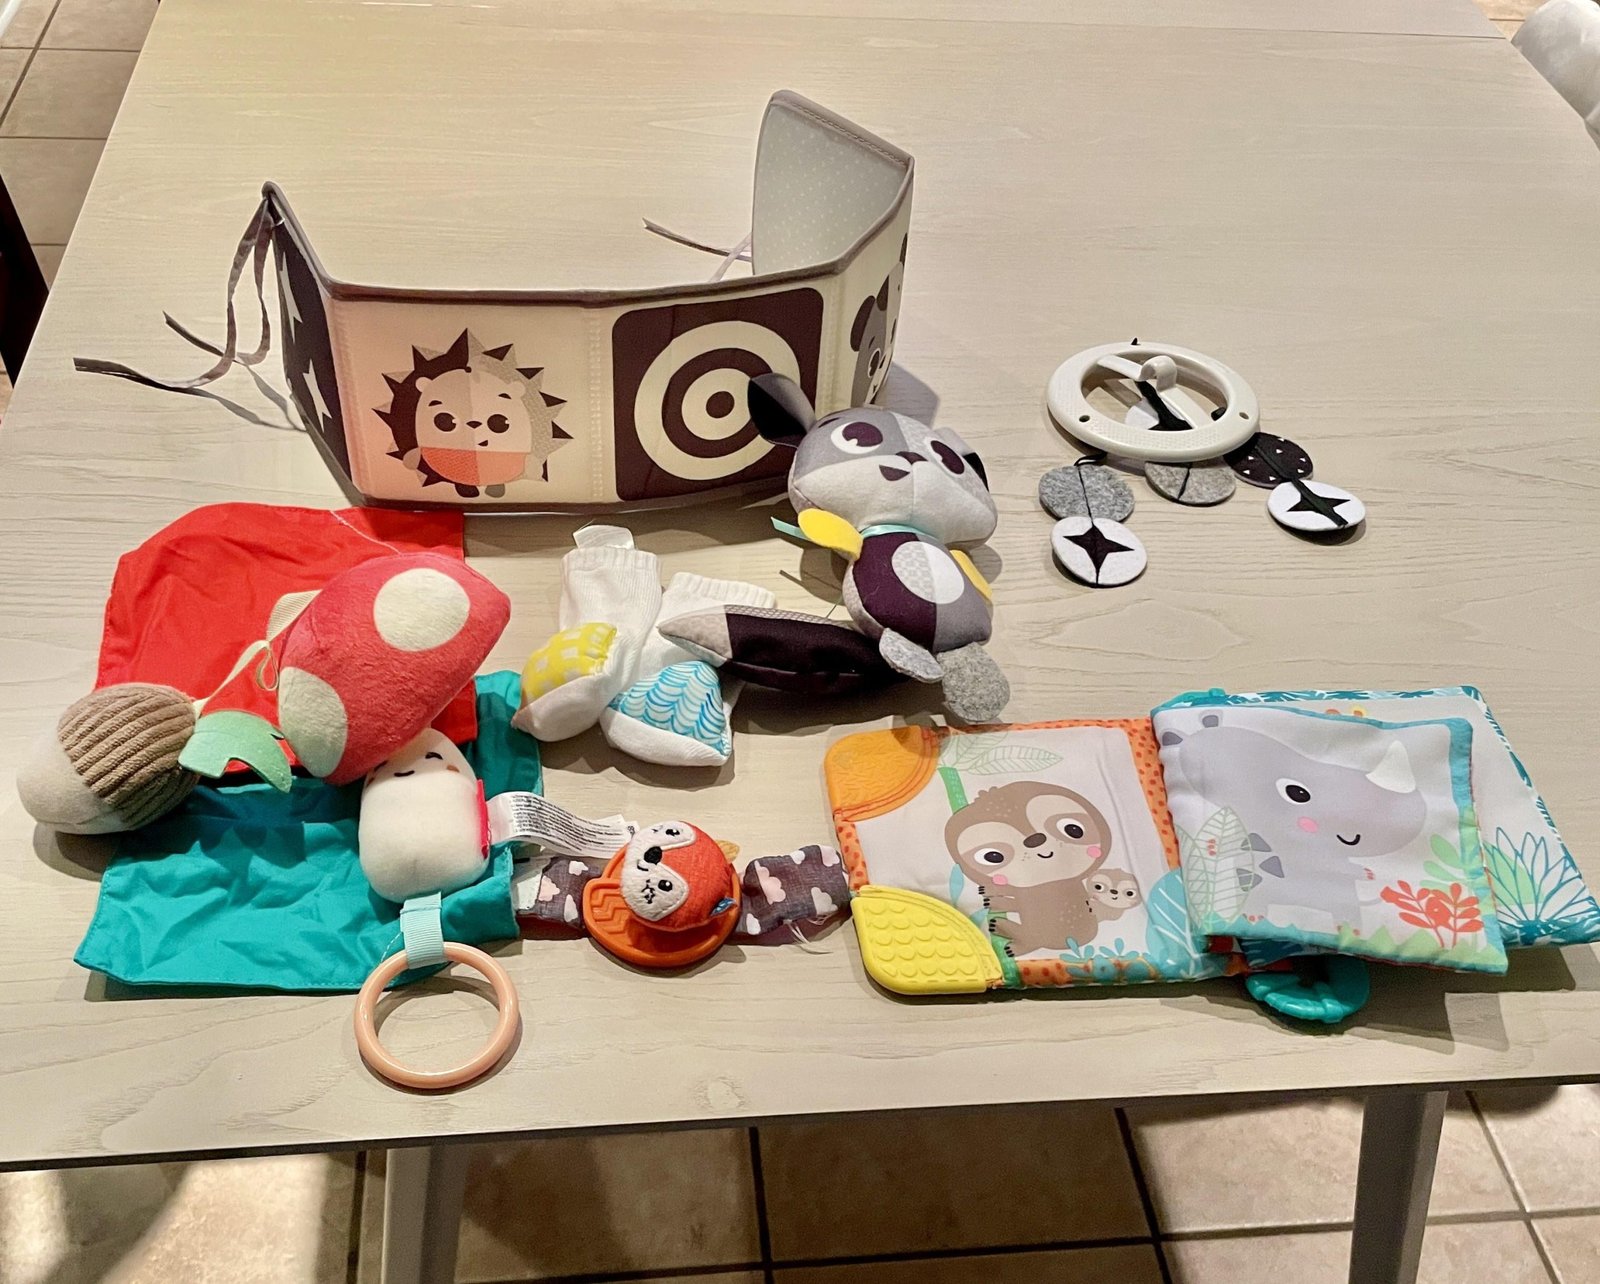
Are you looking for a safe, adorable, and practical toy for your little one? Making your own DIY baby teething toy is easier than you think—and it lets you control exactly what goes into it.
Imagine giving your baby a soft, soothing toy made with love and care, free from harmful chemicals. In this guide, you’ll discover simple steps to create a teething toy that your baby will love to chew on. Keep reading, and you’ll be surprised at how quickly you can craft something both beautiful and functional for your child’s comfort.
Materials Needed
Making a DIY baby teething toy needs a few simple materials. Choosing the right items helps create a safe and soft toy.
This guide covers the main materials you need to get started with your sewing project.
Fabric Selection
Pick soft, natural fabrics that feel gentle on a baby’s skin. Cotton and organic muslin are great choices.
- 100% cotton fabric
- Organic muslin cloth
- Soft fleece (optional for extra softness)
- Fabric that is free from harmful dyes
Thread And Needles
Use strong thread and the right needles for hand or machine sewing. This keeps the toy durable and safe.
| Material | Purpose |
| Polyester thread | Strong and durable stitching |
| Embroidery thread | Decorative details |
| Hand sewing needle | Precise stitching |
| Sewing machine needle | Faster sewing |
Stuffing Options
Choose safe stuffing to keep the toy soft but firm. Avoid anything that can cause allergies or choking hazards.
- Polyester fiberfill (hypoallergenic)
- Organic cotton stuffing
- Natural wool (ensure it is clean and safe)
- Small fabric scraps (as an eco-friendly filler)
Additional Accessories
Extras add texture and fun to the teething toy. Pick items that are safe and easy to clean.
- Sewn-on wooden rings (untreated and smooth)
- Soft ribbons or fabric tags
- Non-toxic fabric paint for decorations
- Velcro strips for attachable parts

Design Ideas
Creating a DIY baby teething toy lets you choose shapes, textures, and colors. These design choices make the toy fun and safe for babies.
Good design helps babies explore and feel comfortable while chewing on the toy.
Simple Shapes
Simple shapes are easy to sew and safe for babies to hold. Rounded edges prevent injuries.
Popular shapes include circles, stars, and animals. These are fun and easy to recognize for babies.
- Circle shapes fit well in small hands
- Star shapes add a playful look
- Animal shapes can be cute and engaging
Textured Surfaces
Textures help soothe babies' gums and keep their interest. Using different fabrics adds variety.
Try mixing soft cotton with ribbed or bumpy fabric. This variety makes the toy more exciting to touch.
- Soft fleece for gentle chewing
- Ribbed fabric for gum massage
- Knotted fabric for gripping
Color Choices
Bright colors attract babies’ attention and help with visual learning. Use colors that stand out.
Choose safe, non-toxic fabric dyes. Mix primary colors or pastels for a soft look.
- Red, blue, and yellow for bold contrasts
- Soft pastels for calm and soothing effects
- Mix of light and dark colors for interest
Cutting Fabric
Cutting fabric is an essential step in creating a DIY baby teething toy. It requires attention to detail and the right tools to achieve a smooth and even cut.
In this section, we will focus on measuring and marking your fabric, as well as safe cutting tips to ensure a professional-looking finish.
Measuring And Marking
To measure and mark your fabric accurately, start by determining the dimensions of your teething toy. You can use a ruler or measuring tape to measure the length and width of your fabric.
- Use a ruler to measure the length of your fabric
- Measure the width of your fabric using a measuring tape
- Mark the dimensions on the fabric with a pencil or marker
Safe Cutting Tips
To cut your fabric safely, use sharp scissors or a rotary cutter and mat. This will help prevent accidents and ensure a clean cut.
- Use sharp scissors or a rotary cutter and mat
- Cut away from your body to prevent accidents
- Keep your fingers away from the cutting area

Sewing Techniques
Sewing a DIY baby teething toy needs careful techniques. The stitches must be strong and safe. Learning basic sewing skills helps make a sturdy toy.
This guide covers three key parts: basic stitches, sewing seams, and leaving an opening. Each step ensures the toy holds together well.
Basic Stitches
Basic stitches hold the fabric pieces together. The straight stitch is simple and strong. Use short stitches for more strength. A backstitch helps secure the start and end.
- Straight stitch for main sewing
- Backstitch to secure edges
- Whipstitch for closing small gaps
- Running stitch for basting or temporary hold
Sewing Seams
Sewing seams connects fabric pieces. Use a seam allowance of about 1/4 inch. Press seams flat to reduce bulk. Double stitch if the fabric is thick.
| Seam Type | Description | Use |
|---|---|---|
| Plain Seam | Two fabric edges sewn together | Most common for teething toys |
| French Seam | Edges enclosed inside seam | Neat finish and strong hold |
| Flat-Felled Seam | Double stitched seam with folded edges | Extra durability and no raw edges |
Leaving An Opening
Leave a small opening to turn the toy right side out. The opening also helps to add stuffing. Close the opening by hand sewing with a whipstitch or ladder stitch.
Tips for leaving an opening:
- Mark the opening before sewing seams
- Keep the opening about 2-3 inches wide
- Use pins to hold edges apart
- Sew slowly near the opening edges
Adding Filling
Adding filling to your DIY baby teething toy makes it soft and safe. It helps the toy keep its shape and feel comfortable for babies to chew.
Choosing the right stuffing and placing it evenly are key steps. This guide will explain how to do both carefully.
Choosing Safe Stuffing
Pick stuffing that is non-toxic and hypoallergenic. Avoid anything that can harm babies if chewed or swallowed.
- Use polyester fiberfill made for toys
- Choose organic cotton stuffing
- Avoid beads or plastic pellets
- Check for certifications like Oeko-Tex Standard 100
- Make sure stuffing is washable
Stuffing Evenly
Fill the toy evenly to keep its shape and avoid lumps. Uneven stuffing can make the toy hard or misshaped.
| Tip | Reason |
|---|---|
| Fill small amounts at a time | Helps control the shape |
| Use your fingers to spread stuffing | Prevents lumps and gaps |
| Firm but soft stuffing | Comfortable and safe to chew |
| Check seams while stuffing | Ensures no holes or weak spots |
Finishing Touches
Finishing your DIY baby teething toy is important for safety and durability. Careful attention helps create a toy that lasts and is safe for your baby.
These final steps include closing the toy, adding teething parts, and securing all small pieces. Follow each step carefully.
Closing The Toy
After stuffing the toy, sew the opening closed with small, tight stitches. This keeps the stuffing inside and prevents gaps.
Use a needle and thread that match your fabric color. Check the seams twice to ensure no holes remain.
Adding Teething Elements
Attach safe teething elements like silicone rings or wooden beads to the toy. These give babies relief when teething.
- Choose BPA-free silicone or natural wood
- Make sure elements are smooth and without sharp edges
- Sew or securely fasten them to the toy fabric
- Check that parts are large enough not to be swallowed
Securing Small Parts
| Small Part | Secure Method |
| Buttons | Sew tightly with strong thread |
| Beads | Double-knot thread and glue safe for children |
| Ribbons | Stitch ends firmly to fabric |
| Teething rings | Use strong fabric loops and stitches |
Always test the toy by pulling small parts gently. If anything feels loose, sew or fix it again before giving it to your baby.
Safety Tips
Sewing a baby teething toy is fun and helpful for your little one. Safety is very important. Always keep safety in mind while making the toy.
Using the right materials and checking the toy often can protect your baby from harm. Here are some key safety tips for making a teething toy.
Non-toxic Materials
Choose materials that are safe for babies to chew and suck on. Avoid fabrics and fillings with harmful chemicals or dyes. Organic cotton and untreated wood are good options.
- Use natural fibers like organic cotton or bamboo fabric.
- Select stuffing that is hypoallergenic and safe for babies.
- Avoid paints, dyes, or finishes that contain toxins.
- Check labels to confirm materials are baby-safe and non-toxic.
Avoiding Choking Hazards
Small parts can cause choking. Do not add buttons, beads, or small decorations that can come loose. Sew pieces tightly and check for loose threads.
| Hazard | How to Avoid |
|---|---|
| Loose buttons or beads | Do not use small parts; sew securely if used |
| Fraying threads | Trim and secure all thread ends tightly |
| Detachable parts | Attach all parts firmly and check strength |
| Small stuffing pieces | Use tightly packed stuffing inside sealed seams |
Regular Inspection
Check the teething toy often for wear and tear. Fix or replace the toy if you find damage. This keeps the toy safe for your baby to use.
- Look for loose stitching or holes.
- Remove the toy if parts start to come off.
- Wash the toy regularly to keep it clean.
- Replace the toy if it shows signs of heavy damage.

Cleaning And Maintenance
Keeping your DIY baby teething toy clean is very important. Babies put these toys in their mouths often. Clean toys help prevent germs and keep your baby safe.
Proper maintenance also helps the toy last longer. Follow simple steps to wash and store the toy safely.
Washing Instructions
Wash the teething toy regularly to remove dirt and germs. Use mild soap and warm water. Avoid harsh chemicals that may harm your baby.
If the toy has wooden parts, wipe them gently with a damp cloth. Do not soak wood in water to avoid damage.
- Hand wash fabric parts with mild soap
- Rinse well to remove all soap
- Air dry completely before use
- Wipe wooden parts with a damp cloth only
- Do not use bleach or strong detergents
Storing Safely
Store the teething toy in a clean, dry place. Keep it away from dust and pets. Proper storage keeps the toy fresh and safe for your baby.
A small storage box or cloth bag works well. Make sure the toy is fully dry before storing to stop mold or mildew growth.
- Use a clean container or bag
- Keep away from direct sunlight
- Store in a dry place
- Dry completely before storing
- Check toy regularly for wear or damage
Frequently Asked Questions
What Materials Are Needed For A Diy Baby Teething Toy?
You need soft fabric, non-toxic stuffing, wooden or silicone rings, and sewing tools. Choose baby-safe, washable materials.
How Do I Make A Baby Teething Toy Safe?
Use BPA-free, non-toxic materials. Avoid small parts that could detach and cause choking. Ensure secure stitching.
Can I Customize The Teething Toy Design?
Yes, personalize with colors, shapes, and textures. Tailor it to your baby’s preferences and sensory needs.
How Long Does It Take To Sew A Teething Toy?
Typically, it takes 1 to 2 hours depending on your sewing skills and complexity of the design.
Conclusion
Sewing a DIY baby teething toy is simple and fun. You can choose soft, safe fabrics that babies love. Making your own toy helps control materials and design. It also saves money and adds a personal touch. Follow the steps carefully for a sturdy toy.
Enjoy watching your baby explore and soothe their gums. Creating handmade toys brings joy and satisfaction. Try making different shapes and colors next time. Keep practicing, and your skills will improve fast. Happy sewing and happy babies!